Multimedia
API Reference: Device.Multimedia
Multimedia manages camera, video and image. Quick head-start for commonly used methods can be located at the example code below:
The components in the example are added from the code for better showcase purposes. To learn more about the subject you can refer to:
Adding Component From CodeAs a best practice, Smartface recommends using the WYSIWYG editor in order to add components and styles to your page or library. To learn how to use UI Editor better, please refer to this documentation
UI Editor Basicsimport PageSampleDesign from "generated/pages/pageSample";
import { Route, Router } from "@smartface/router";
import Application from "@smartface/native/application";
import Multimedia from "@smartface/native/device/multimedia";
import Button from "@smartface/native/ui/button";
import ImageView from "@smartface/native/ui/imageview";
import { styleableComponentMixin } from "@smartface/styling-context";
class StyleableButton extends styleableComponentMixin(Button) {}
class StyleableImageView extends styleableComponentMixin(ImageView) {}
//You should create new Page from UI-Editor and extend with it.
export default class Sample extends PageSampleDesign {
btnTakePhoto: StyleableButton;
btnPickPhoto: StyleableButton;
myImageView: StyleableImageView;
constructor(private router?: Router, private route?: Route) {
super({});
}
// The page design has been made from the code for better
// showcase purposes. As a best practice, remove this and
// use WYSIWYG editor to style your pages.
centerizeTheChildrenLayout() {
this.dispatch({
type: "updateUserStyle",
userStyle: {
flexProps: {
flexDirection: 'COLUMN',
justifyContent: 'CENTER',
alignItems: 'CENTER'
}
}
})
}
onShow() {
super.onShow();
const { headerBar } = this;
Application.statusBar.visible = false;
headerBar.visible = false;
}
onLoad() {
super.onLoad();
this.centerizeTheChildrenLayout();
this.btnTakePhoto = new StyleableButton({
text: "Take A Photo",
onPress: () => {
Multimedia.capturePhoto({
onSuccess: ({ image }) => {
this.myImageView.image = image;
},
aspectRatio: {
x: 1,
y: 1,
},
allowsEditing: true,
page: this,
});
},
});
this.btnPickPhoto = new StyleableButton({
text: "Pick from Gallery",
onPress: () => {
Multimedia.pickFromGallery({
type: Multimedia.Type.IMAGE,
allowsEditing: true,
onSuccess: ({ image }) => {
this.myImageView.image = image;
},
page: this,
});
},
});
this.myImageView = new StyleableImageView();
this.addChild(this.myImageView, "myImageView", ".sf-imageView", {
left: 0,
width: 200,
height: 200,
backgrounColor: "#eaedf2",
imageFillType: "ASPECTFIT",
});
this.addChild(this.btnTakePhoto, "btnTakePhoto", ".sf-button", {
height: 70,
width: 150,
margin: 10,
});
this.addChild(this.btnPickPhoto, "btnPickPhoto", ".sf-button", {
height: 70,
width: 150,
});
}
}
Capture a Photo from Camera
Capturing a photo is possible by using existing camera applications. Fortunately, most mobile devices already have a camera application that records video.
This example shows capturing a photo with default configurations.
Multimedia.capturePhoto({
  onSuccess: ({ image }) => {
    console.info("Capture Photo Succeed");
  },
  page: this,
});
For more parameters about capturePhoto, you can refer to the API Documentation.
Record a Video from Camera
Recording a video is possible by using existing camera applications. Fortunately, most mobile devices already have a camera application that records video.
The example below shows recording a video with passed quality and maximum video time.
For more parameters about recordVideo, you can refer to the API Documentation.
Multimedia.recordVideo({
  page: this,
  videoQuality: Multimedia.VideoQuality.HIGH,
  maximumDuration: 10,
  onSuccess: ({ video: File }) => {
    console.info("Record Video Succeed");
  },
});
To tweak the video quality, refer to the documentation below:
Video Quality OptimizationPicking Media from Gallery
If needed, you can access to the native Gallery application to get desired image or video.
Picking Multiple Photos from Gallery
In the current state, picking multiple photos on gallery is under development.
Picking Photos from Gallery
Multimedia.pickFromGallery({
  type: Multimedia.Action.IMAGE,
  onSuccess: ({ image }) => {
    // Do other stuff with image. Example:
    this.imageView1.image = image;
  },
  page: this,
});
Picking Videos from Gallery
import Multimedia from "@smartface/native/device/multimedia";
import VideoView from "@smartface/native/ui/videoview";

Multimedia.pickFromGallery({
  type: Multimedia.Type.VIDEO,
  onSuccess: ({ video }) => {
    // Do other stuff with video. Example to show on videoView:
    this.videoView1.loadFile(video);
  },
  page: this,
});
Limiting Duration on a Video
If you wish to have a limit on your picked videos like duration, you should create a dummy videoView and get the duration there. This method should be handled in async.
import Multimedia from "@smartface/native/device/multimedia";
import VideoView from "@smartface/native/ui/videoview";

async function getDurationOfGalleryVideoInSeconds(): Promise<number> {
  return new Promise((resolve, reject) => {
    Multimedia.pickFromGallery({
      type: Multimedia.Type.VIDEO,
      onSuccess: ({ video }) => {
        try {
          const dummyVideoView = new VideoView();
          dummyVideoView.onReady = () => {
            // totalDuration returns the duration in miliseconds. Converting to seconds
            const duration = Math.floor(dummyVideoView.totalDuration / 1000);
            resolve(duration);
          };
          dummyVideoView.loadFile(video);
        } catch (e) {
          reject(`Video couldn't be loaded`);
        }
      },
      onCancel: () => {
        // Optional event for promise
        reject(`user didn't select a video`);
      },
      onFailure: () => {
        // Optional event for promise
        reject(`video couldn't be selected`);
      },
      page: this,
    });
  });
}
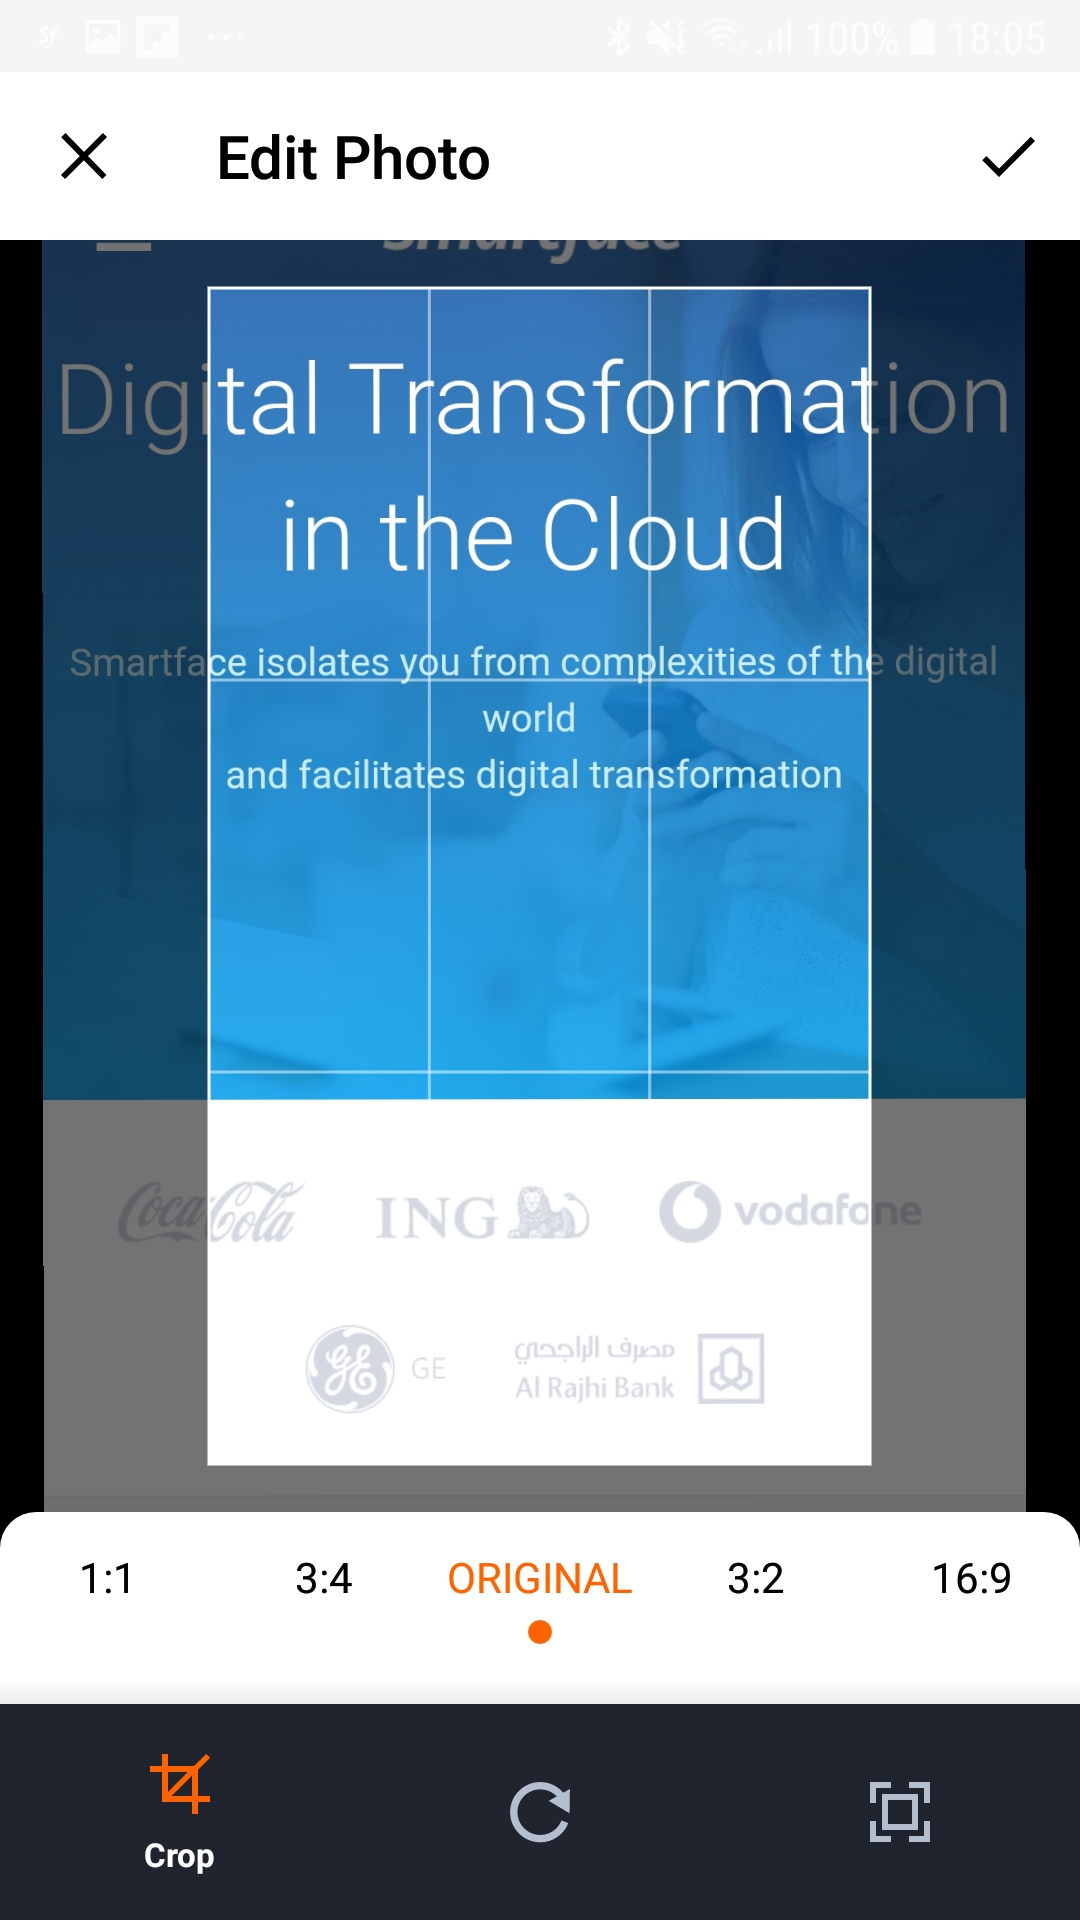
Image Cropping after Picked from Gallery
allowsEditing property shows a screen to the user that can crop the image. For more parameters, you can refer to the API Documentation
Multimedia.pickFromGallery({
  allowsEditing: true,
  type: Multimedia.Action.IMAGE,
  onSuccess: function ({ image }) {
    // Do s
  },
  page: this,
});
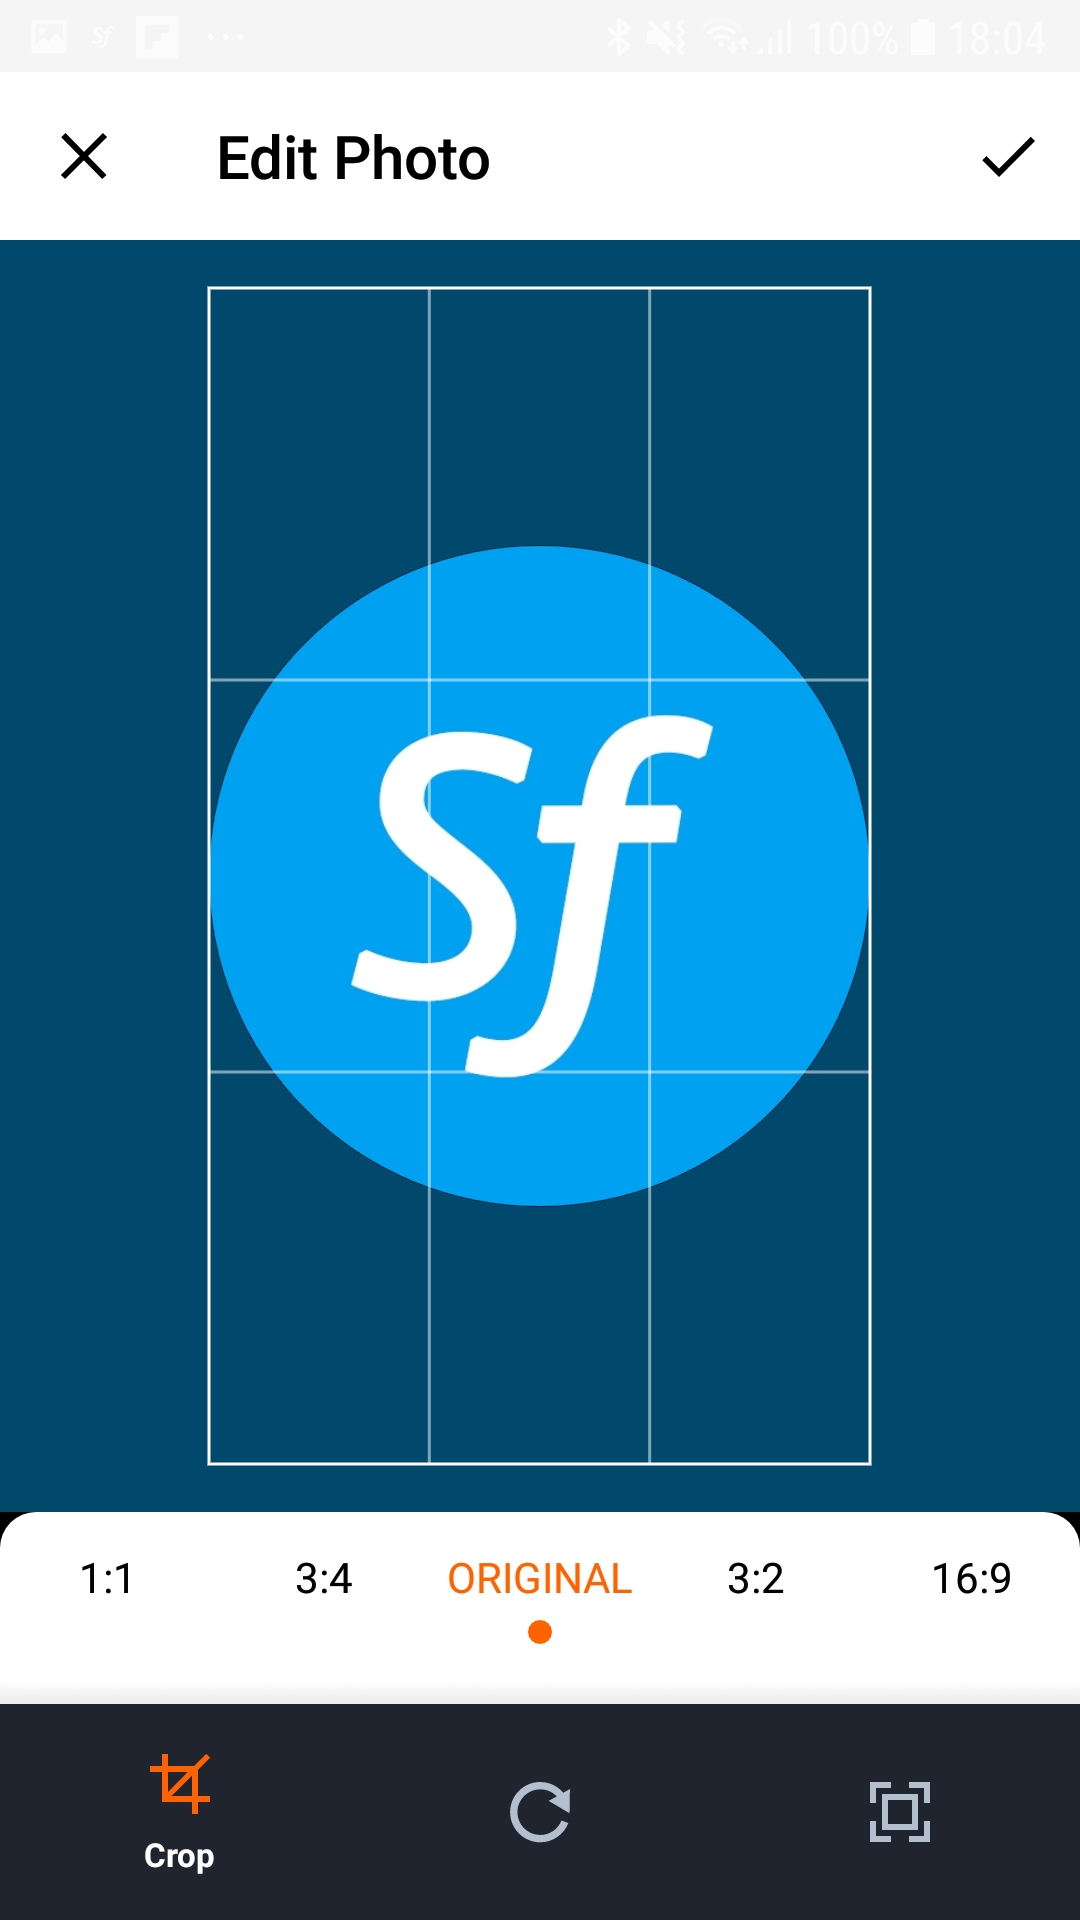
Crop Window Aspect Ratio
You can set the aspect ratio of the cropping window for android. Default behavior is free aspect ratio mode.
Multimedia.pickFromGallery({
  allowsEditing: true,
  aspectRatio: {
    x: 1,
    y: 1,
  },
  type: Multimedia.Type.IMAGE,
  onSuccess: function (picked) {
    var image = picked.image;
  },
  page: this,
});
Cropping on Android
In Android, cropping is an activity itself. So it is necessary to define cropping activity to your AndroidManifest.xml before publishing. Activities are always defined under the tag.
<activity android:name="io.smartface.android.sfcore.device.multimedia.crop.SFCropActivity" android:screenOrientation="portrait" android:theme="@style/Theme.AppCompat.Light.NoActionBar"/>

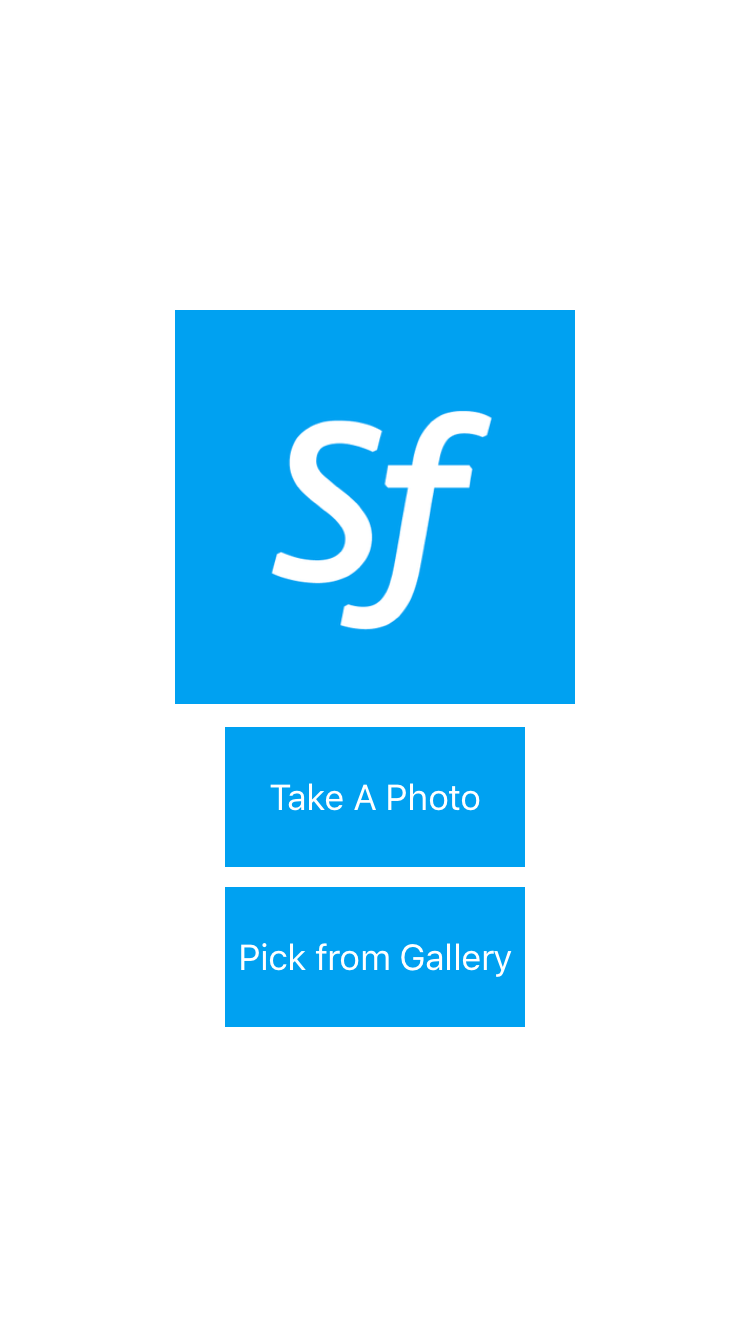
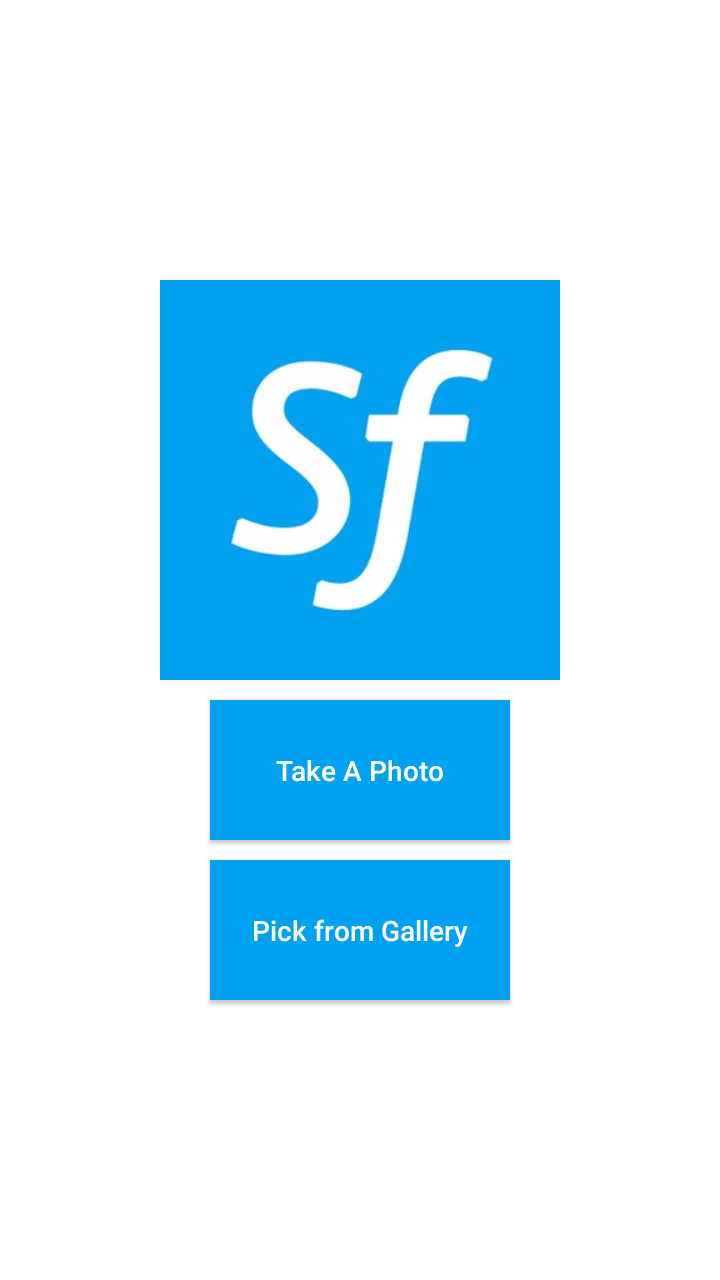
Android Circular Crop
The Circular shape is available for both camera and gallery image.
Cropped images with circular shapes will not produce a circular radius image.
the rounded radius should be added to the image.
The components in the example are added from the code for better showcase purposes. To learn more about the subject you can refer to:
Adding Component From CodeAs a best practice, Smartface recommends using the WYSIWYG editor in order to add components and styles to your page or library. To learn how to use UI Editor better, please refer to this documentation
UI Editor Basicsimport PageSampleDesign from "generated/pages/pageSample";
import { Route, Router } from "@smartface/router";
import Application from "@smartface/native/application";
import Multimedia from "@smartface/native/device/multimedia";
import Button from "@smartface/native/ui/button";
import ImageView from "@smartface/native/ui/imageview";
import { styleableComponentMixin } from "@smartface/styling-context";
class StyleableButton extends styleableComponentMixin(Button) {}
class StyleableImageView extends styleableComponentMixin(ImageView) {}
//You should create new Page from UI-Editor and extend with it.
export default class Sample extends PageSampleDesign {
btnTakePhoto: StyleableButton;
btnPickPhoto: StyleableButton;
myImageView: StyleableImageView;
constructor(private router?: Router, private route?: Route) {
super({});
}
// The page design has been made from the code for better
// showcase purposes. As a best practice, remove this and
// use WYSIWYG editor to style your pages.
centerizeTheChildrenLayout() {
this.dispatch({
type: "updateUserStyle",
userStyle: {
flexProps: {
flexDirection: 'COLUMN',
justifyContent: 'CENTER',
alignItems: 'CENTER'
}
}
})
}
onShow() {
super.onShow();
const { headerBar } = this;
Application.statusBar.visible = false;
headerBar.visible = false;
}
onLoad() {
super.onLoad();
this.centerizeTheChildrenLayout();
this.btnTakePhoto = new StyleableButton({
text: "Take A Photo",
onPress: () => {
Multimedia.capturePhoto({
onSuccess: ({ image }) => {
this.myImageView.image = image.android.round(100);
},
aspectRatio: {
x: 1,
y: 1,
},
allowsEditing: true,
page: this,
android: {
cropShape: Multimedia.Android.CropShape.OVAL,
},
});
},
});
this.btnPickPhoto = new StyleableButton({
text: "Pick from Gallery",
onPress: () => {
Multimedia.pickFromGallery({
type: Multimedia.Type.IMAGE,
allowsEditing: true,
onSuccess: ({ image }) => {
this.myImageView.image = image.android.round(100);
},
android: {
cropShape: Multimedia.Android.CropShape.OVAL,
},
page: this,
});
},
});
this.myImageView = new StyleableImageView();
this.addChild(this.myImageView, "myImageView", ".sf-imageView", {
left: 0,
width: 200,
height: 200,
backgrounColor: "#eaedf2",
imageFillType: "ASPECTFIT",
});
this.addChild(this.btnTakePhoto, "btnTakePhoto", ".sf-button", {
height: 70,
width: 150,
margin: 10,
});
this.addChild(this.btnPickPhoto, "btnPickPhoto", ".sf-button", {
height: 70,
width: 150,
});
}
}