First Project on Smartface IDE
After the installation is complete, it's time to create an account and dive right into Smartface!;
Open the Smartface IDE. You will be greeted with the login screen. If you don't have any account, simply create one within the register action on the menu.
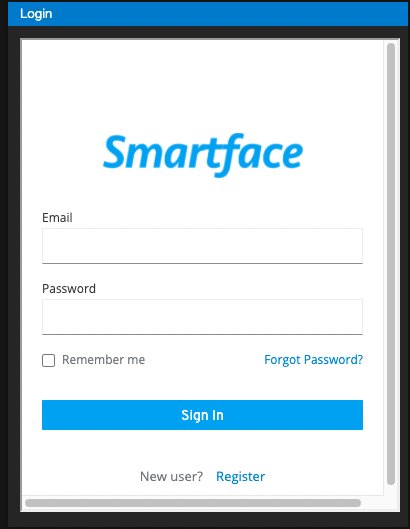
After you are done with the register and login, you will be greeted with a welcome screen and your journey with Smartface awaits you!
Create Your Project from Scratch
There are two different ways to create your own project from scratch.
Create-Repository-First Approach
In this approach, there are two things to be done to create a new project.
- Use the GitHub's template feature to create your own repository
- Clone the repository with the help of your Smartface IDE
First one is going to give you to have a starter project with your own GitHub repository for it from the get-go. Here are the steps you need to take on the first part:
Go to helloworld-boilerplate project that exists on Smartface's GitHub. (We will be using helloworld-boilerplate repository on GitHub which is always up-to-date with the latest dependencies.)
https://github.com/smartface/helloworld-boilerplate
Make sure you're signed in to your GitHub account so you can continue with the next steps.
The following screen will greet you on the website.
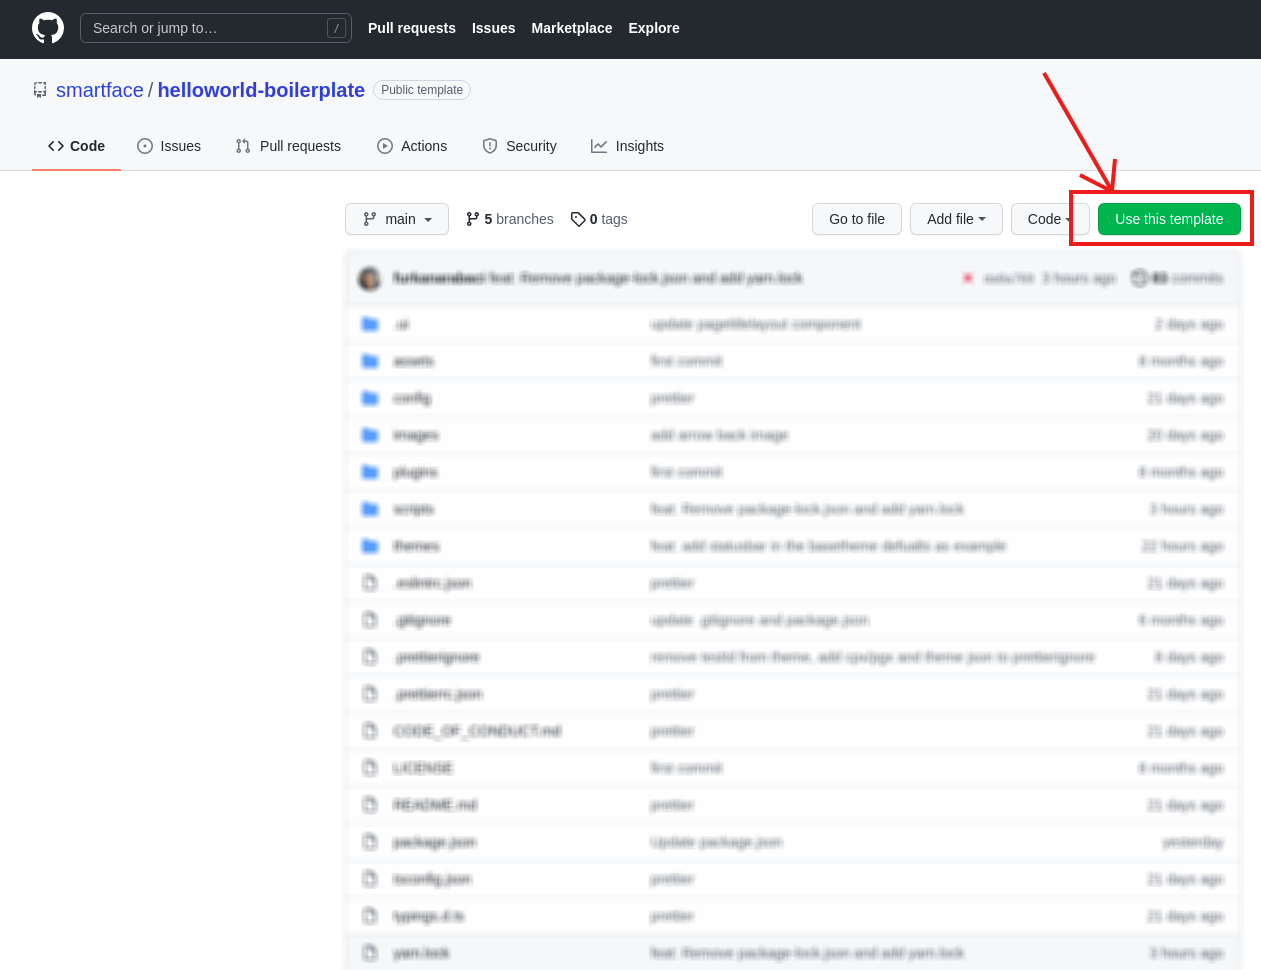
Click on the Use this template button shown in the photo. This will lead you to create a new repository in your account from the template.
You successfully completed the first part and created your own starter repository on your GitHub account.
Let's get started to the second part.
Smartface IDE behaves like a VSCode and follows their "selected folder" behavior. In Smartface IDE, a Smartface project is treated differently and handles some mundane parts like launching the builder scripts for you.
Now the only thing you need to do is to clone your newly-created repository to an empty folder on your local computer. Start your Smartface IDE on that folder and ta-da! You are ready to go along with your own configured GitHub repository.
Clone-Repository-First Approach
In this approach, you won't be obligated to use GitHub as your git provider.
First, open your Smartface IDE and navigate to Files and click on New Smartface Workspace
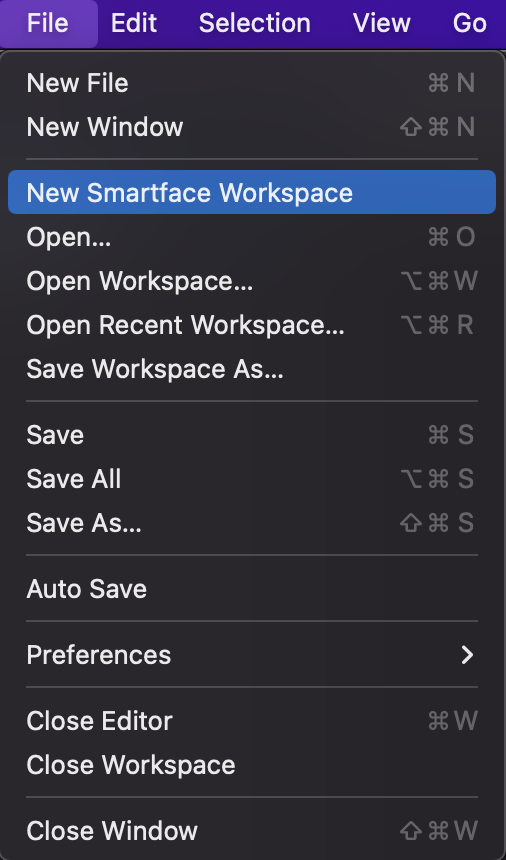
- Select the folder you wish for your workspace to be created at. If you have none in mind, simply create a folder with your desired name and select it.
- Make sure the folder you select is empty.

- After selection, Smartface IDE will restart with the new folder open.
If you already have a folder open at this step, you will be greeted with the image below. It means you have already completed this step and can proceed safely.
Before cloning, make sure that your selected folder is empty. Otherwise, the clone process will not be successful.

- A new terminal will launch. Wait for clone and package installation progress.
- After clone, git initializations are done automatically.
- Now you have a clean project within git repository configuration.
- Enjoy your newly installed project!
Use an Existing Project
There will be times when you will need to clone somebody else's or your own old project from a remote repository. In order to do that, you'll have to clone the repository manually to your computer, at any location you wish.
Afterwards, you can follow the steps before and select your newly cloned Smartface project to continue where you've left!
Issues at the Installation
If you have encountered issues while you are cloning the workspace, please make sure to follow the steps in the installation documentation.
Installation of Smartface IDESample Projects
You can find a few sample projects that you can use to get started with Smartface IDE.
Sample Mcommerce App