Hello Animation
API Reference: UI.Animator
UI.Animator is used to perform transform animations inside a layout. All you have to do is to pass functions setting the final condition of the UI objects and let Animator execute those functions with animation. In this tutorial, we will be creating a basic animation step by step so that we will know the basics of the animations with Animator.
Initial Setup
Let's say we have a view inside a flex layout in a page with the setup below:
import View from "@smartface/native/ui/view";
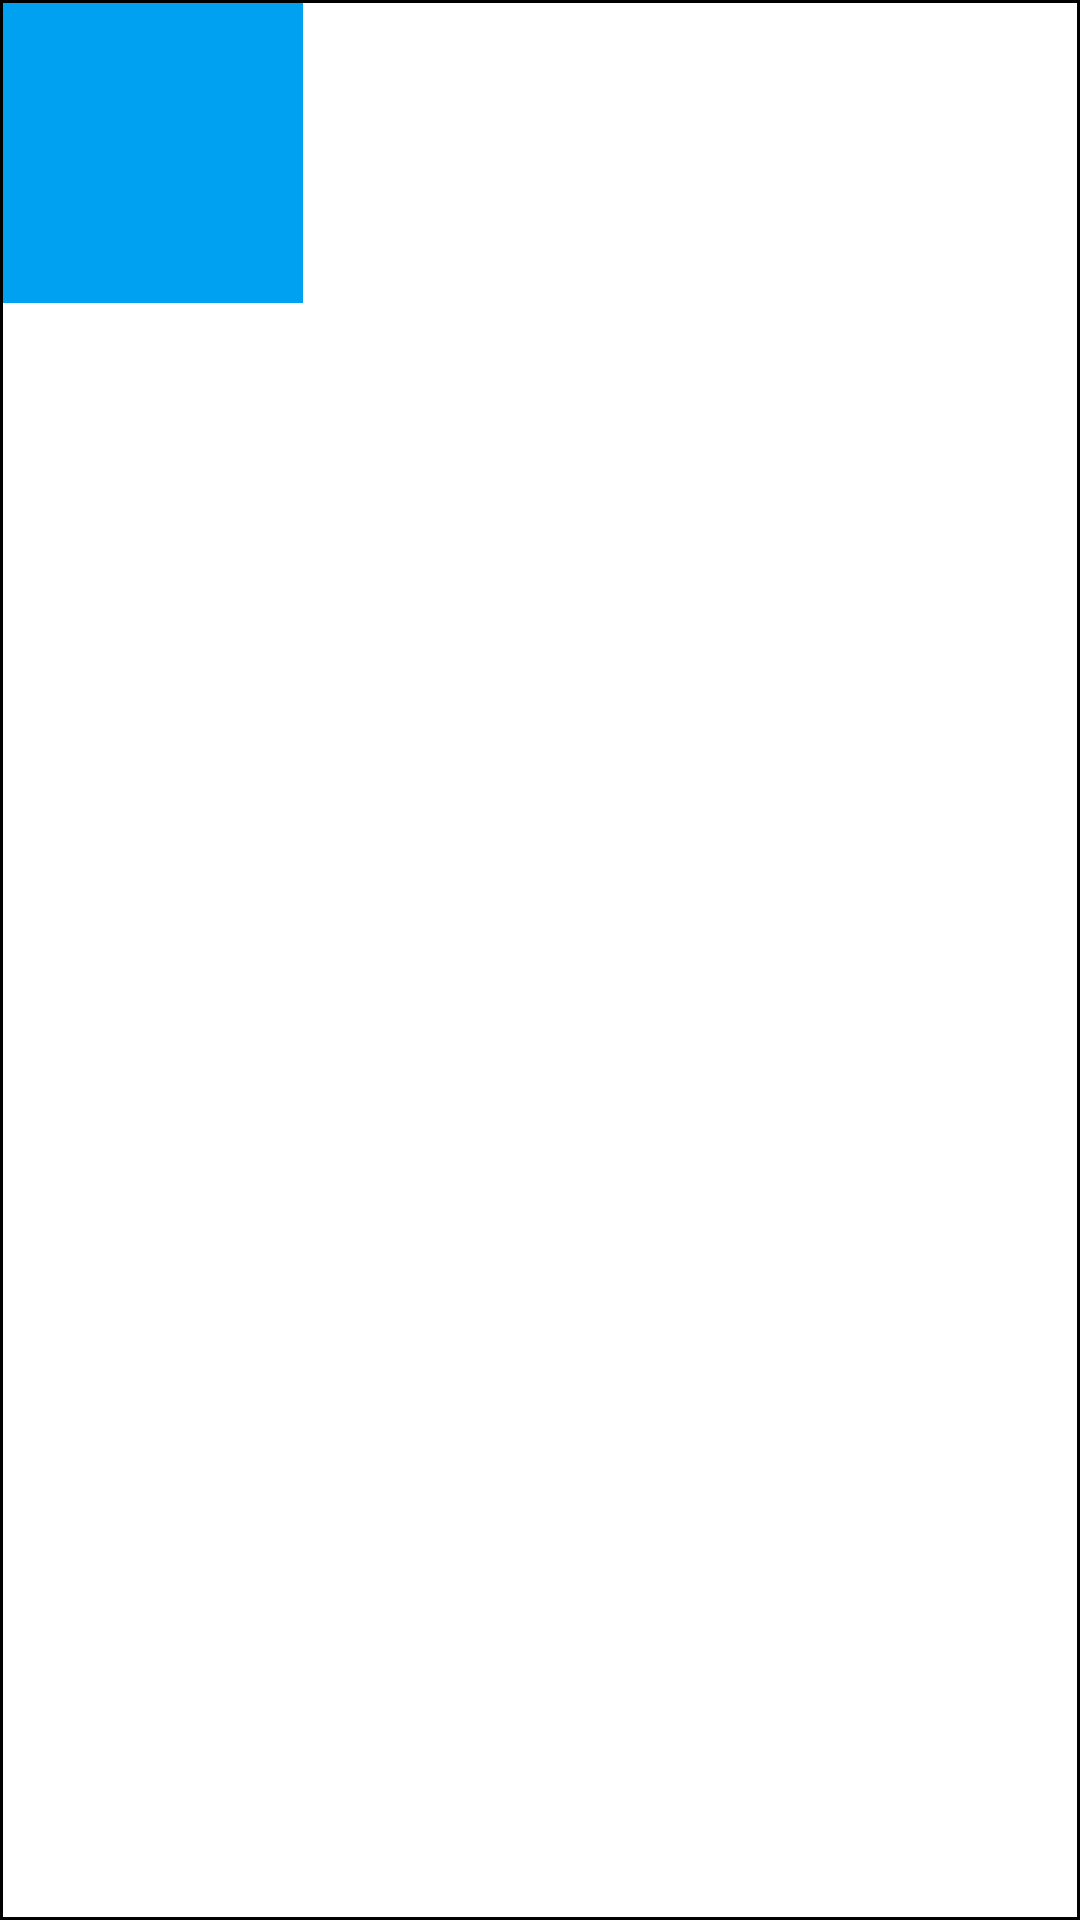
const animatedView = new View({
left: 1,
top: 1,
width: 100,
height: 100,
positionType: FlexLayout.PositionType.ABSOLUTE,
backgroundColor: Color.create("#00A1F1"),
});
onLoad() {
super.onLoad();
this.headerBar.visible = false;
Application.statusBar.visible = false;
flexLayout.borderWidth = 1;
flexLayout.addChild(animatedView);
}
UI.Animator Functions
Let's say we want to expand the button and then shrink it to the initial size.
To do that, we must start with the first step, growing.
onShow() {
  super.onShow();
  // animate is the initial function to start an animation
  // @param layout having the animating object
  // @param duration in milliseconds
  // @param function having the final condition of the objects
  Animator.animate(flexLayout, 1000, function () {
    animatedView.width = 300;
    animatedView.height = 300;
  });
}

Put the animation inside onShow method if you want to animate things right after the page is ready so that we can observe the animation.
Now we add the shrink animation. However, this time we will be using another method to continue our animation.
onShow() {
  super.onShow();
  // then is used to create a sequence of animations
  // @param duration in milliseconds
  // @param function having the final condition of the objects in each then
  Animator.animate(flexLayout, 1000, function () {
    animatedView.width = 300;
    animatedView.height = 300;
  })
    .then(3000, function () {
      animatedView.width = 5;
      animatedView.height = 5;
    })
    .then(1000, function () {
      animatedView.width = 100;
      animatedView.height = 100;
    });
}

Finally, we conclude our animation by giving color to the view object.
onShow() {
  // complete is used to indicate the animation is finished
  Animator.animate(flexLayout, 1000, function () {
    animatedView.width = 300;
    animatedView.height = 300;
  })
    .then(3000, function () {
      animatedView.width = 5;
      animatedView.height = 5;
    })
    .then(1000, function () {
      animatedView.width = 100;
      animatedView.height = 100;
    })
    .complete(function () {
      animatedView.backgroundColor = Color.GREEN;
    });
}

Complete does not perform any animations but indicates that the all animation sequences are finished.
- Page Code
- Page UI
import Page1Design from "generated/pages/page1";
import Animator from "@smartface/native/ui/animator";
import Application from "@smartface/native/application";

export default class Page extends Page1Design {
  constructor(private router?: Router, private route?: Route) {
    super({});
  }
  animate() {
    Animator.animate(this.layout, 1000, () => {
      this.animatedView.dispatch({
        type: "updateUserStyle",
        userStyle: {
          width: 300,
          height: 300,
        },
      });
    })
      .then(3000, () => {
        this.animatedView.dispatch({
          type: "updateUserStyle",
          userStyle: {
            width: 5,
            height: 5,
          },
        });
      })
      .then(1000, () => {
        this.animatedView.dispatch({
          type: "updateUserStyle",
          userStyle: {
            width: 100,
            height: 100,
          },
        });
      })
      .complete(() => {
        this.animatedView.dispatch({
          type: "updateUserStyle",
          userStyle: {
            backgroundColor: "#00FF00",
          },
        });
      });
  }

  onShow() {
    super.onShow();
    this.animate();
  }

  onLoad() {
    super.onLoad();
    this.headerBar.visible = false;
    Application.statusBar.visible = false;
    this.dispatch({
      type: "updateUserStyle",
      userStyle: {
        borderWidth: 1,
      },
    });
  }
}
{
    "components": [
        {
            "className": ".sf-page",
            "id": "7761adc8",
            "initialized": true,
            "props": {
                "children": [
                    "a829471c",
                    "35f1c1a1",
                    "a561-cb4d-66a5-719e"
                ],
                "isRemovable": true,
                "name": "page1",
                "orientation": "PORTRAIT",
                "parent": null,
                "safeAreaEnabled": true
            },
            "type": "Page",
            "userProps": {
                "flexProps": {
                    "justifyContent": "SPACE_AROUND"
                },
                "orientation": "PORTRAIT",
                "paddingBottom": 20,
                "paddingLeft": 16,
                "paddingRight": 16,
                "safeAreaEnabled": true
            },
            "version": "6.15.1"
        },
        {
            "className": ".sf-statusBar",
            "id": "a829471c",
            "props": {
                "children": [],
                "isRemovable": false,
                "name": "statusBar",
                "parent": "7761adc8"
            },
            "type": "StatusBar",
            "userProps": {
                "visible": true
            }
        },
        {
            "className": ".sf-headerBar",
            "id": "35f1c1a1",
            "props": {
                "children": [],
                "isRemovable": false,
                "name": "headerBar",
                "parent": "7761adc8",
                "title": "page1"
            },
            "type": "HeaderBar",
            "userProps": {
                "title": "page1",
                "visible": true
            }
        },
        {
            "className": ".sf-view",
            "id": "a561-cb4d-66a5-719e",
            "props": {
                "children": [],
                "name": "animatedView",
                "parent": "7761adc8",
                "usePageVariable": true
            },
            "type": "View",
            "userProps": {
                "backgroundColor": "rgba( 0, 161, 241, 1 )",
                "flexProps": {
                    "positionType": "ABSOLUTE"
                },
                "height": 100,
                "left": 1,
                "testId": "IvejM-61a",
                "top": 1,
                "usePageVariable": true,
                "width": 100
            }
        }
    ]
}
Please refer this document for UI Editor and dispatch:
Using Style and Classes