Test Drive
You can use Smartface on-device Android and iOS emulators to run your code instantly and seamlessly on a real device.
Install Smartface On-Device Emulator
Downloading the Smartface On-Device Emulator for iOS and Android
If you haven't installed the Smartface On-Device Emulator, get it from the internal Enterprise App Store from your phone. Please contact with the support to retrieve the credentials.

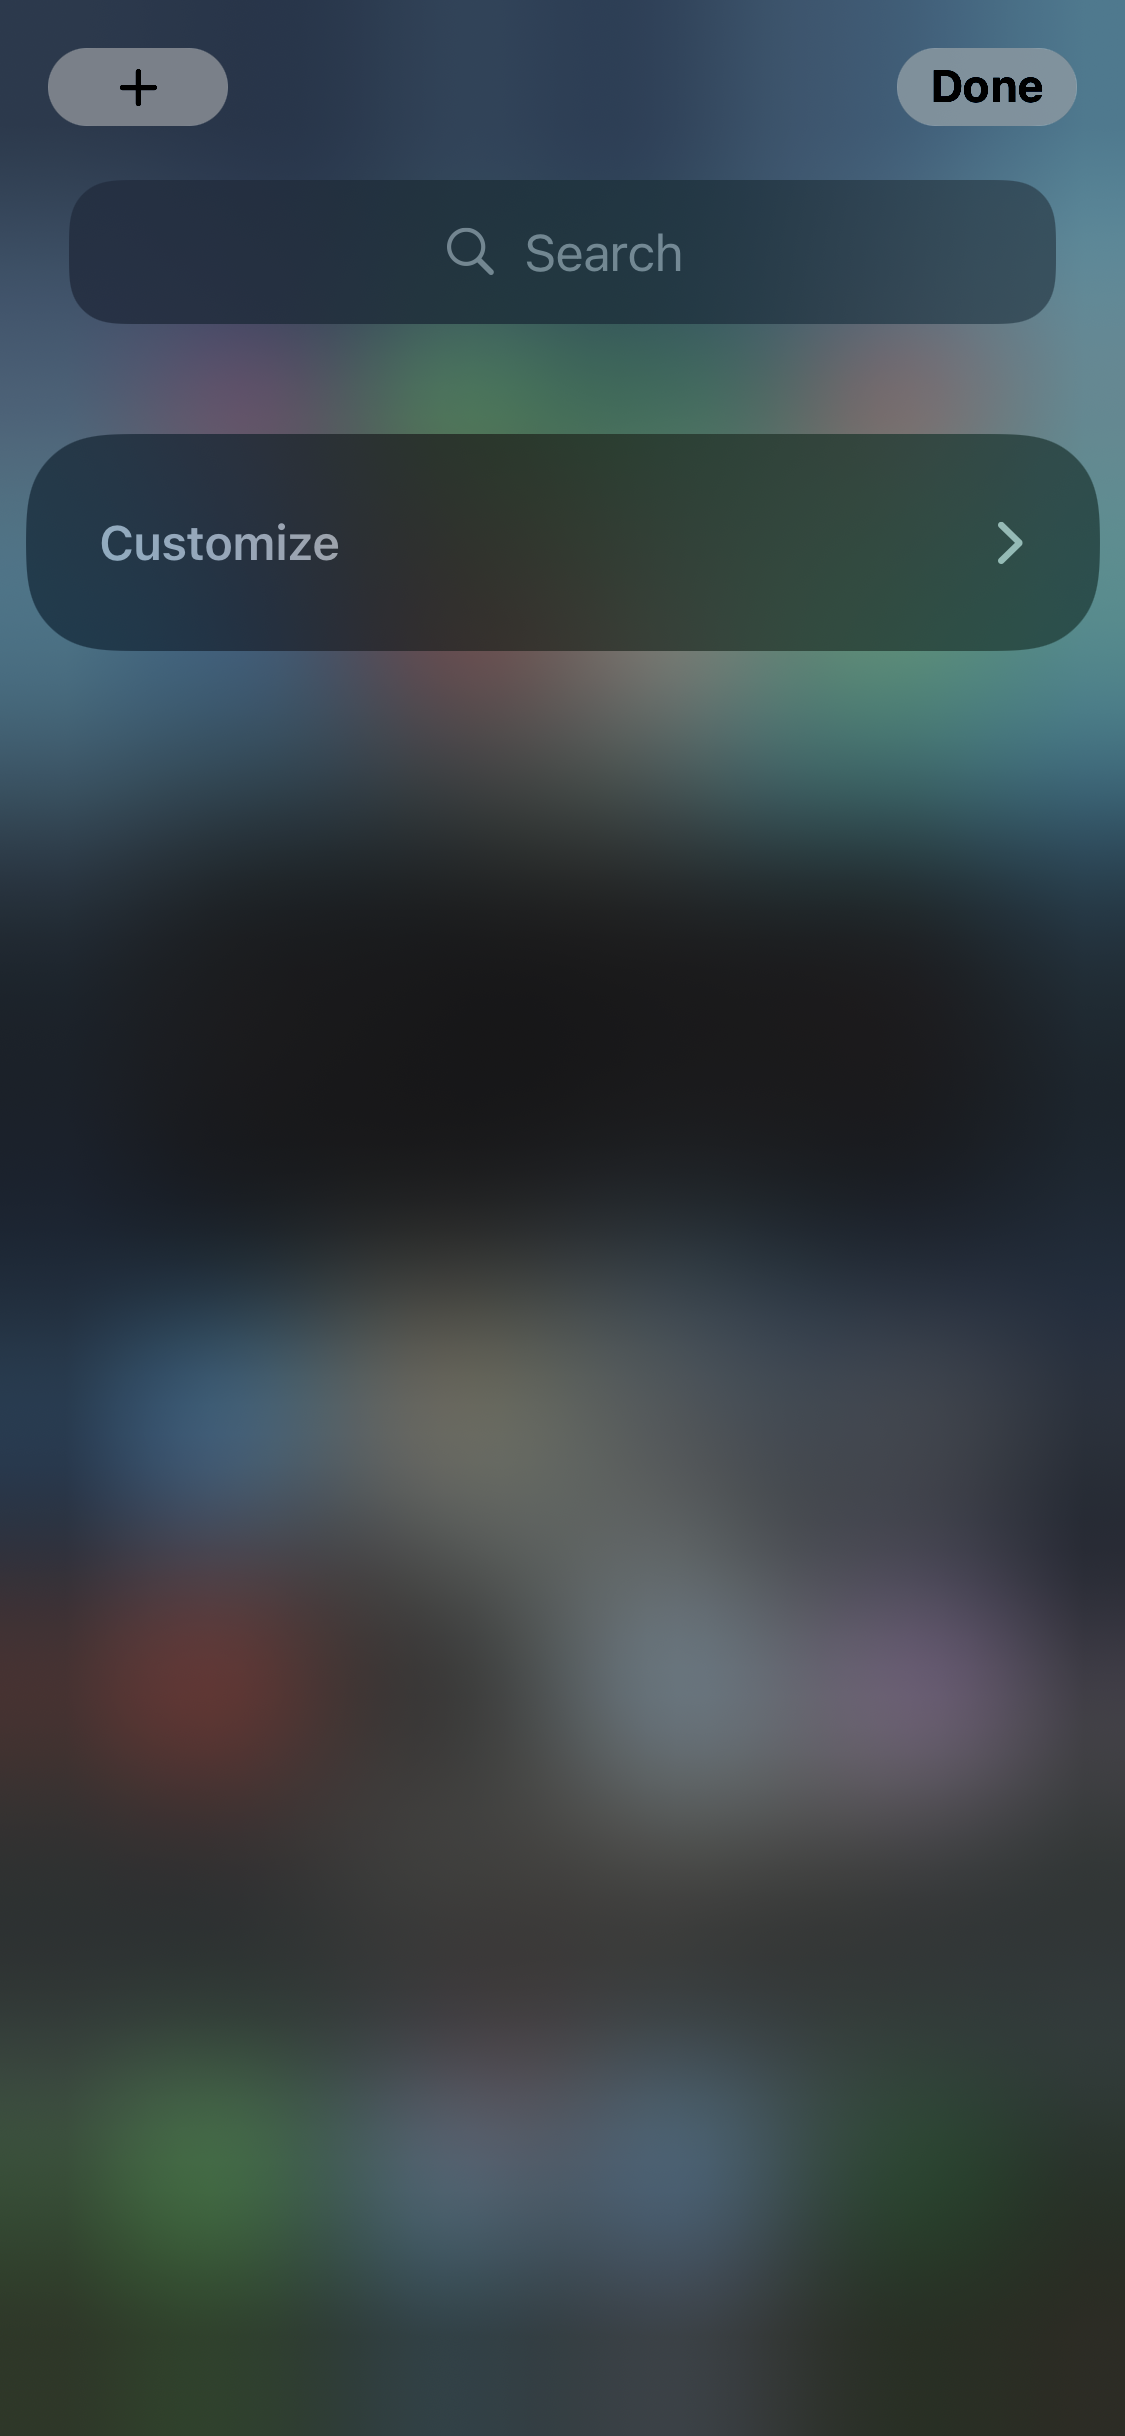
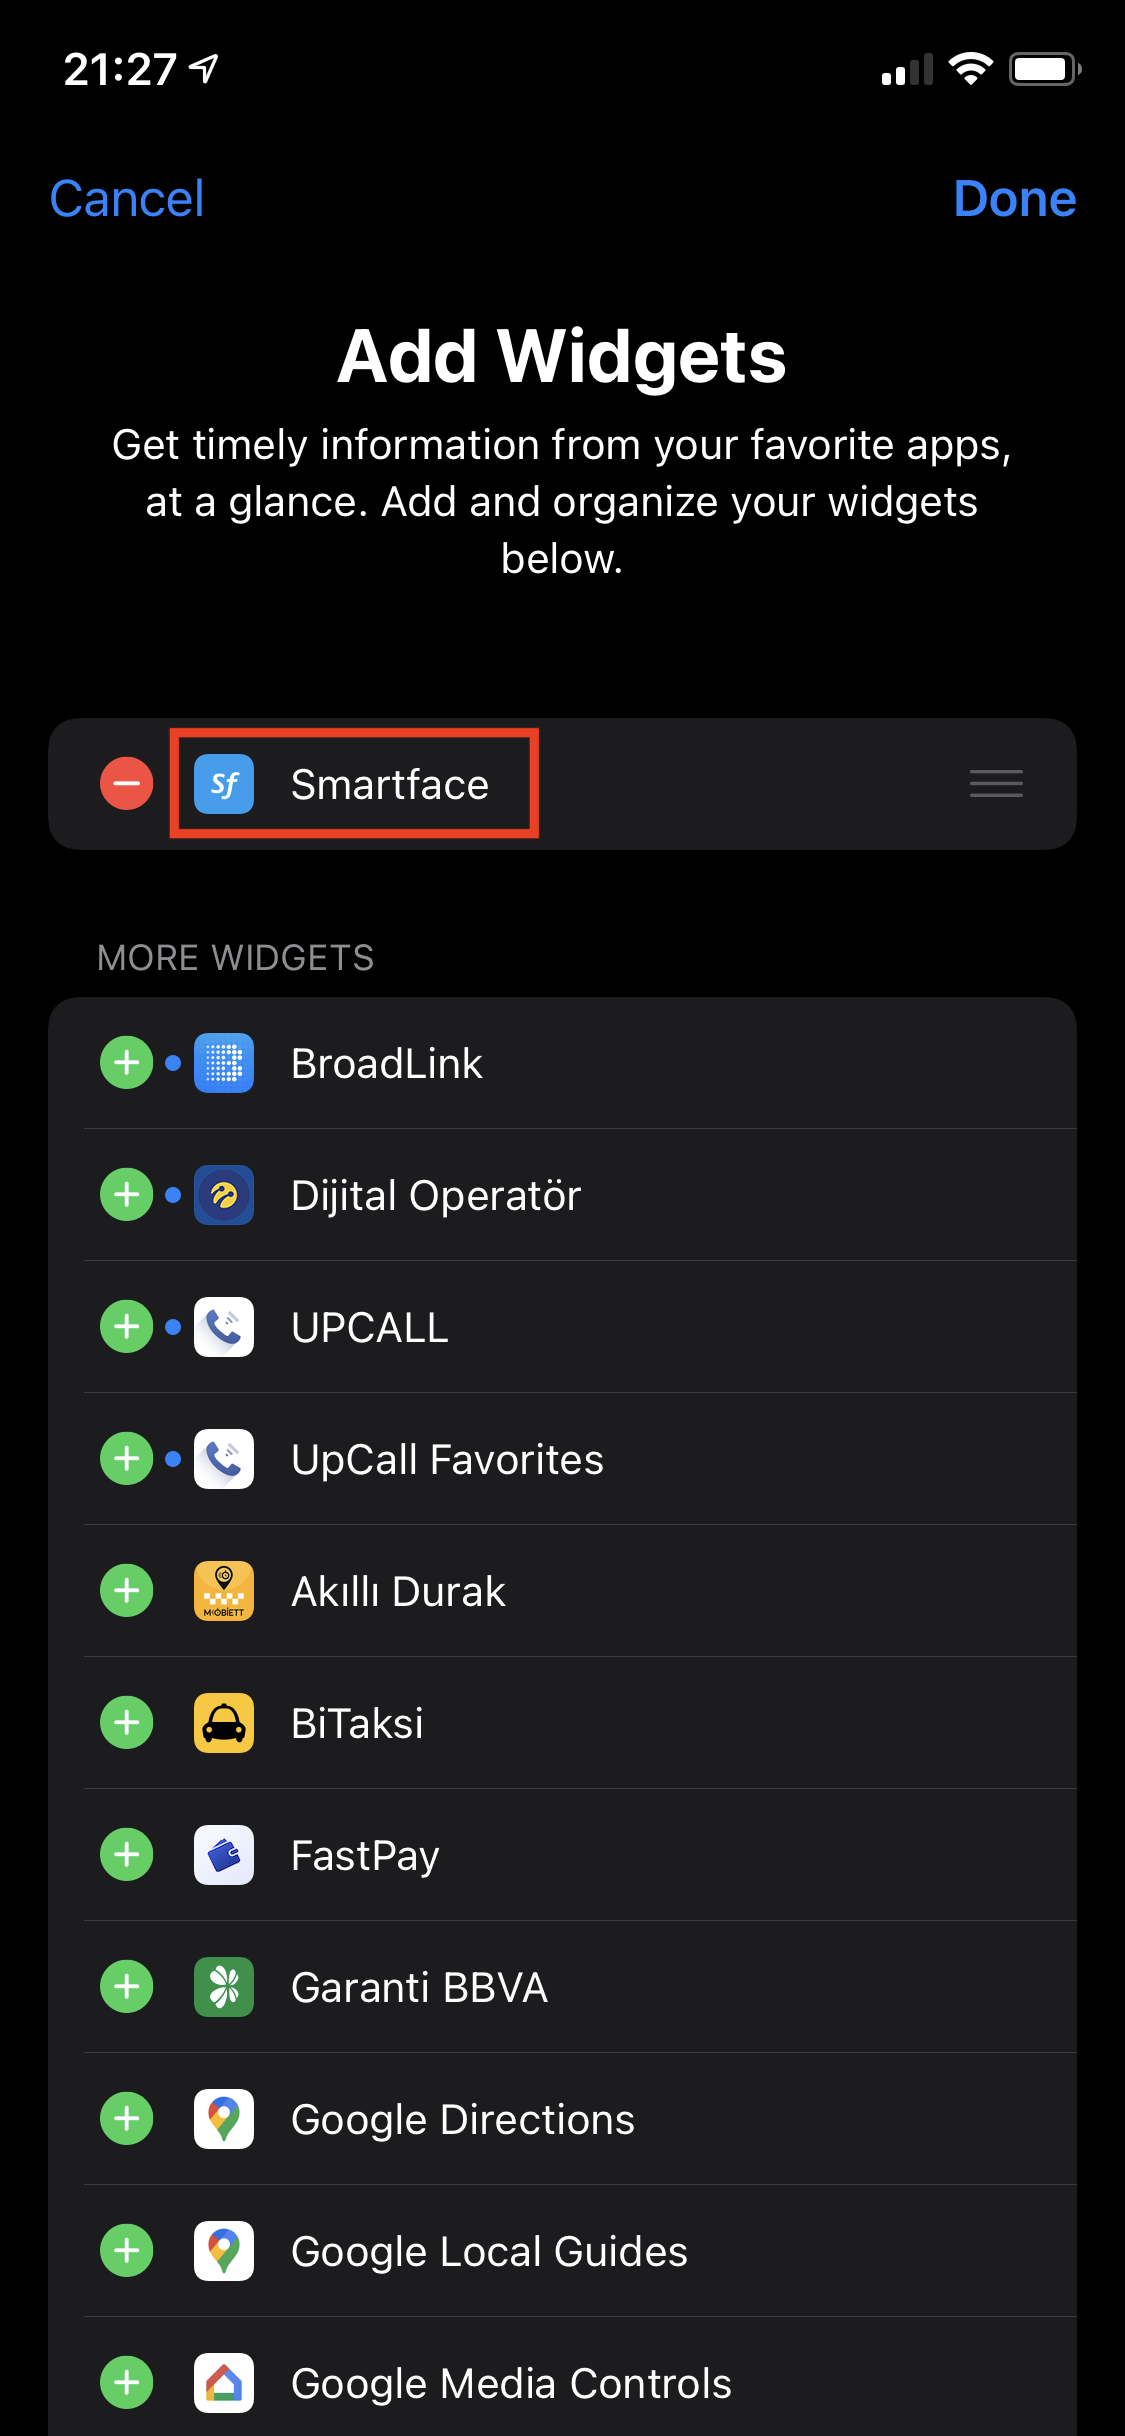
Activating the Smartface iOS Widget
You can activate the Smartface Widget on iOS by following steps below;
Note: Once you activated the widget, you won't have to activate it again even you if reinstall the Smartface On-Device Emulator.
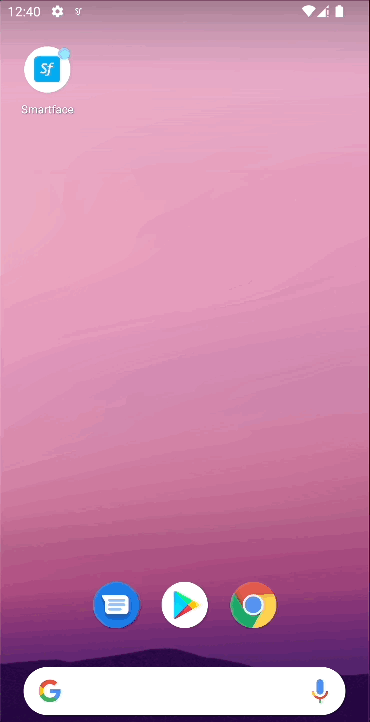
Activating the Smartface Android Widget
You can activate the Smartface Widget on Android by following steps below;
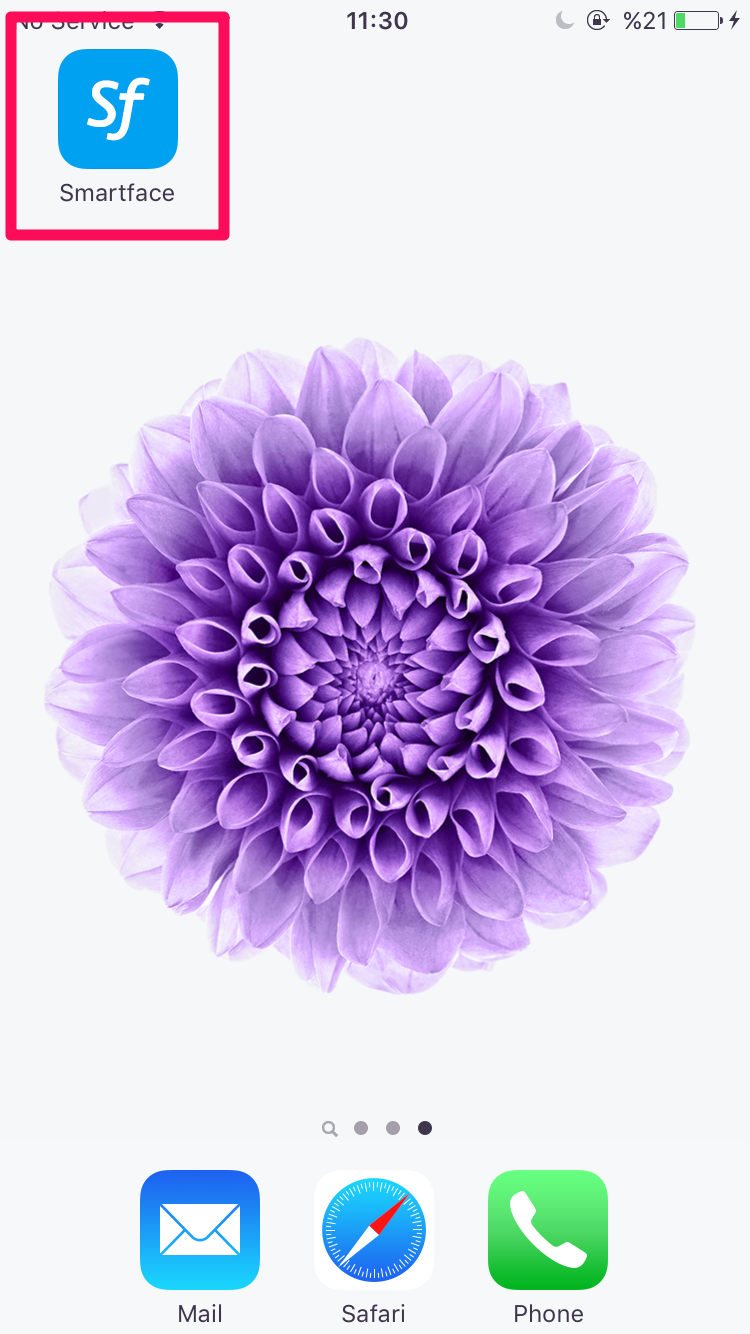
Locating the On-Device Emulator on iOS and Android
When you install the on-device emulator, it will appear in the application menu of your device.

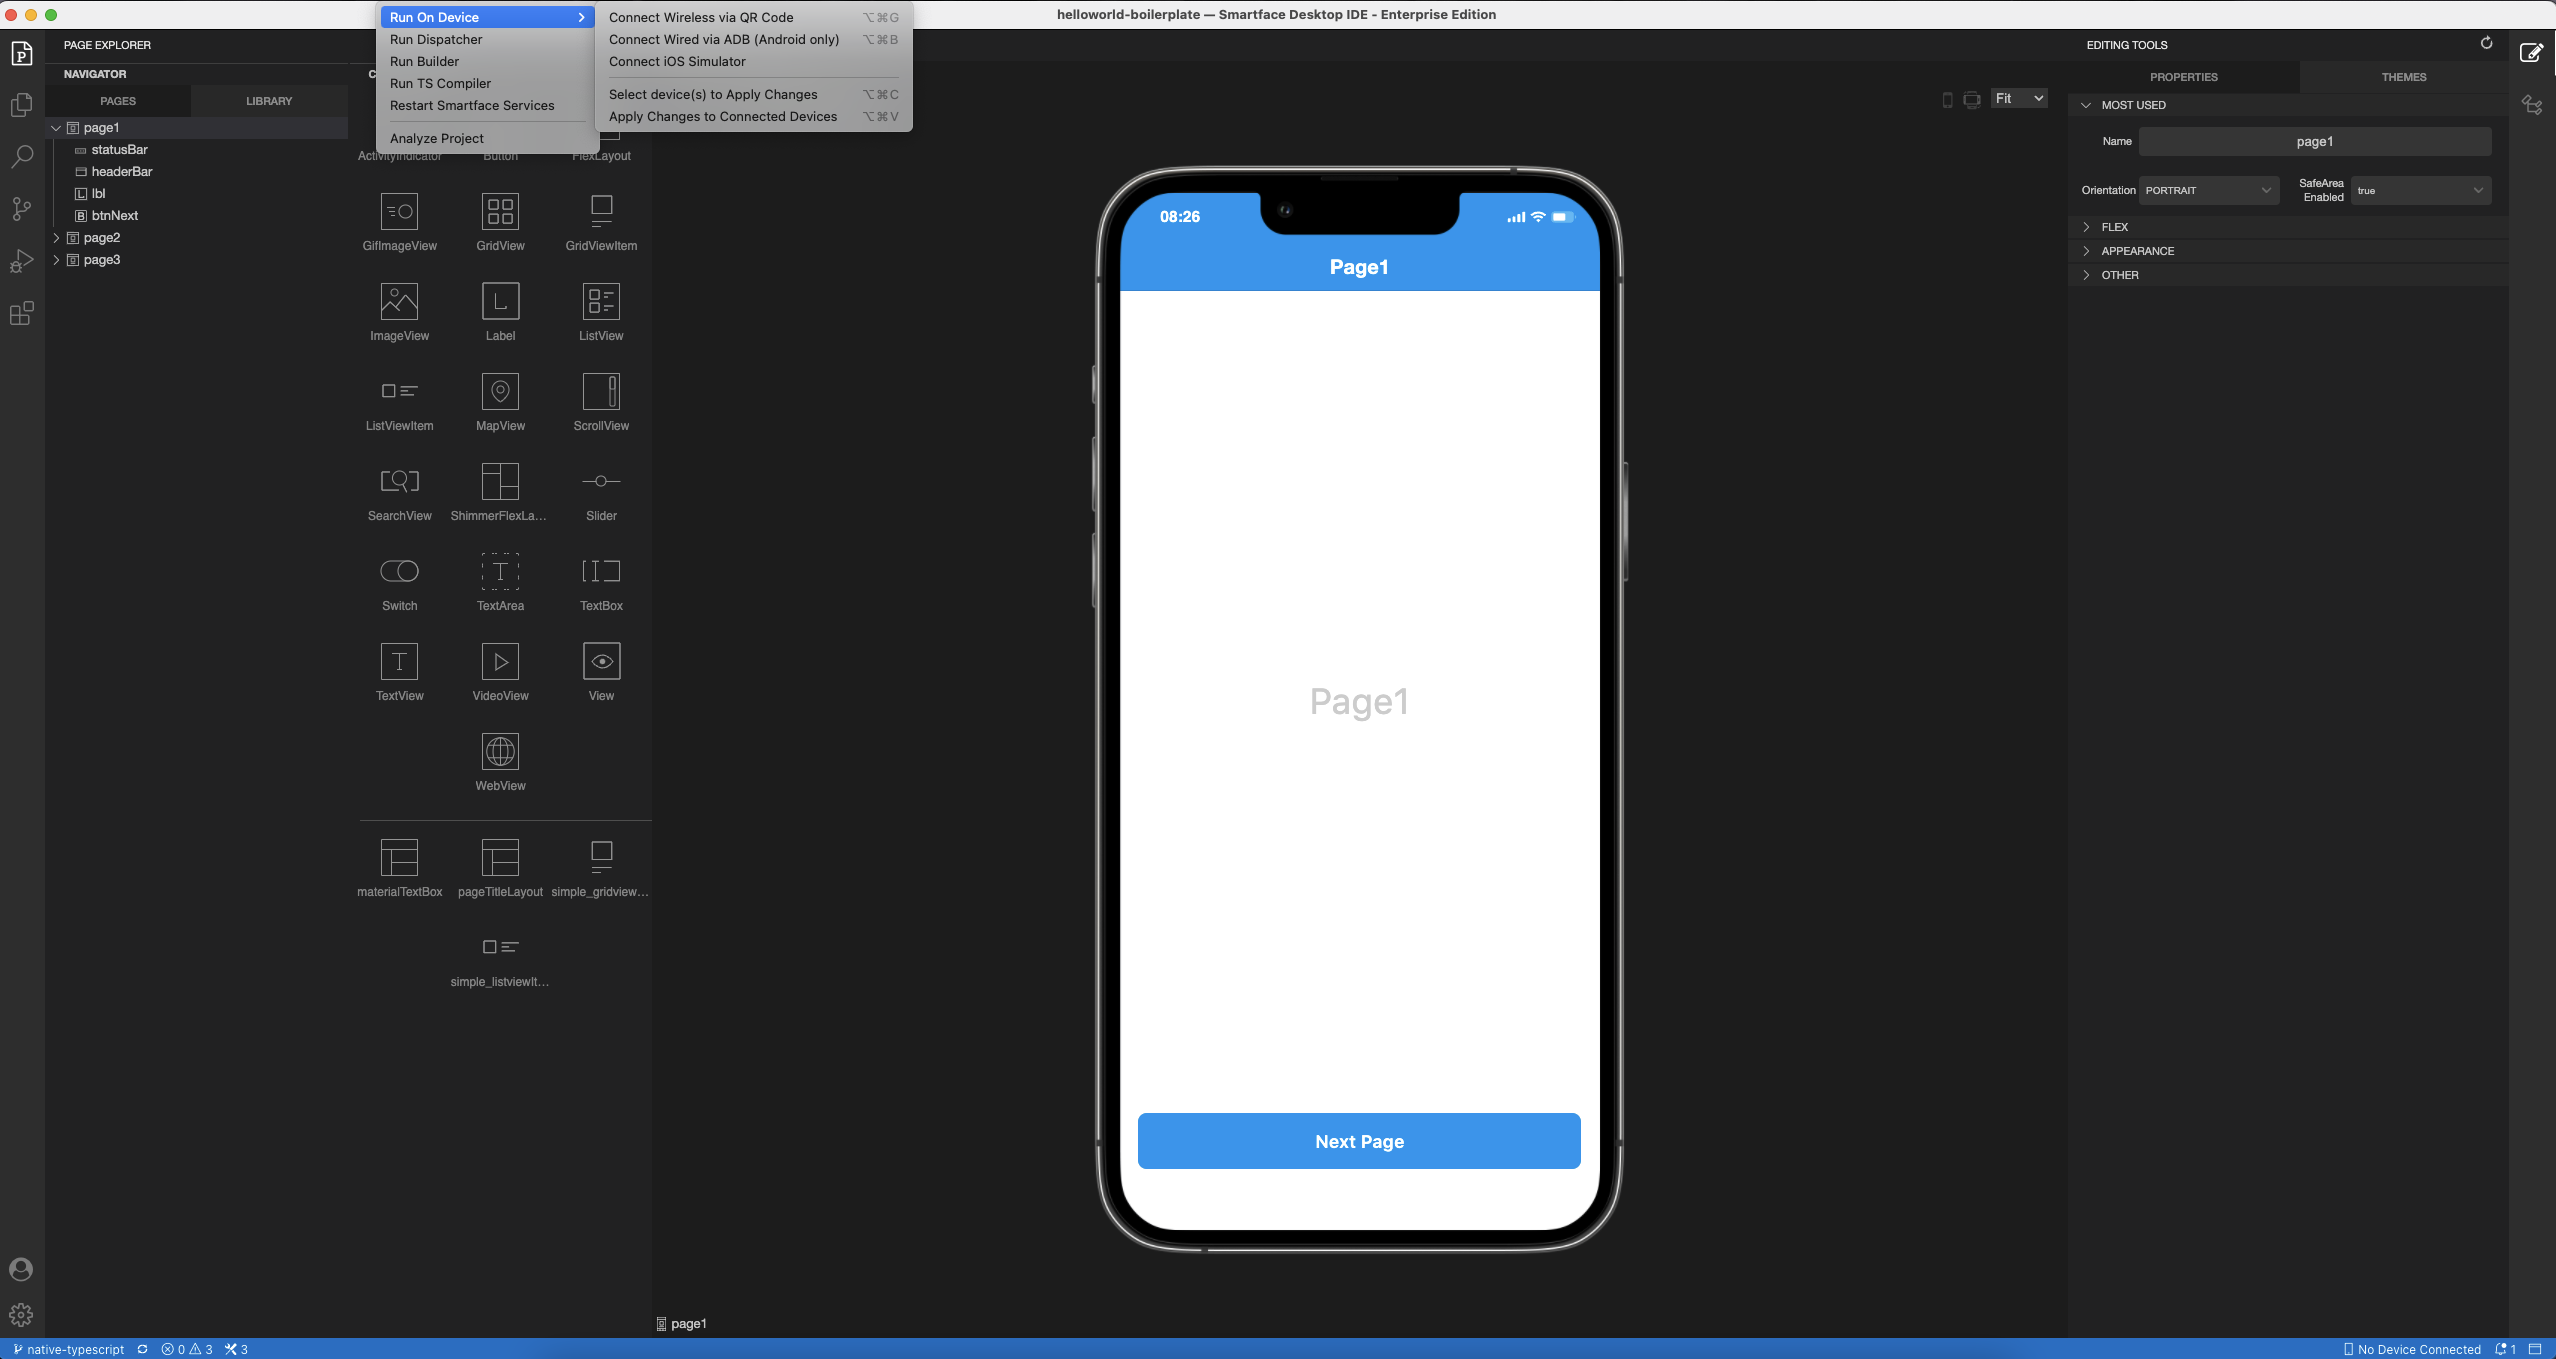
Run on Device (On-Device Android and iOS Emulator)
Smartface on-device emulator allows you to run your app instantly on any device (Android phone, Android tablet, iPhone, iPad, iPod, etc.). You can test your native iOS and Android apps regardless of which OS you use for development. You can use the on-device iOS emulator without a Mac or Xcode and you can use the on-device Android emulator without Android Studio or any other Android development environment installed on your PC / Mac.
Run on Device allows you to test your application on physical (real) devices. You can use on-device Android and iOS Emulators.
To deploy your app to your device there are two different ways you can take.
Some native features might require specific permissions and published app to work on Smartface due to Smartface Android Emulator itself not having necessary permissions.
List of permissions disabled by the emulator:
android.permission.READ_SMS
android.permission.SEND_SMS
android.permission.RECEIVE_SMS
android.permission.RECEIVE_MMS
android.permission.RECEIVE_WAP_PUSH
android.permission.WRITE_CALL_LOG
android.permission.READ_CALL_LOG
android.permission.PROCESS_OUTGOING_CALLS
android.permission.ACCESS_BACKGROUND_LOCATION
You can add this permission to your AndroidManifest.xml file to enable the feature on your published app.
Run Your App on Device via Wireless Connection
To connect your on-device emulator with Smartface IDE via a wireless connection, your computer and mobile device need to be connected to the same local network.
Then to test your application press on the Connect Wireless via QR Code button under the Run > Run on Device menu.
It will generate a unique QR Code for your workspace to be able to emulate your project.
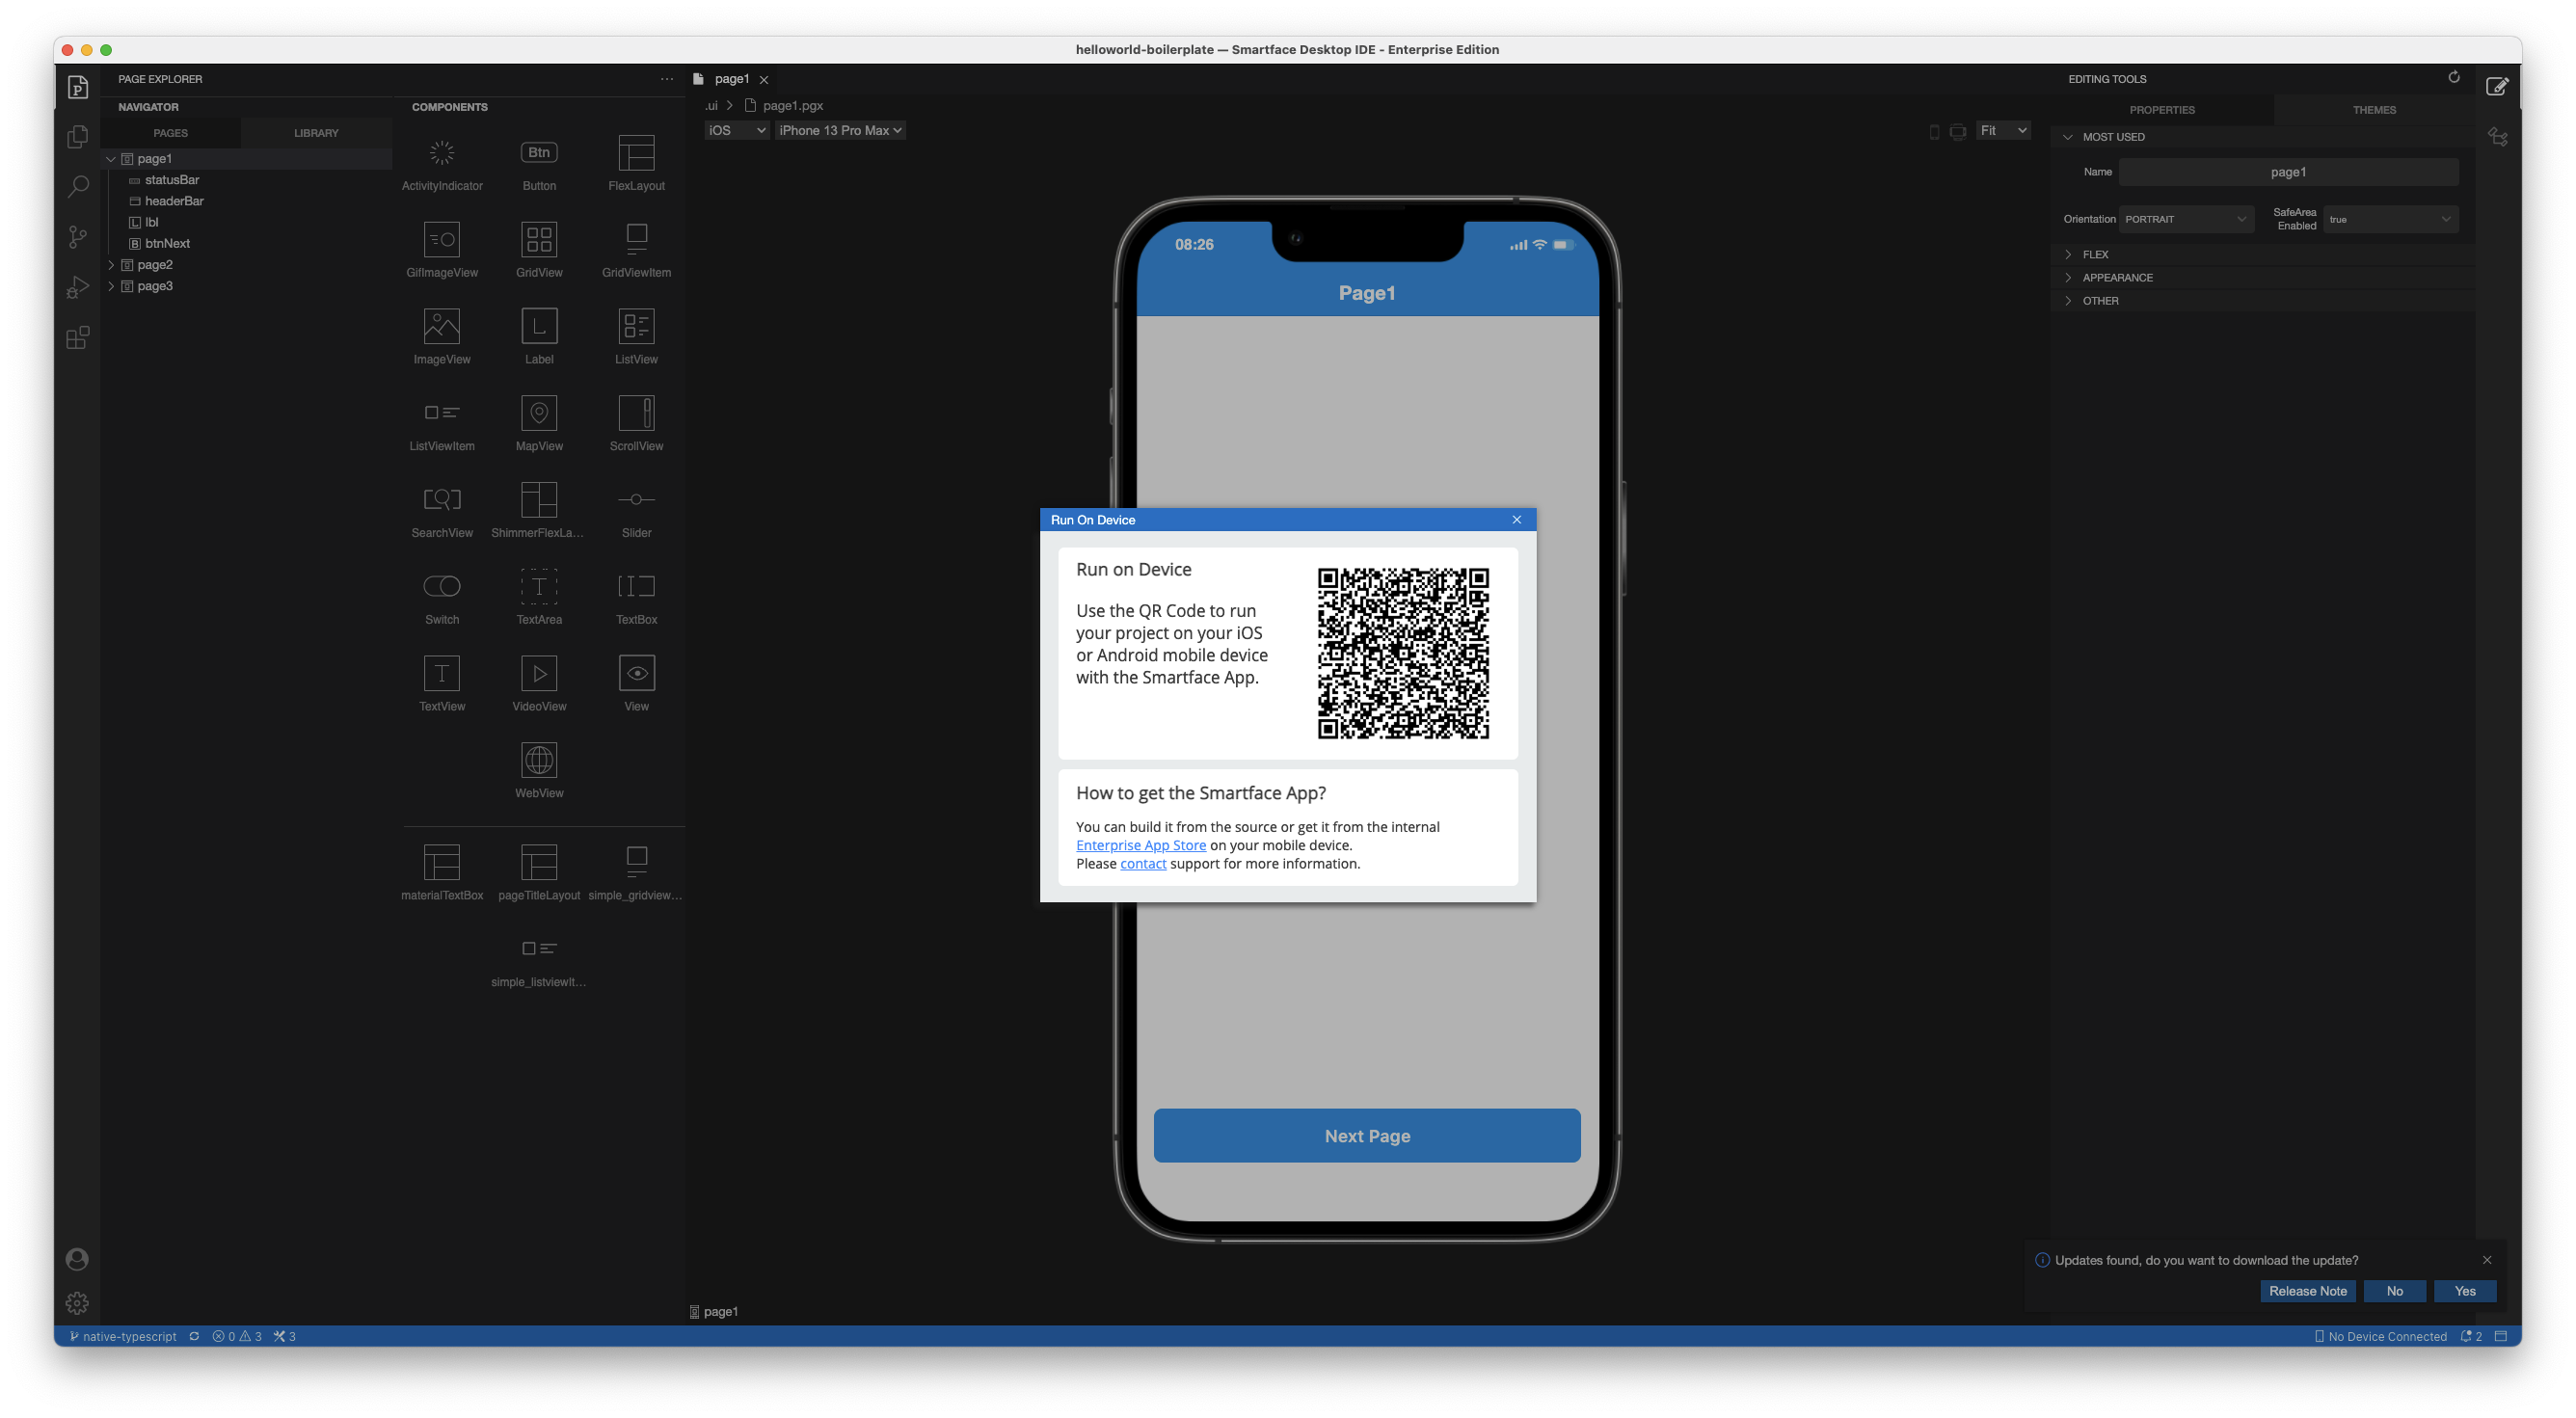
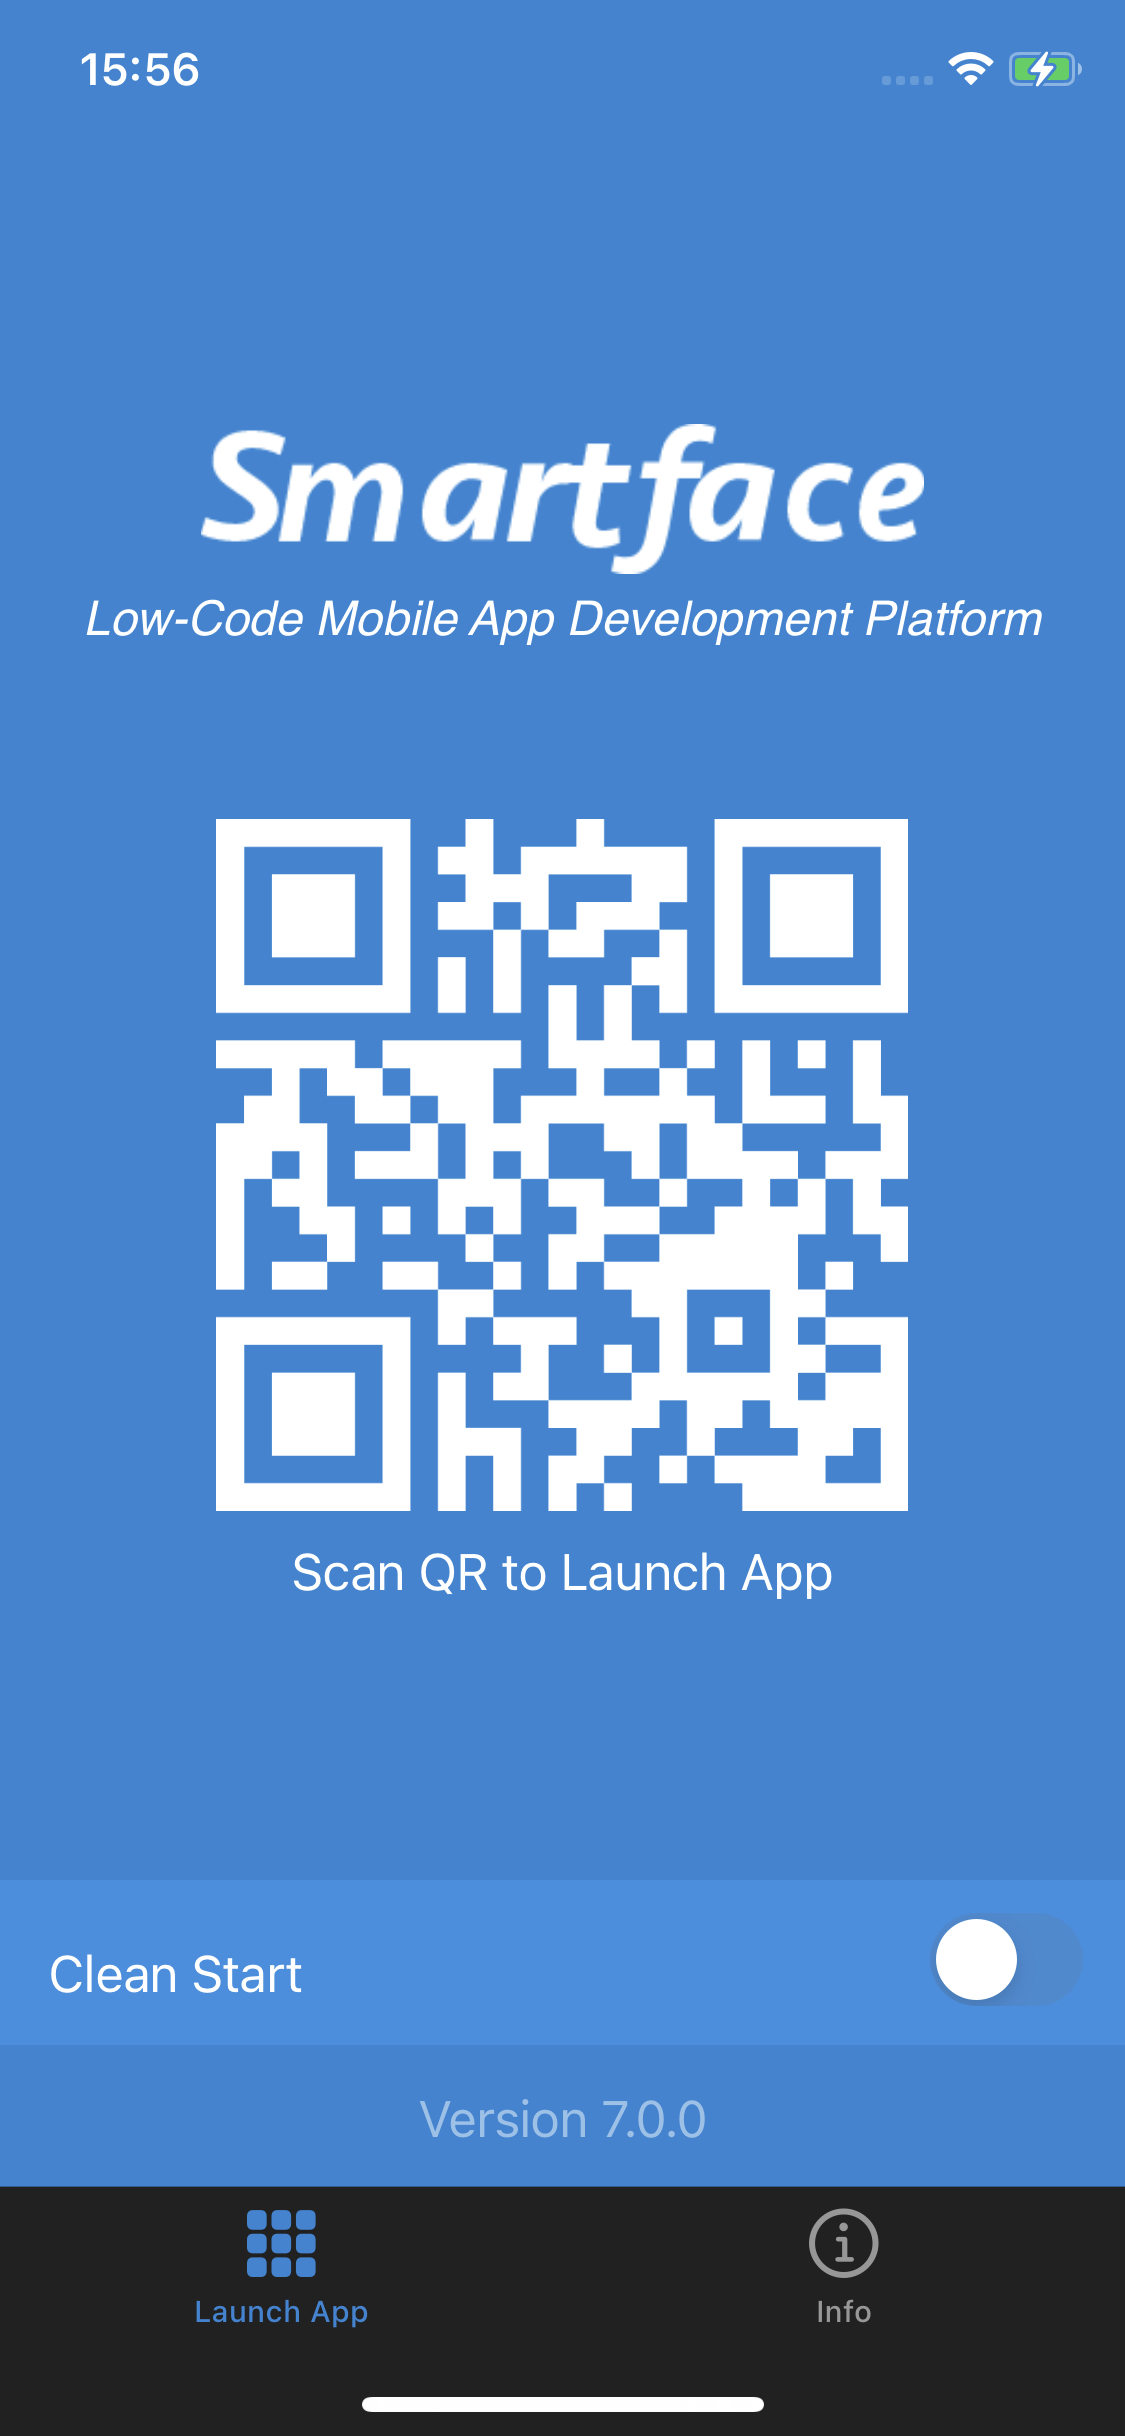
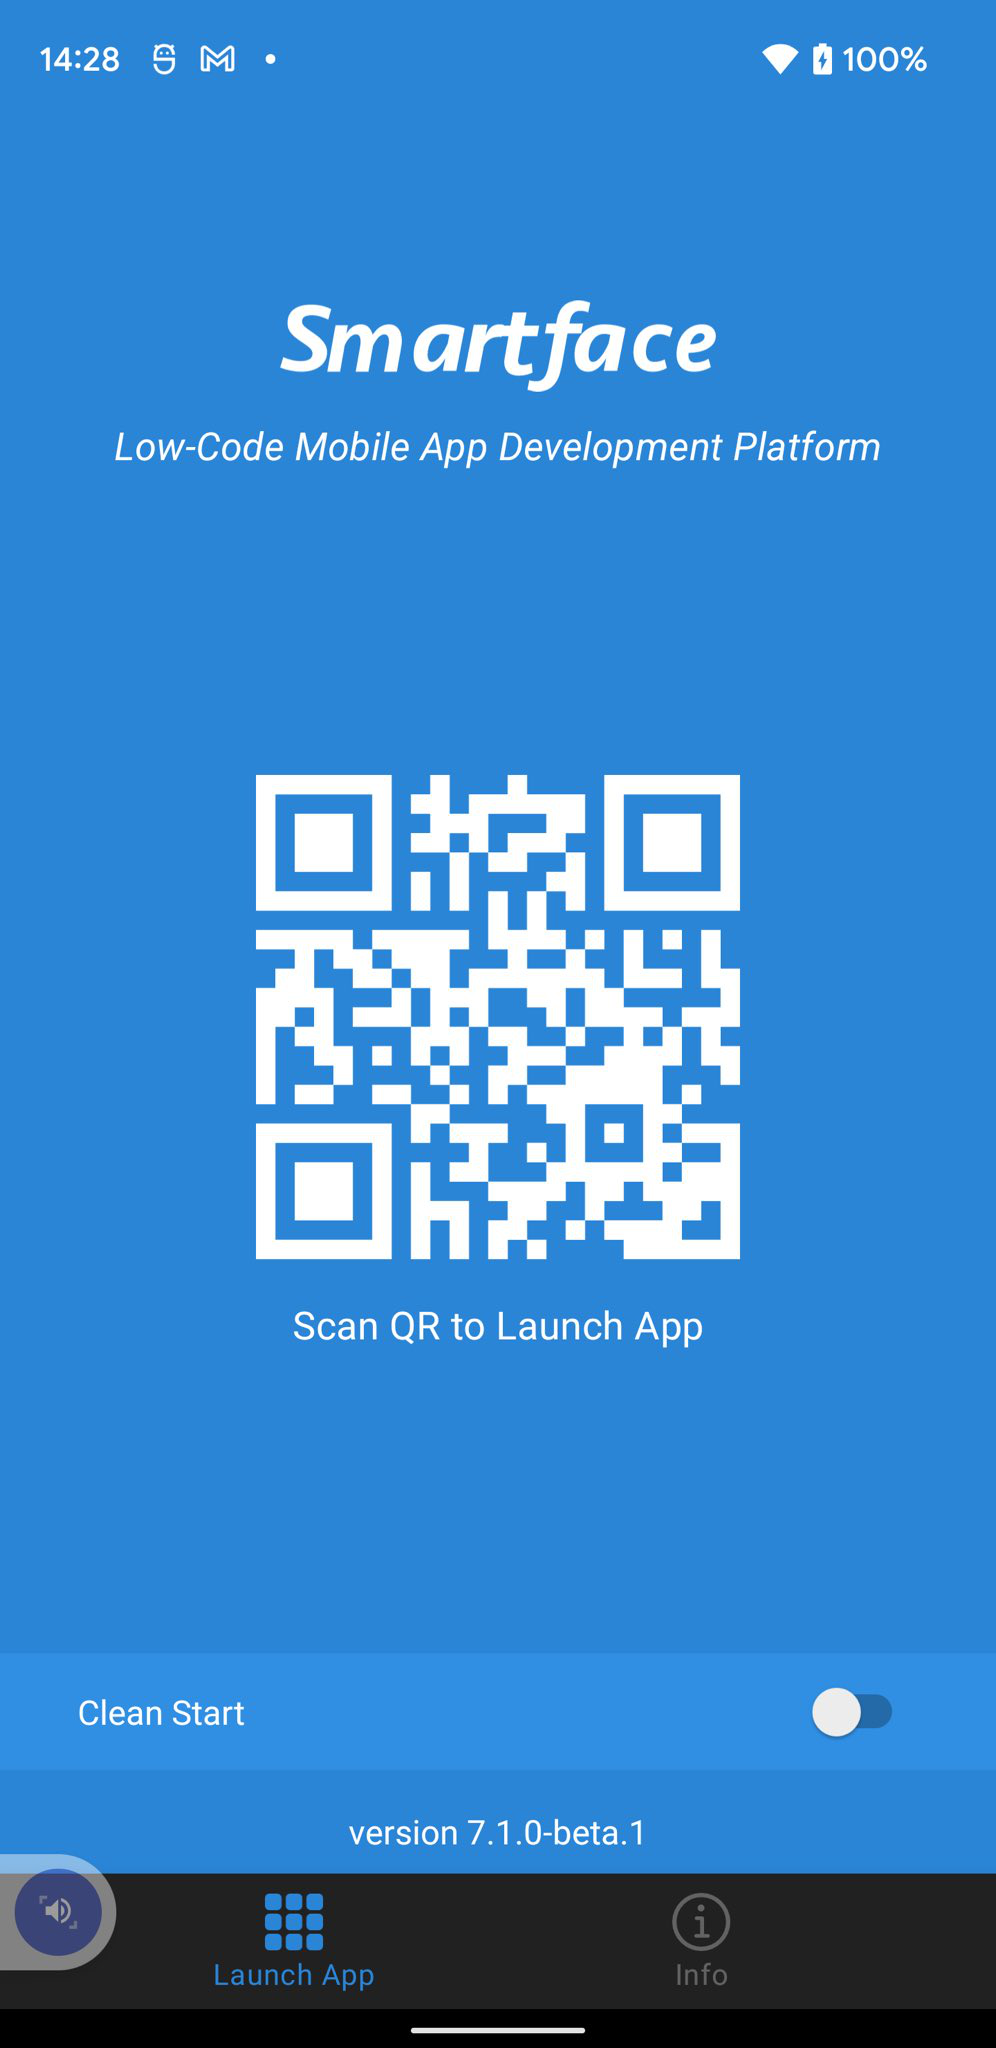
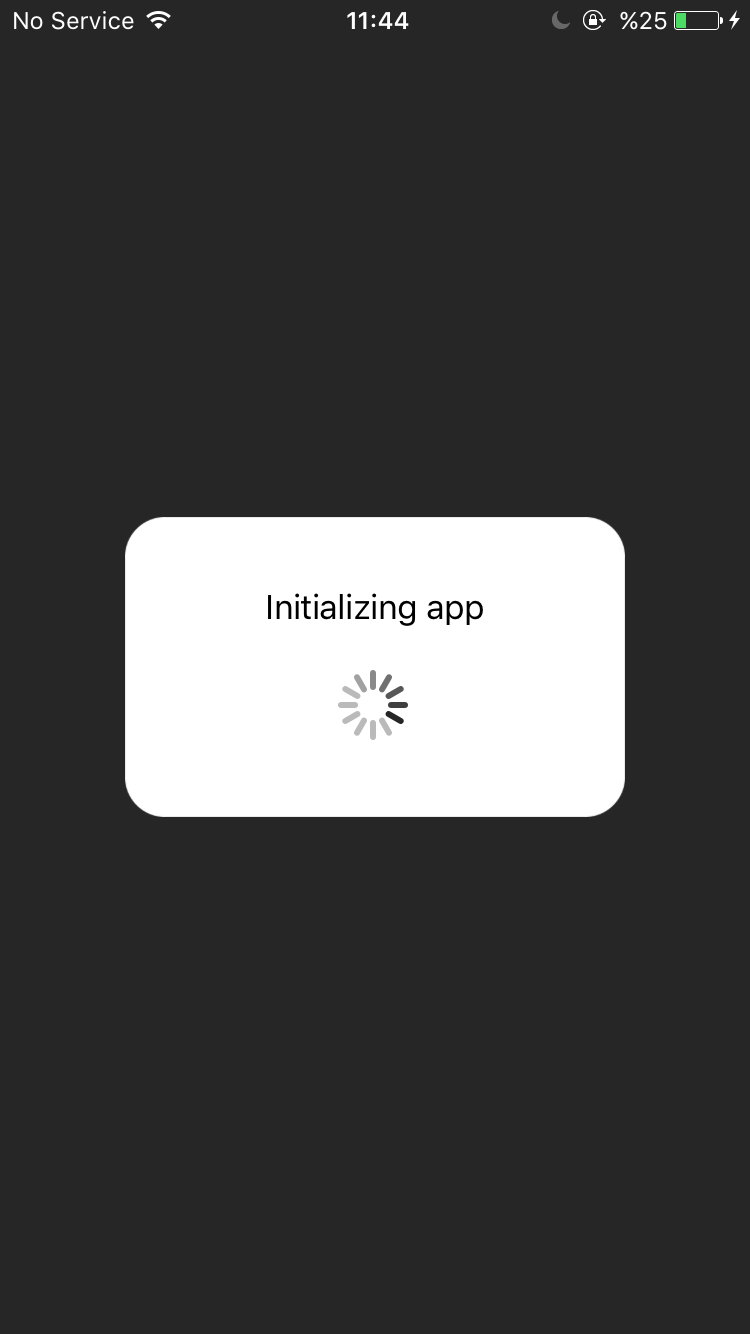
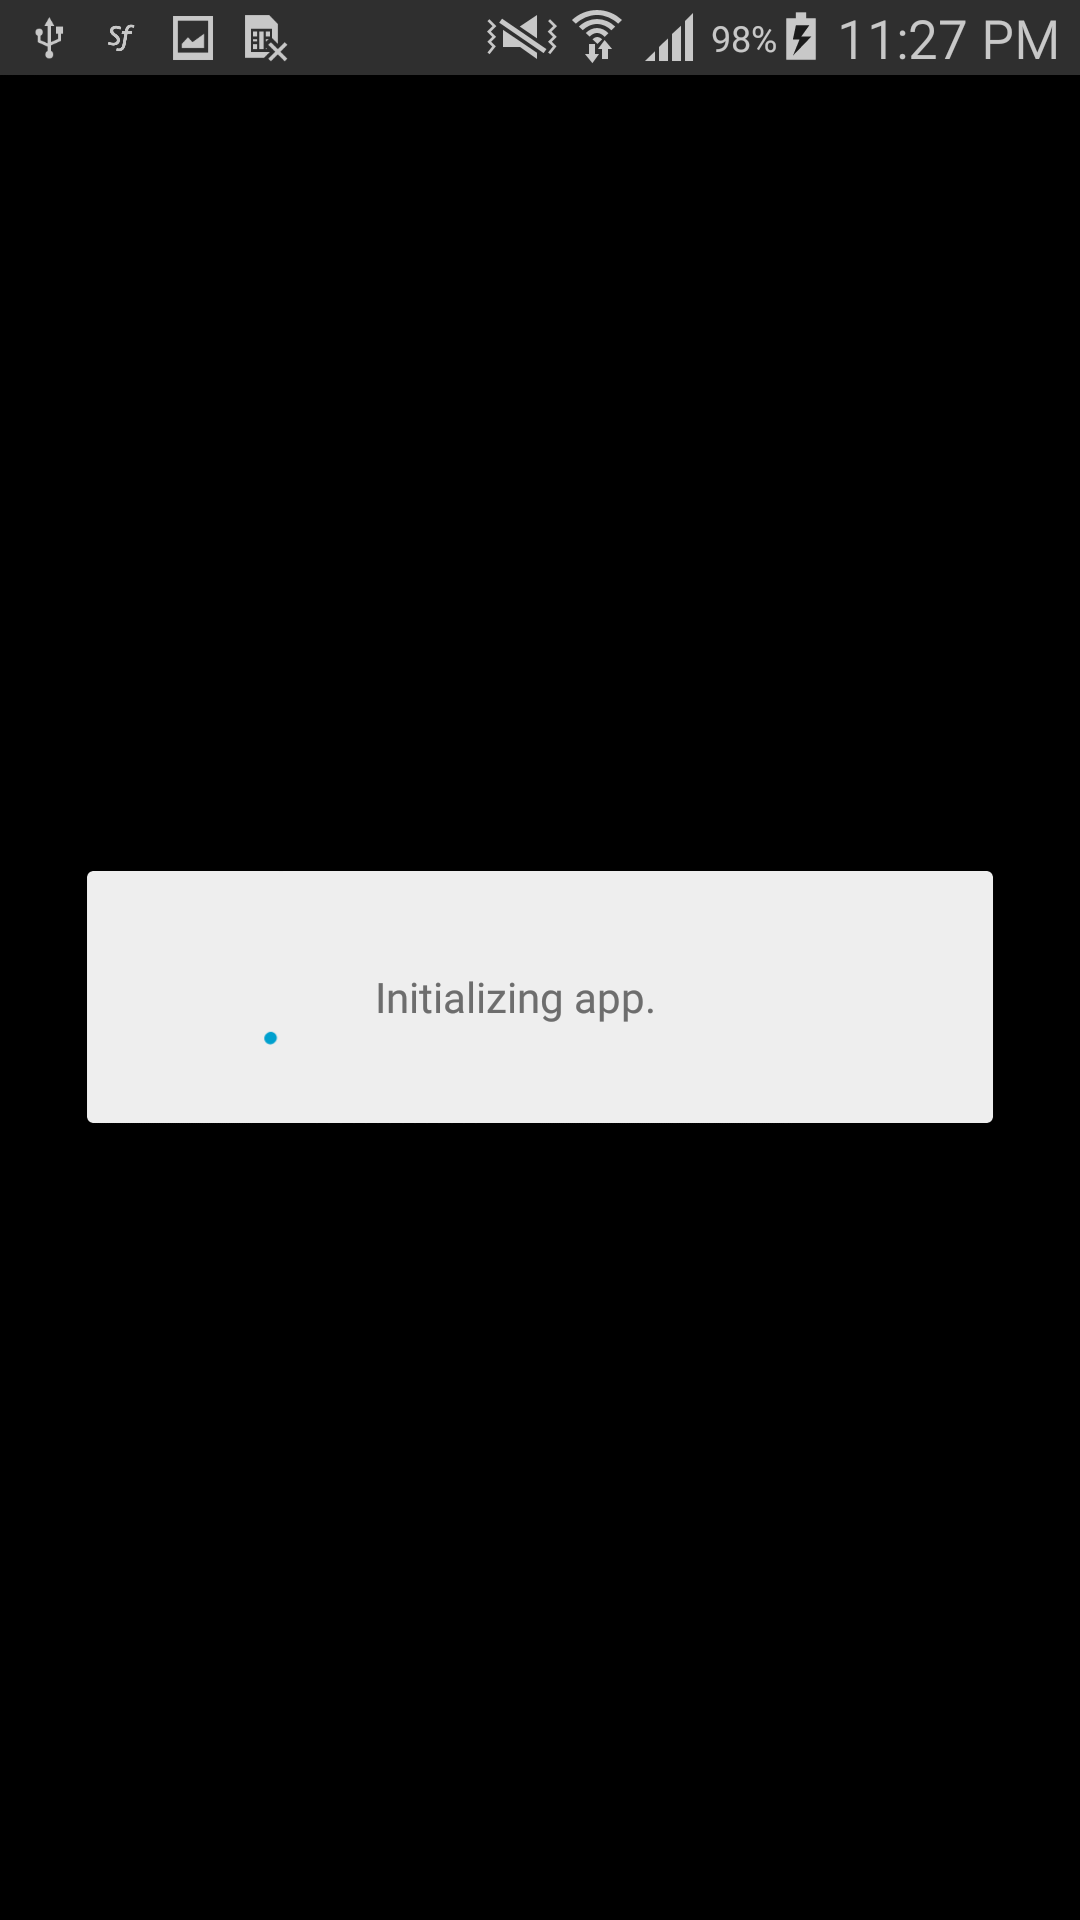
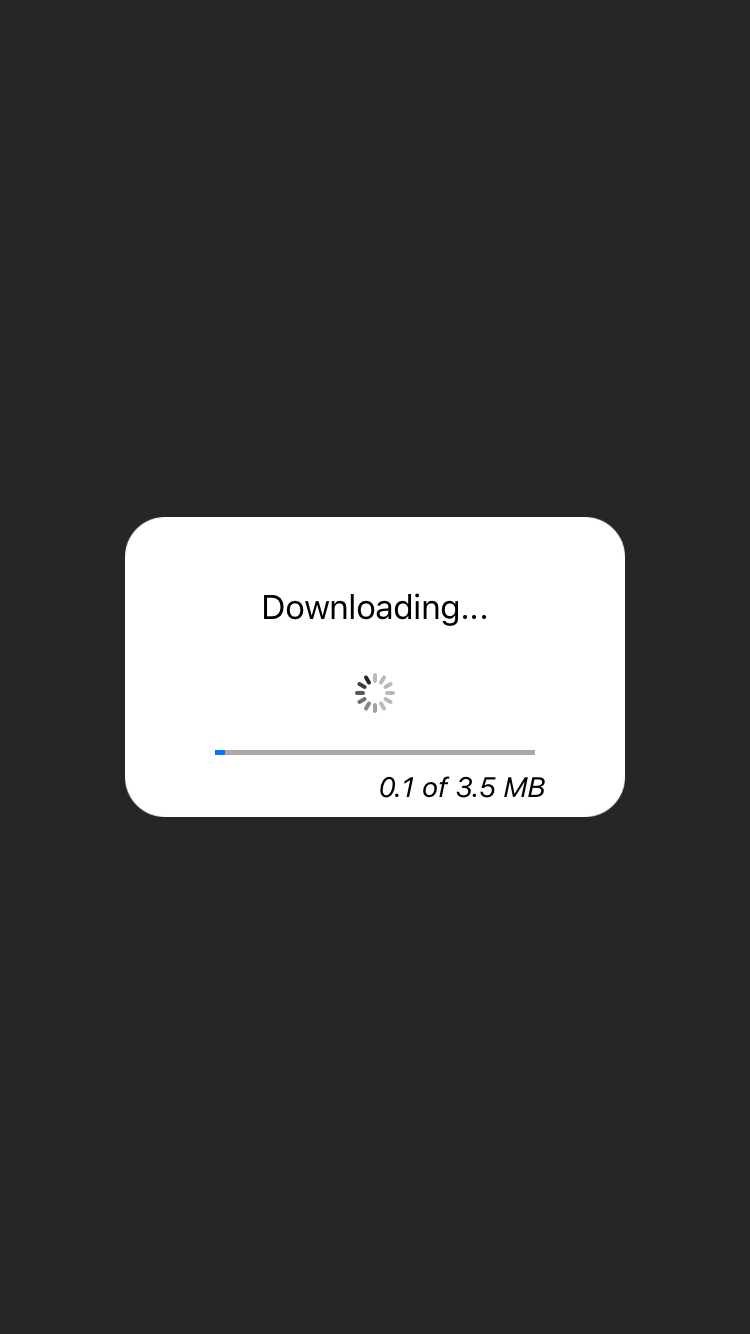
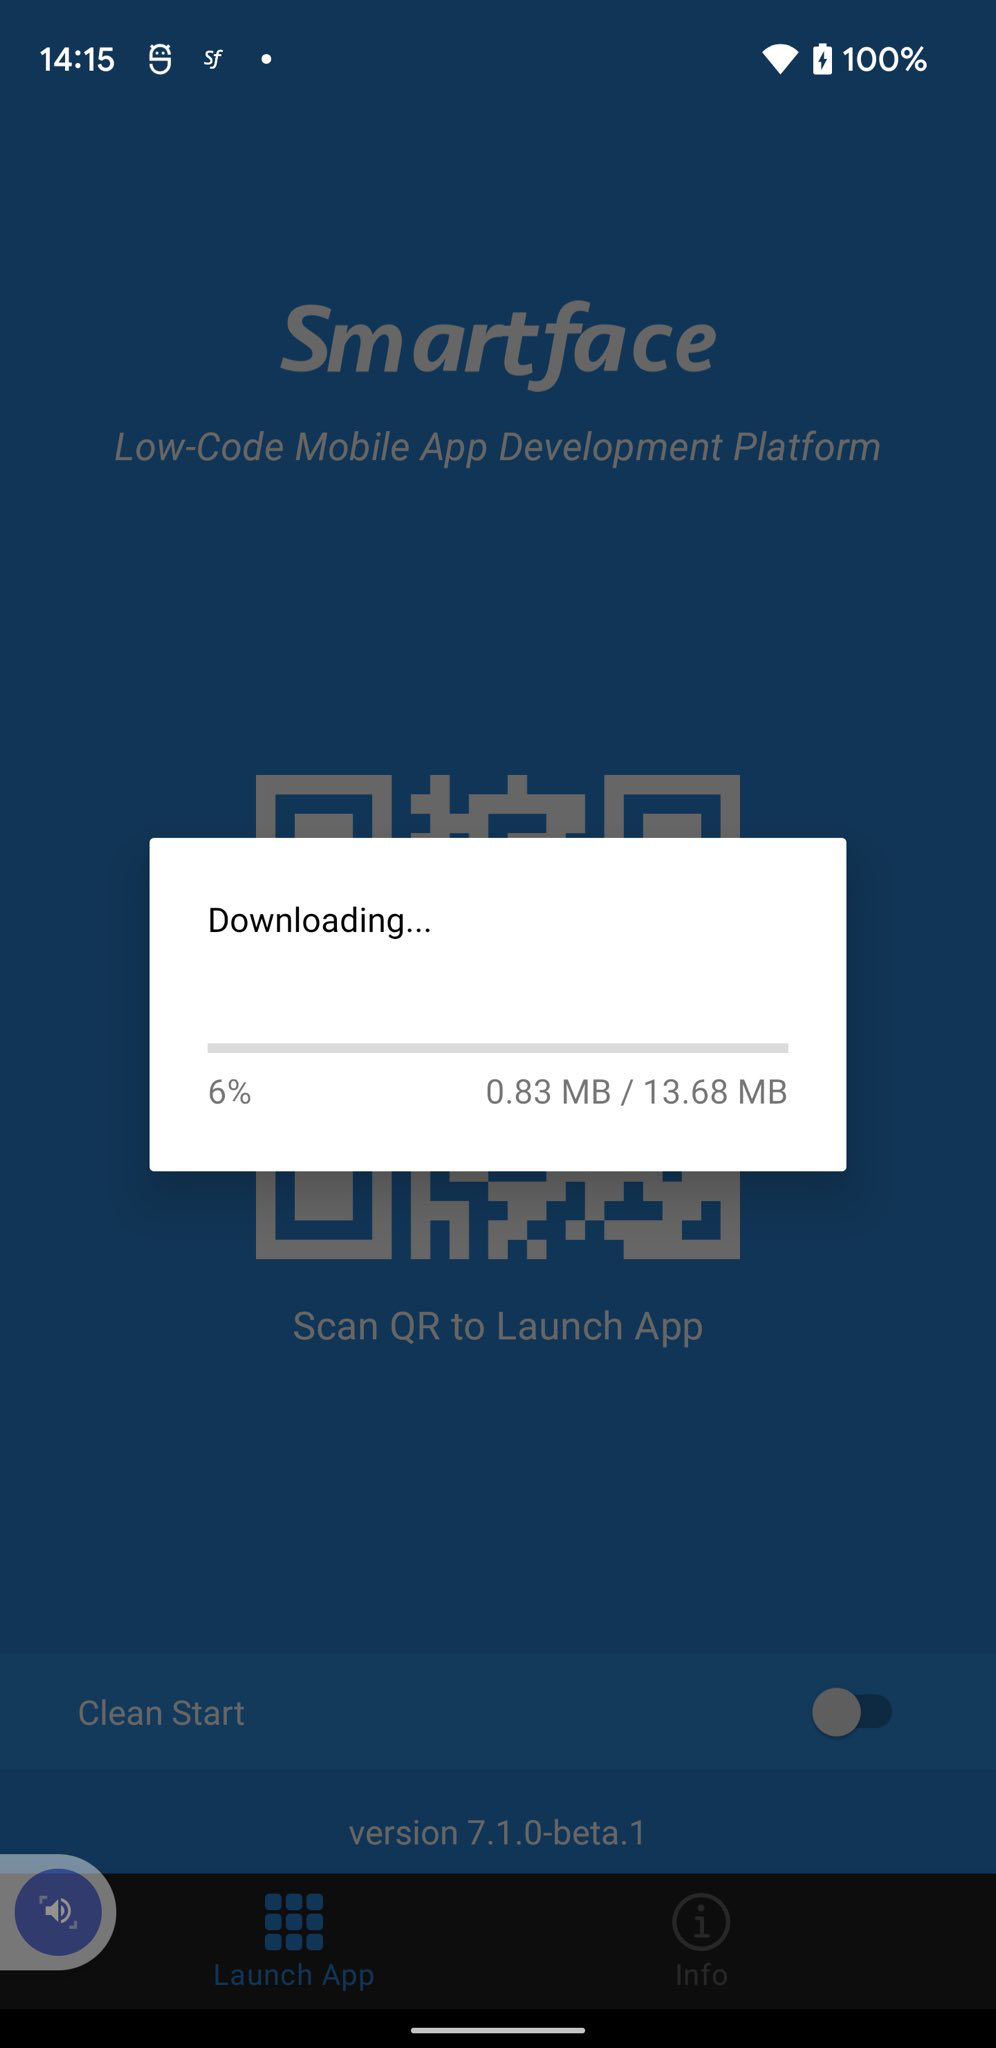
Open Smartface on-device Android/iOS emulator from your device and scan the QR Code. It will download all the resources and codes and load your application in the Smartface on-device emulator. After initializing and downloading steps you will be able to run your application for testing purposes.
Run Your App on Device via Wired Connection
Smartface also provides a way to connect and test your project with your device through a USB Cable. Let's have a look at the steps you should take to achieve this behavior.
Android
For Android, there are two things that have to be covered on your side.
- Android's USB debugging feature needs to be enabled on your mobile device.
- adb must be installed on your computer.
To enable USB debugging on your mobile device follow the steps below:
- On the device, go to Settings > About (device).
- Tap the Build number seven times to make Settings > Developer options available.
- Then enable the USB Debugging option.
You might also want to enable the Stay awake option, to prevent your Android device from sleeping while plugged into the USB port.
To install adb on your computer follow the steps below:
First connect your phone to your system with a data cable. You will get a prompt asking whether or not do you want to allow USB debugging. Check ‘Always allow from this computer‘ and tap ‘OK.’
Windows
If Android Studio is installed in your system that means the adb is already installed so the only thing you need to do is add adb to your System PATH, To achieve this you can skip the manual installation steps below and refer to the Adding the adb to your System Path at the end of this section.
Manual Installation:
- Download Platform Tools: https://developer.android.com/studio/releases/platform-tools#downloads
- Extract the contents of this ZIP file into an easily accessible folder (such as C:\platform-tools)
- Open up a new command prompt in that folder.
- In the Command Prompt window, enter the following command to launch the ADB daemon:
./adb devices - Finally, the adb command to be recognized on any folder you are in, adb needs to be added to your System PATH. To do this, the following guide can be followed for learning how to add adb to your System PATH.
Adding the adb to your System Path:
- In Search, search for and then select: System (Control Panel)
- Click the Advanced system settings link.
- Click Environment Variables. In the section System Variables find the PATH environment variable and select it. Click Edit. If the PATH environment variable does not exist, click New.
- In the Edit System Variable (or New System Variable) window, type down your path to platform-tools (e.g. C:\platform-tools). Click OK. Close all remaining windows by clicking OK.
Linux
If Android Studio is installed in your system that means the adb is already installed so you can skip the manual installation steps below.
For Debian-based Linux users, type the following command to install ADB:
sudo apt install android-tools-adb
For Fedora/Suse-based Linux users, type one of the following commands to install ADB:
sudo dnf install android-tools
sudo yum install android-tools
For Arch-based Linux users, type the following command to install ADB:
sudo pacman -S android-tools
Then open up a new terminal window on your computer and execute the adb start-server command.
MacOS
If Android Studio is installed in your system that means the adb is already installed so you can skip the manual installation steps below.
You can use one single homebrew command to install adb:
brew install --cask android-platform-tools
Alternatively, manual installation steps below can be followed:
- Download Platform Tools: https://developer.android.com/studio/releases/platform-tools#downloads
- Extract the ZIP file to an easily-accessible folder (like the Desktop for example)
- Open Terminal
- To browse to the folder you extracted ADB into, enter the following command:
cd /path/to/extracted/folder/ - For example, on my Mac it was this: cd /Users/MyUsername/Desktop/platform-tools/
- Once the Terminal is in the same folder your ADB tools are in, you can execute the following command to launch the ADB daemon:
./adb devices
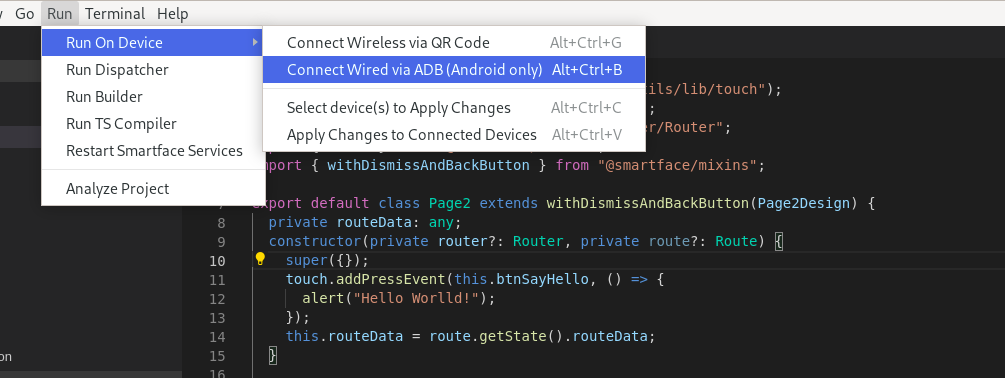
Now after configuring your adb installation the last thing you need to do to is, connect your device with a USB Cable to your computer, then click on to Connect Wired via ADB (Android Only) menu item under the Run > Run on Device menu.
By this way you can now test your project on a real device without any need of internet access.
iOS
For iOS, to deploy and test your project to a mobile device via USB Cable we will be using the Internet Sharing feature of MacOS therefore it is required to have any MacOS installed system. Though your data will get transferred through USB Cable, for iOS you will still need a common internet connection between your mobile device and your system.
Here are the steps you should take to run iPhone locally on Mac:
- Plug your iPhone into your Mac via USB
- On your Mac, go to
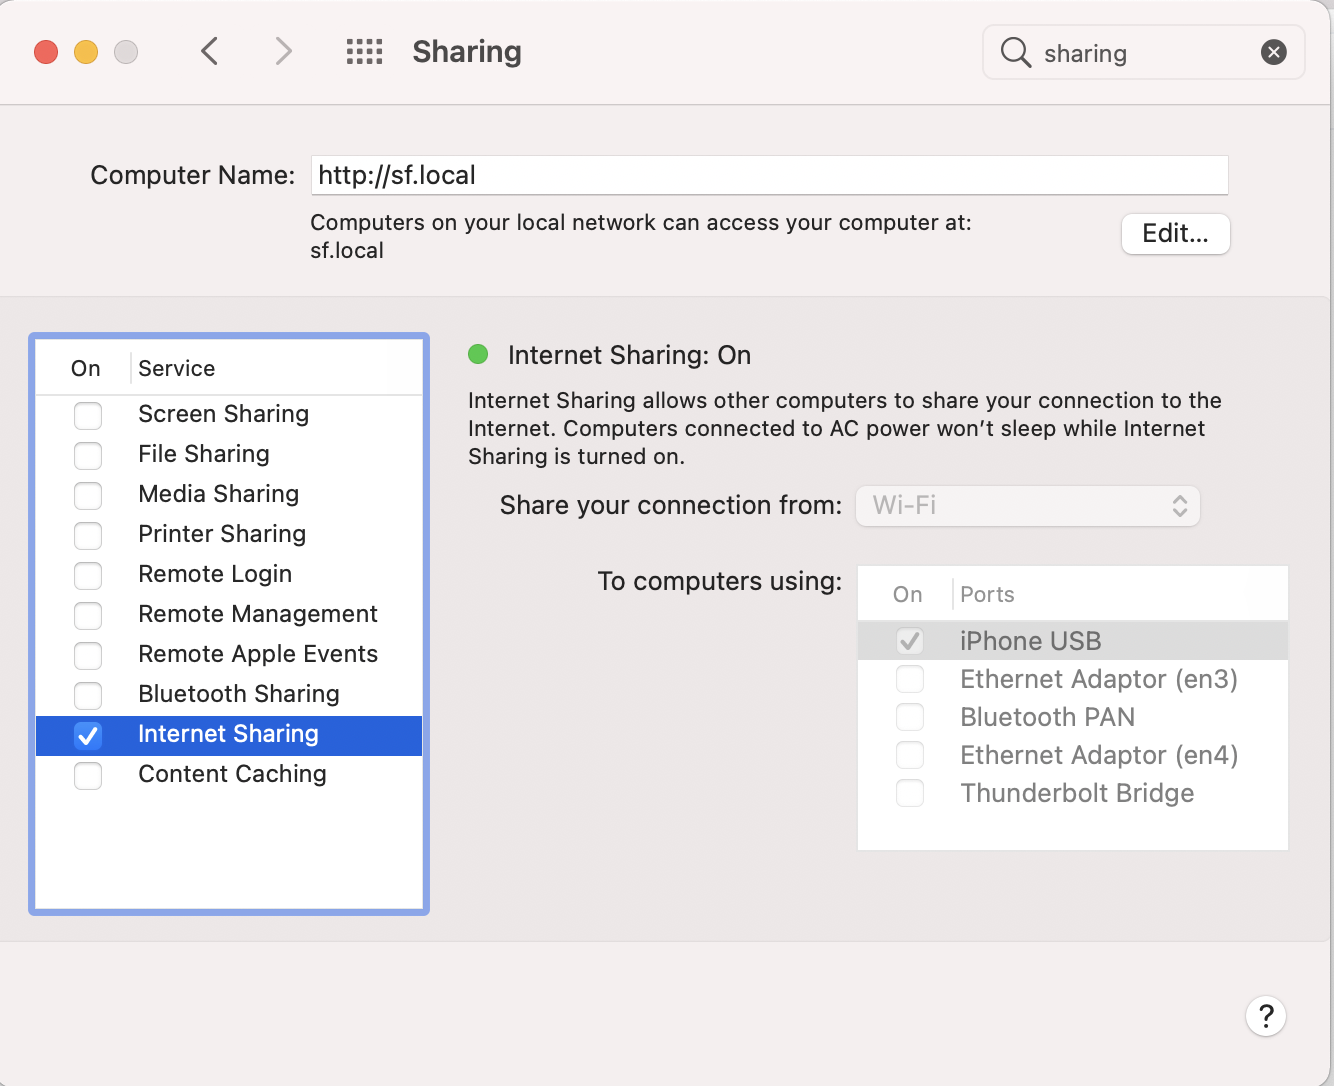
System preferences → Sharing
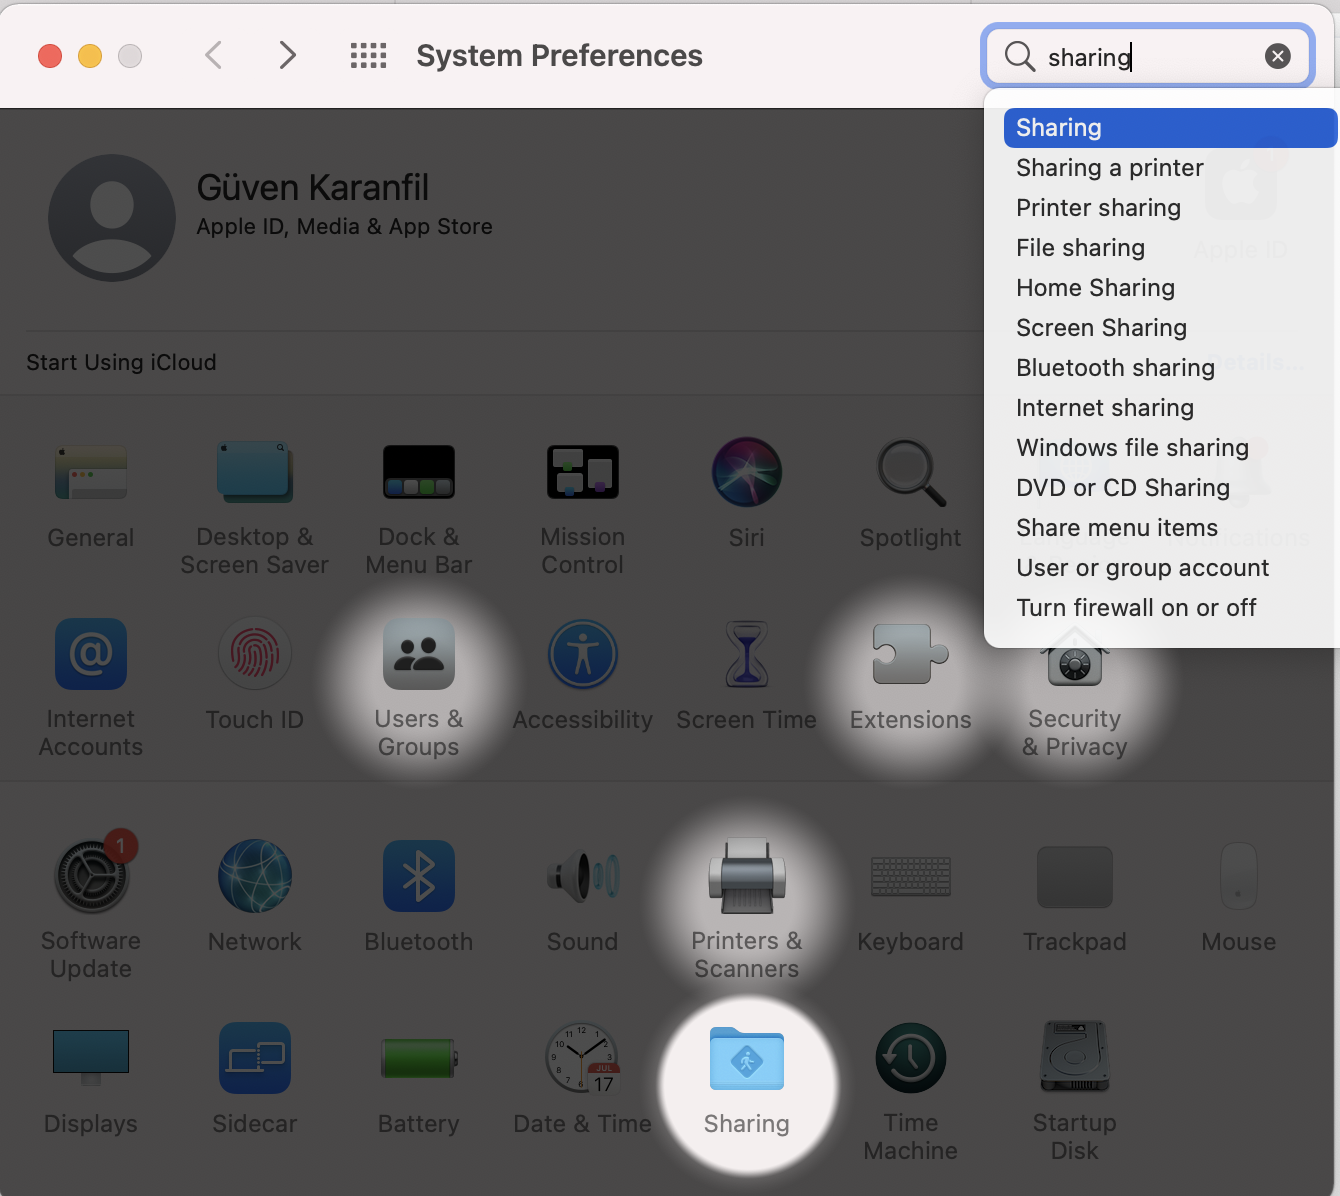
- Click and select Internet Sharing from the left hand-side and make sure that you have selected the iPhone USB from the
To computers using:menu. (Make sure the Internet Sharing is On.)
- Check and note your dispatcher connection port from the Smartface IDE. To learn where to find port number you can refer to document below:
- Then you need to check for your system's IP Address. It can be found at
System Preferences > Networkon your Mac. - To match your devices one last thing to do is, open your mobile device and search for http://yourcomputeripaddress.local:port on your favorite browser. (e.g. http://192.168.1.100.local:52200)
- Finally, to test your project in your on-device emulator click on to
Run > Run On Device > Connect Wireless via QR Codeand scan the newly generated QR from your mobile device.
Updating an App in the On-Device Emulator
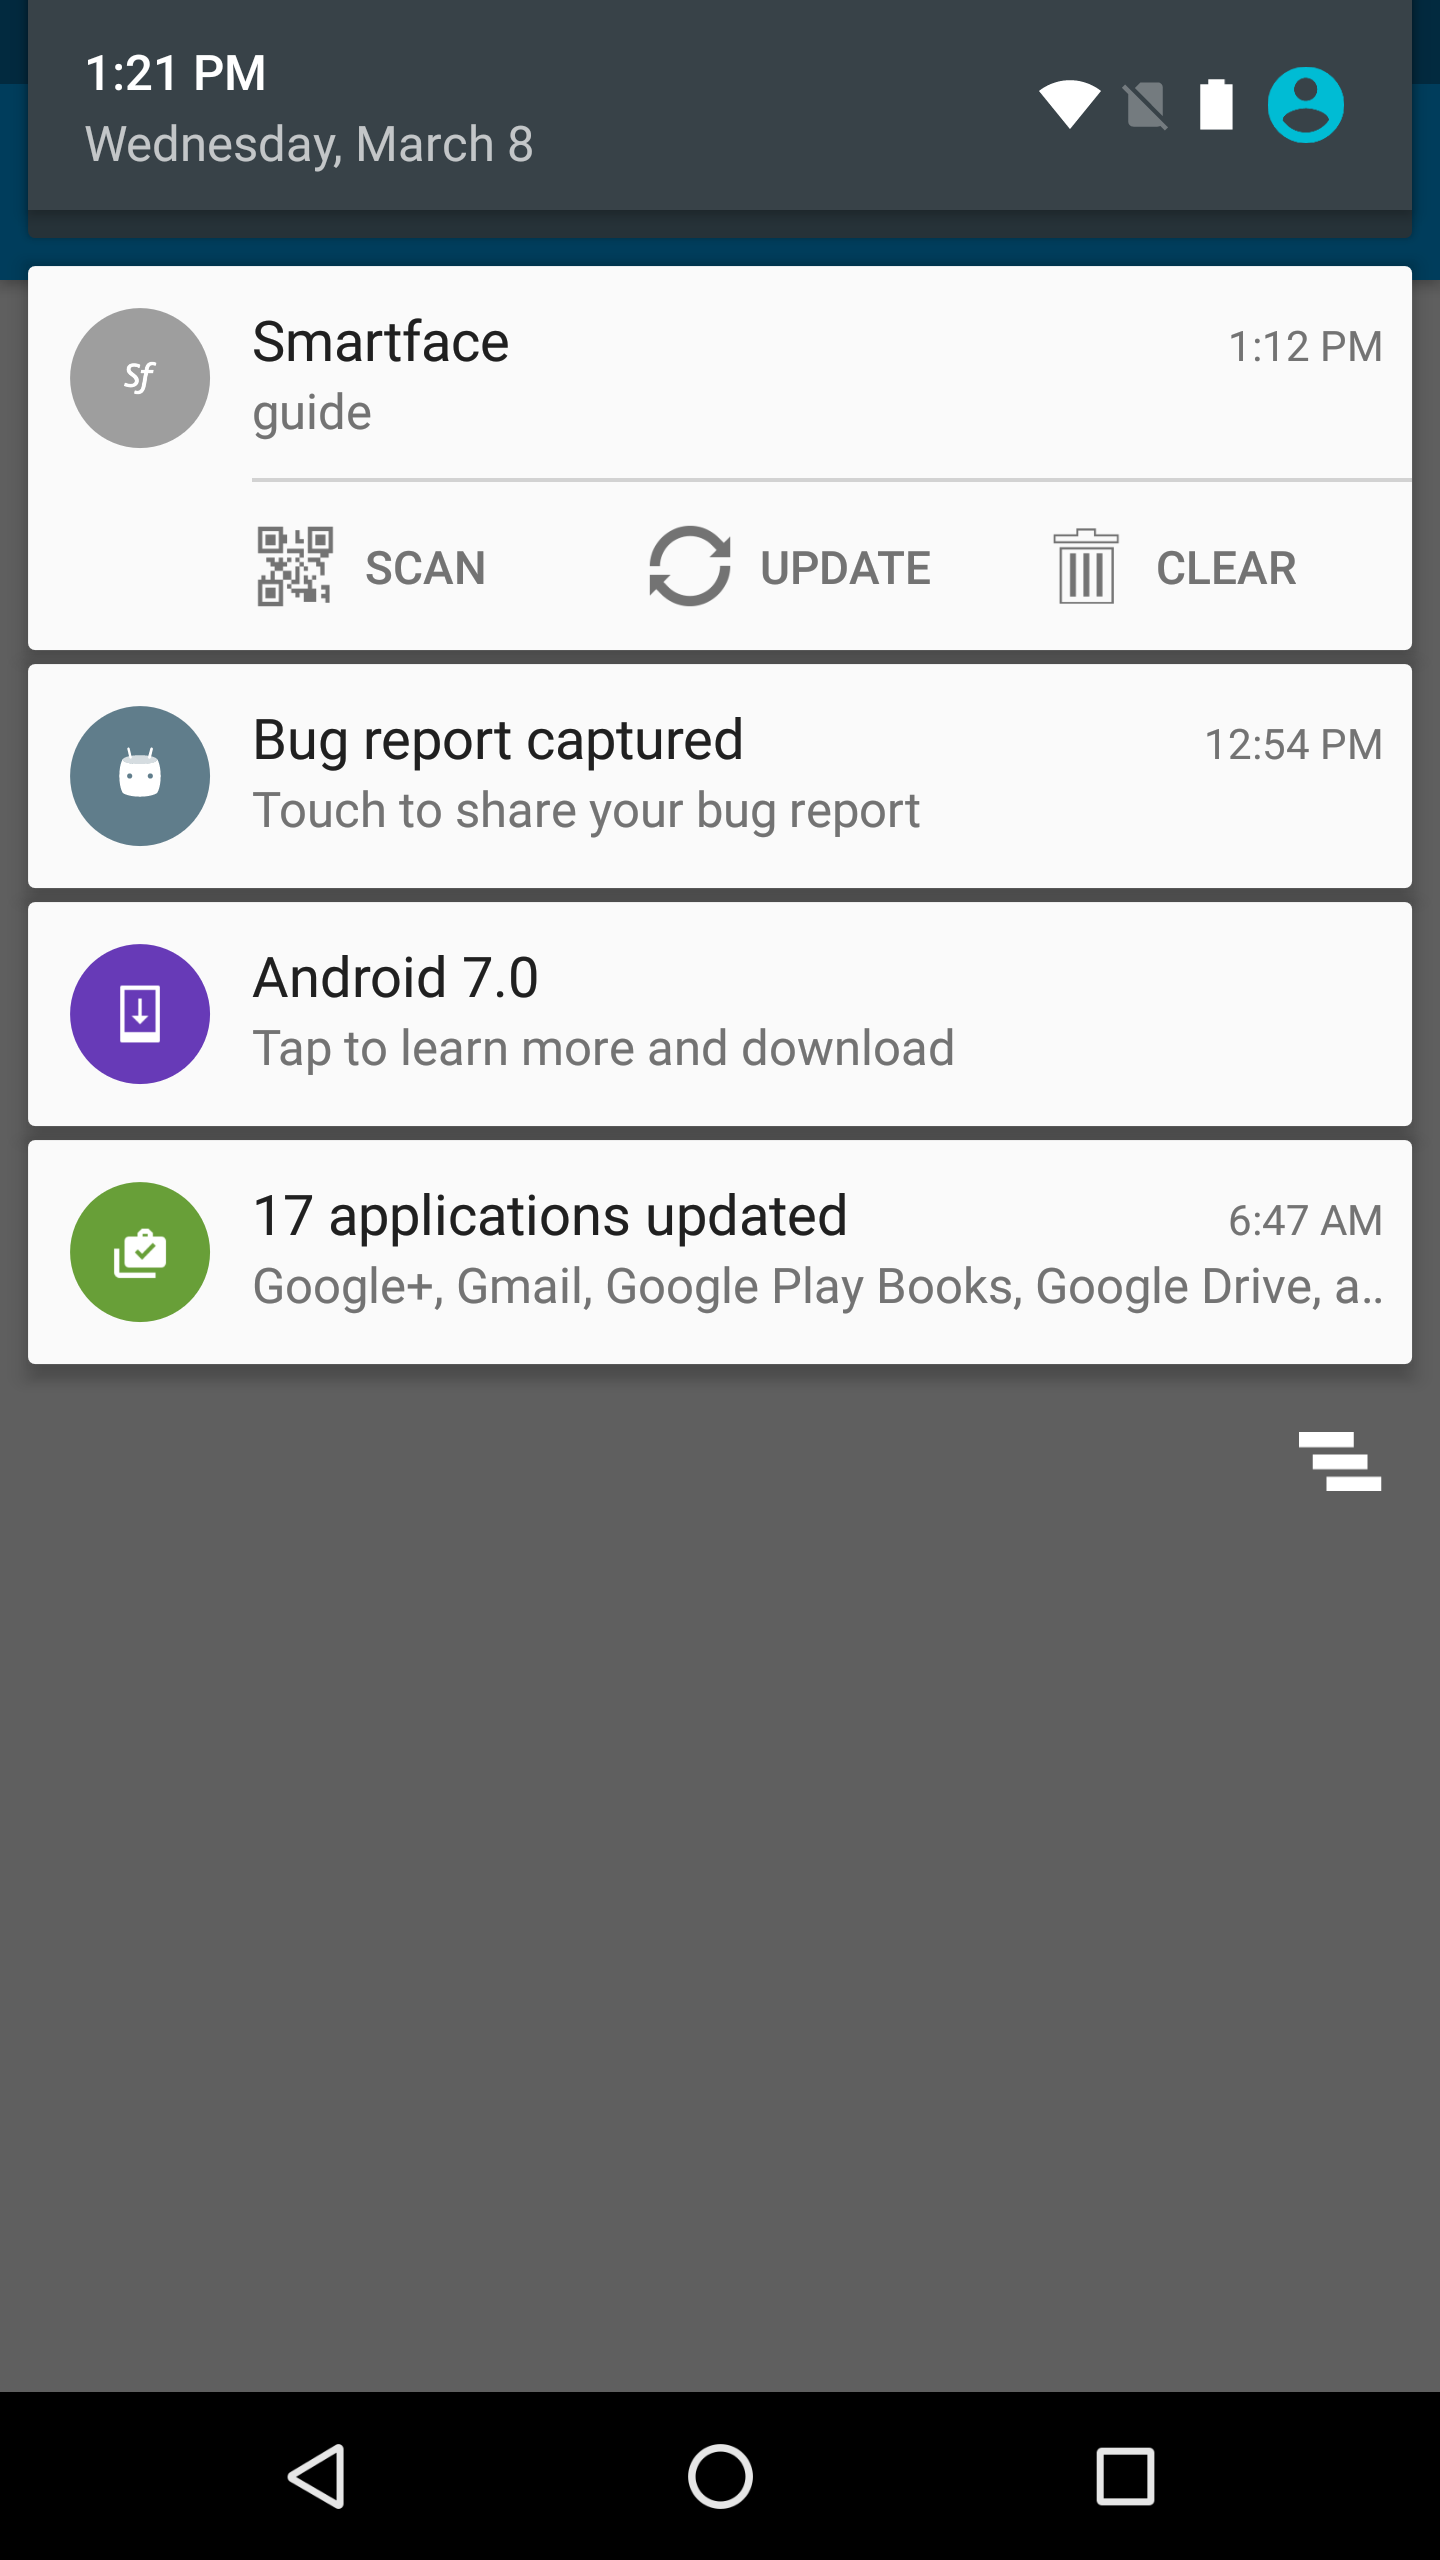
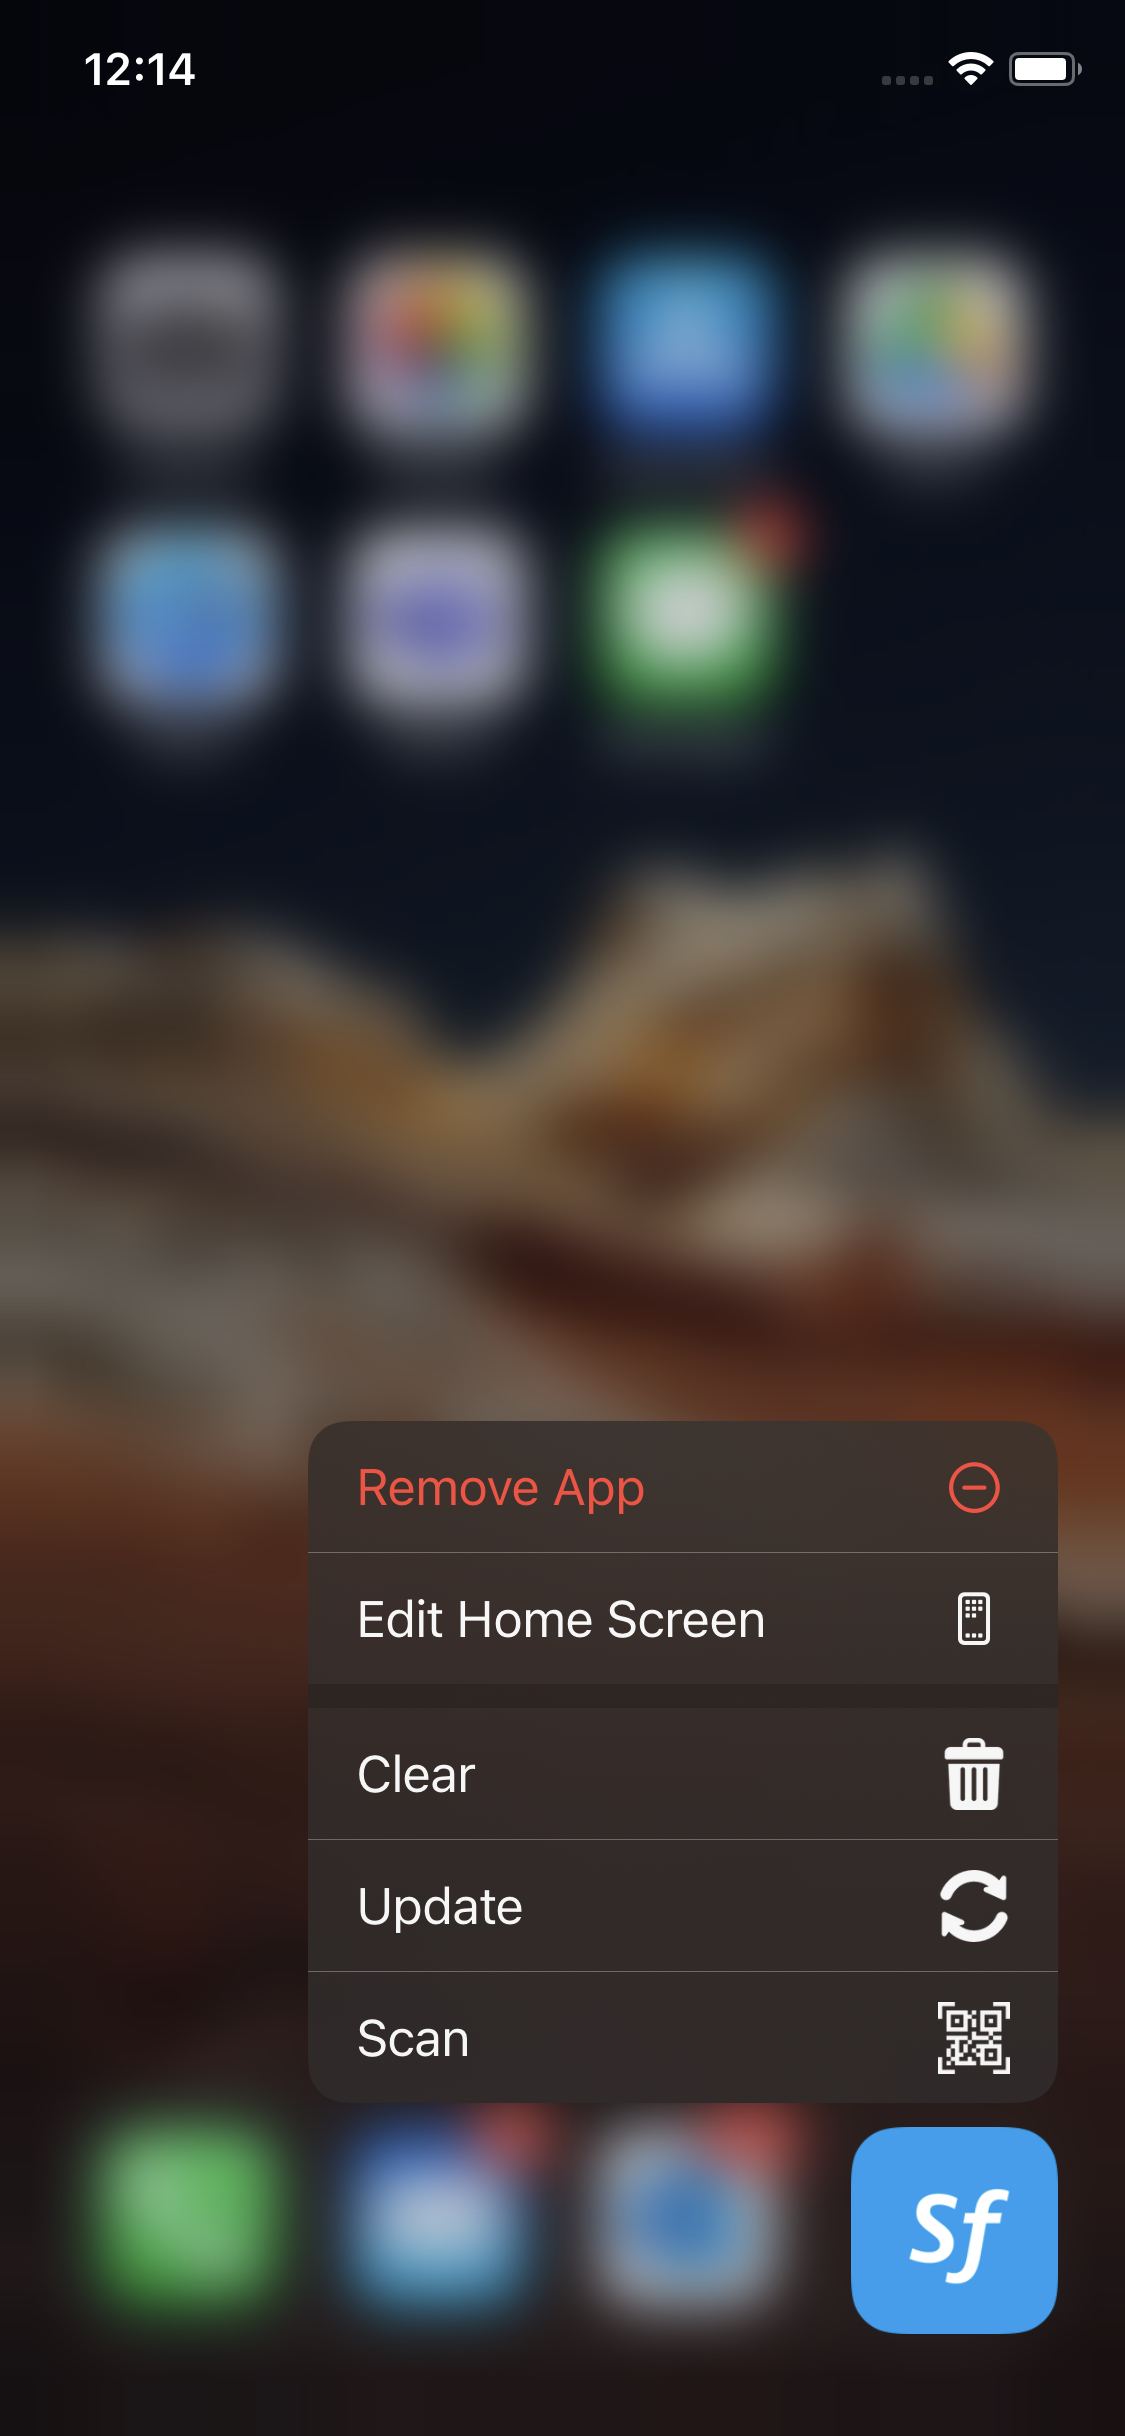
Smartface allows you to make remote delta updates for testing purposes. If you check the notification center of your device you will see that Smartface widget / persistent notification has the "Update" Button. When you press update, it will download the modified or added resource files from your project.
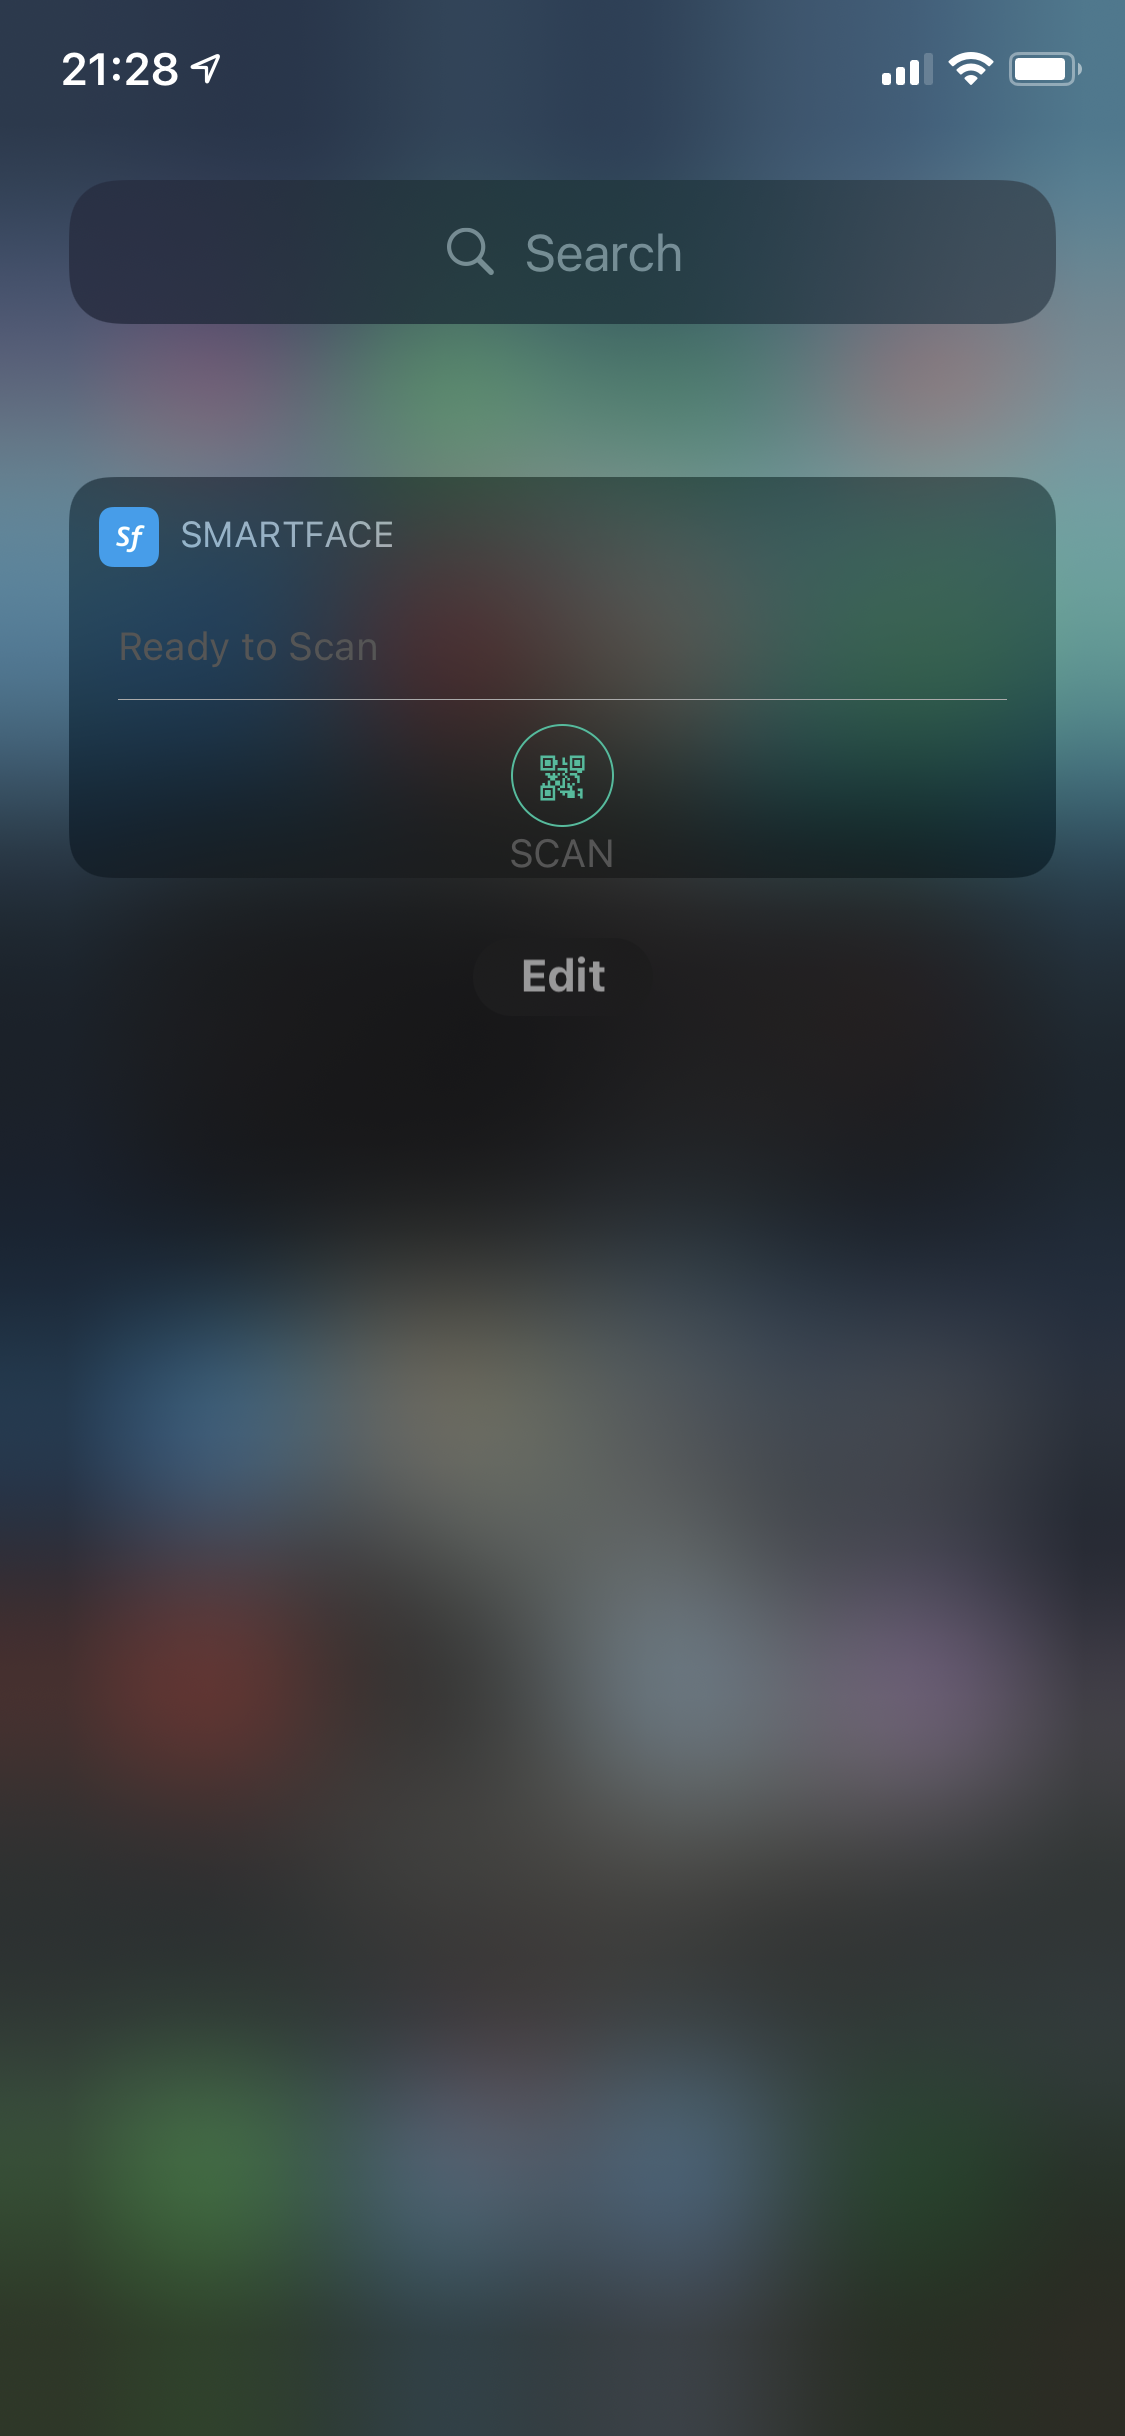
If you use iOS 14 or later, you can also use Haptic Touch feature to fast-acces the Update button. Simply hold the Smartface icon:
Smartface IDE also gives you a three different ways to update the application that runs on your on-device emulator.
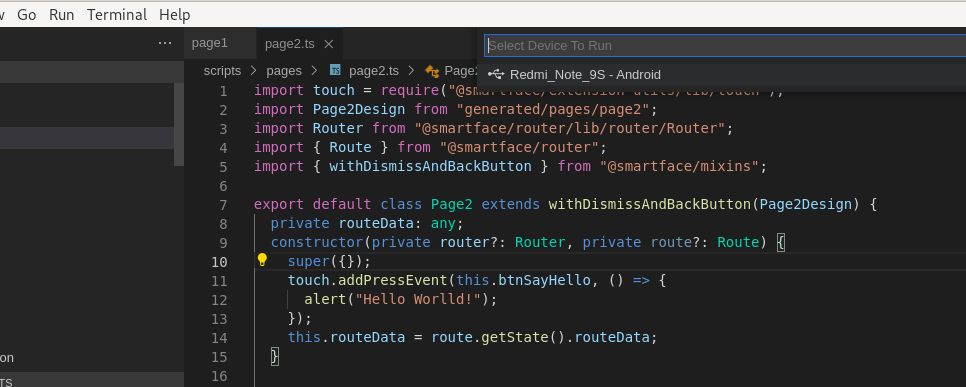
The first two exist under the Run > Run on Device menu, from here Select device(s) to Apply Changes and Apply Changes to Connected Devices(to all of them at once) can be used to update your on-device emulator with the latest changes from your project.
And the third one is the Apply Changes button that placed at the bottom-right of your IDE. It's functionality is completely same with the Apply Changes to Connected Devices menu item.
For this, you can also use the keyboard shortcut. The default keybinding for applying changes is ctrlcmd+alt+v. To change default keybindings, press ctrlcmd+p and type down >Open Keyboard Shortcuts. In the newly opened Keyboard Shortcuts page search for Smartface: Apply Changes to Connected Devices and edit from there.
Clearing On-Device Emulator Contents
Clear allows you to completely remove the downloaded files for Smartface on-device emulator. It cleans up the cached files.
Clean Start feature in On-Device Emulator
Clean Start feature allows you to start the application from the beginning. It will remove all the downloaded files and cached files.
If its turn on, when you kill the emulator it will also clean up the downloaded files and cached files and start the application from the beginning.
Determine if the Current Code is Running on On-Device Emulator
On some cases, you might want your code to be run only on Smartface On-Device Emulator since logs can chunk up and slow down the application. The common cases are:
- Logging for debug purposes
- Published-Application-only concepts like Firebase, Push Notification
- Plugins(some might require to be run on Published App only)
- Internal concepts like auto-filling passwords for easier development or developer settings
Example:
import System from "@smartface/native/system";

if (System.isEmulator) {
  console.log("Debug log for X purpose");
}
or within fetch to keep logs
import System from '@smartface/native/device/system';

const service = fetch('https://api.openweather.org', {
    method: 'POST',
    body: JSON.stringify({
        logEnabled: System.isEmulator // Only show logs if the application is running by emulator
    })
})

export default service;
Simply use System.isEmulator property to detect such cases.