Using Git with Smartface IDE to Manage and Sync Projects
To learn git in detail, you can check git commands here.
How to set up Git for your Project?
Initialize a Git Repository
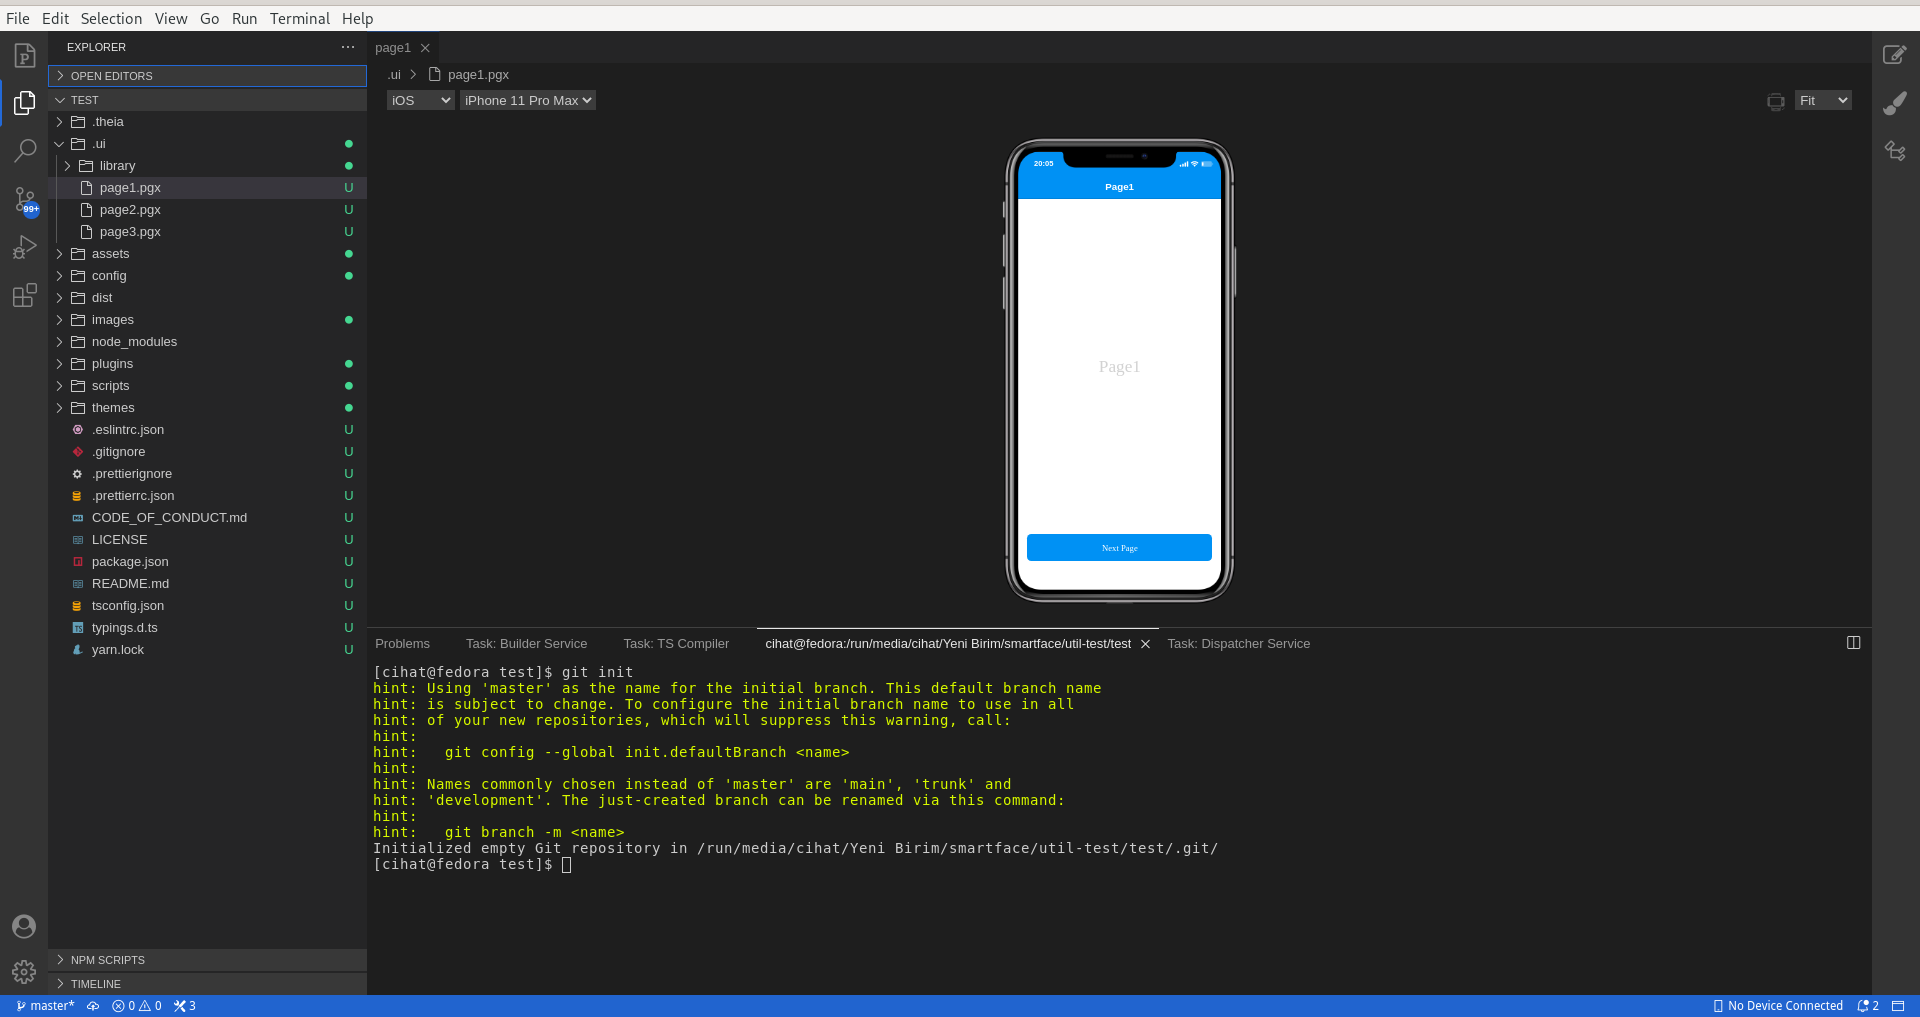
When you want to use Git on your newly created or not yet configured git in your project, the first thing to do is create a git repository locally. To do this:
- Click on the
Terminal > New Terminalfrom your IDE's menu bar. - When a new terminal started on your project's root folder, just type down
git initand press Enter. This will create a new folder named.gitand from now on all your project-specific git configurations will be kept in this folder.
Now you have started tracking your files for changes and can already see your files&folders are getting highlighted with their current status on the Explorer Tab.
Your First Commit
After completing the repository initialize process, the following instructions will give you the ability to manage your changed files.
- Click on the
Terminal > New Terminalfrom your IDE's menu bar or use the already existing if you have any. - By typing
git status, the status of your tracked files will be shown. - You can add your changes in the staging area by typing
git add <file>command. Or to add all of your changes usegit add .command. - To commit your changes to Local Repository type
git commit -m "your message"command.
How to Set Up a Remote Repository?
Since you created a local git repository for your project, the following instructions will lead you to how to set up a remote origin for it.
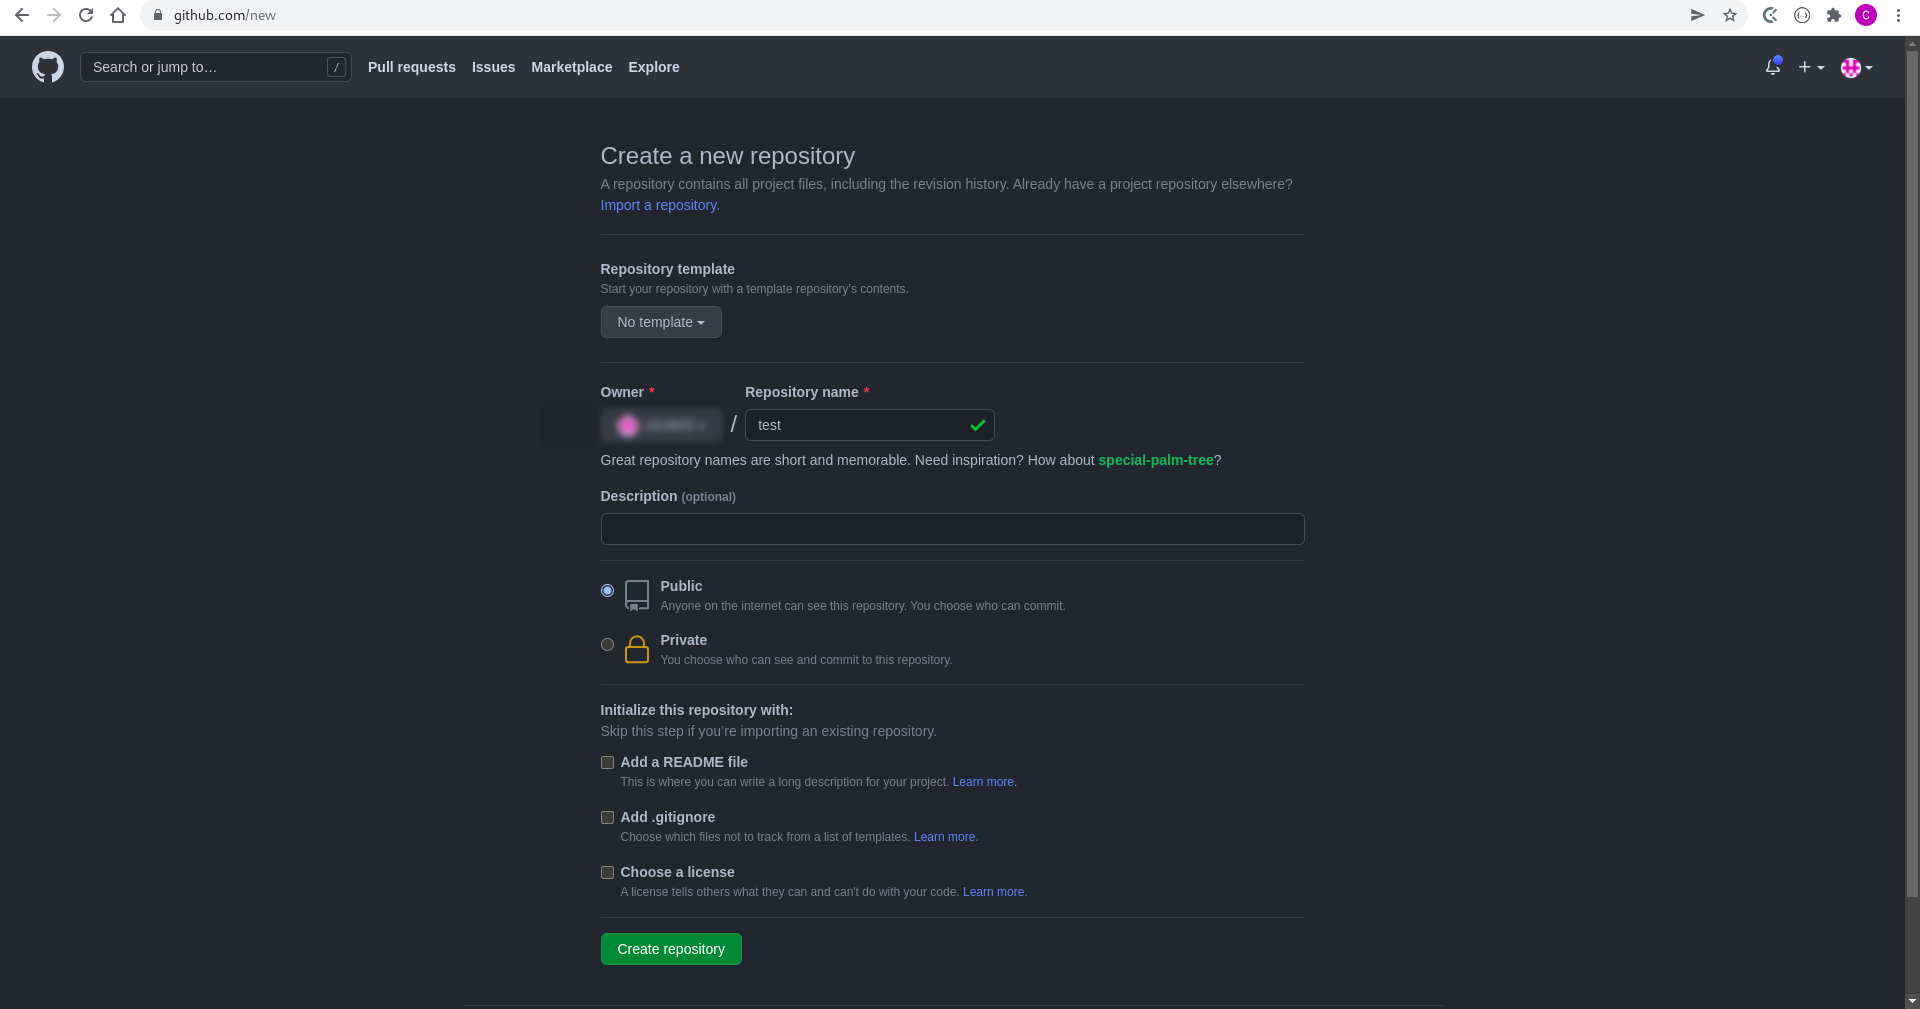
First, go to GitHub and log in to your GitHub account. (You can also use other Git Providers such as GitLab, Bitbucket etc.)
When you logged in to your account, click on to your account avatar from top-right of the page and select Your Repositories from the menu.
On your Repositories page click on the New button that is shown in the photo.

Fill in the desired information on this page and click Create Repository.
After creating a remote repository on your account, the last thing is to configure it as a remote origin for your local repository. To do this, run the following commands sequentially on your IDE's terminal and you are ready to go!
git remote add origin git@github.com:<Your GitHub Username>/<Your Repository Name>.git
git branch -M main
git push -u origin main
You have successfully set up a remote repository for your project!
Aside from this approach, you can also use GitHub CLI. For more info:
How to use Git Source Control Tab in IDE?
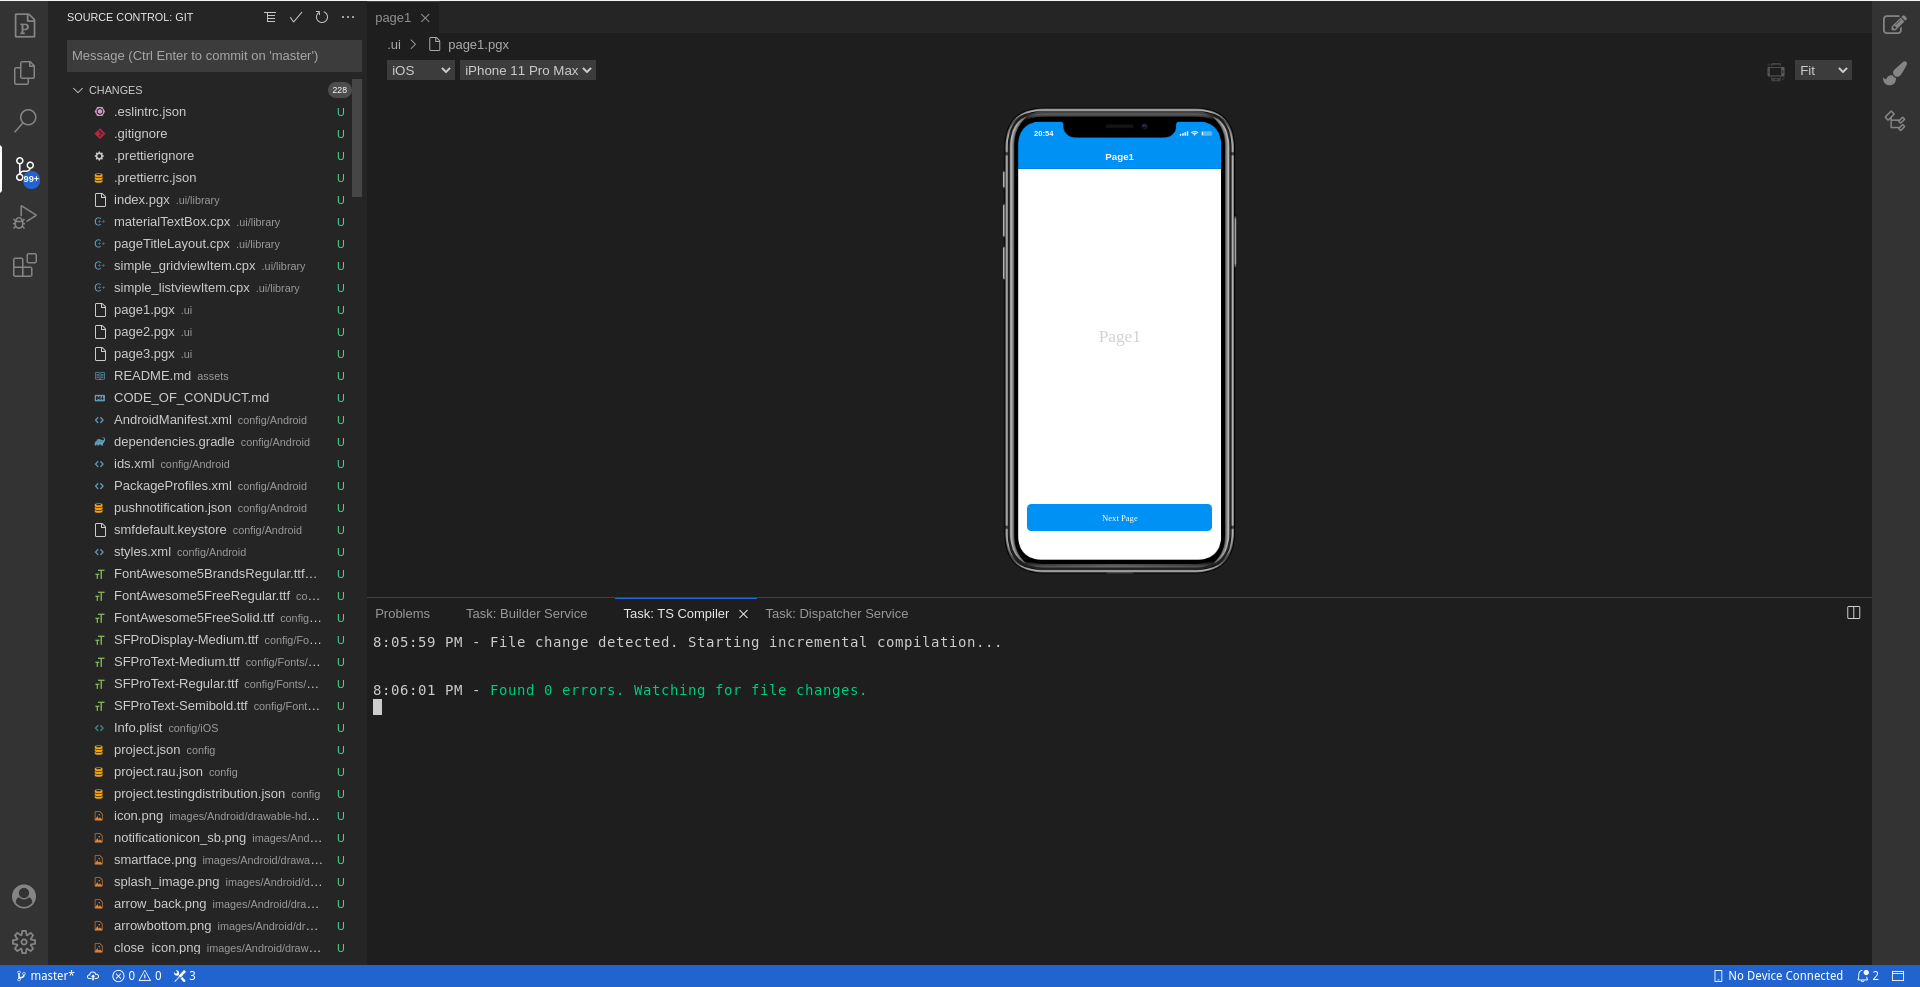
In the Workspace, the SOURCE CONTROL tab can be opened by the left panel, you can check your codes change as a Working Tree by clicking on the file name twice.
You can add your changes in the working directory by clicking on the first right plus button.
the next button is to open the file.
the back arrow button is to discard changes in working directory which can be executed by git checkout -- <file>
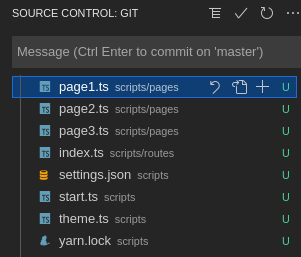
From the header of SOURCE CONTROL tab you can capture the state of the project. Click on the tick button to commit your change after filling the message.
the third dots button display all the commands as shown below.
SSH Keys
Git repositories require http or ssh to connect them. In order to complete the ssh setup, you need to have a ssh key and register that ssh key to your GitHub, Bitbucket or similar services. You can easily create a new SSH or use one of the existing SSH Keys on your Local Machine(discouraged)
How to Supply Your Key to Your Git Provider
If you are switching from https to ssh, do not forget to change your git url on your git config.
After we are done getting our public key, it is time to use it in your preferred git provider:
- Adding your SSH key to your Github account
- Adding your SSH key to your Bitbucket account
- Adding your SSH key to your GitLab account
If you use self-hosted git provider, contact your IT Administrator to add your public key to the server.