Page Management
By default, Smartface Project Sample grants us two sample pages. For some applications one or two pages are enough. For some, the application should be more than one page.
On Smartface, the backend side of page consists of those files:
- Page UI representation
- This will be located under
.uidirectory - The Drag & Drop process you have done will be reflected into this file
- This will be located under
- Transpiled (generated) code
- This will be located under
scripts/generated/pagesdirectory - This will be created by reading the .pgx file.
scripts/generateddirectory is under.gitignoreby default.
- This will be located under
- User Page code
- This will be located under
scripts/pagesdirectory. - This will be created automatically after creating a new page
- This is the file we will be writing most of our code.
- This will be located under
Also, the compiled Javascript code are located in dist directory by deault.
The files on scripts/generated directory will be overwritten by every save action of representative .ui files, therefore it is not recommended to edit the files on this directory manually.
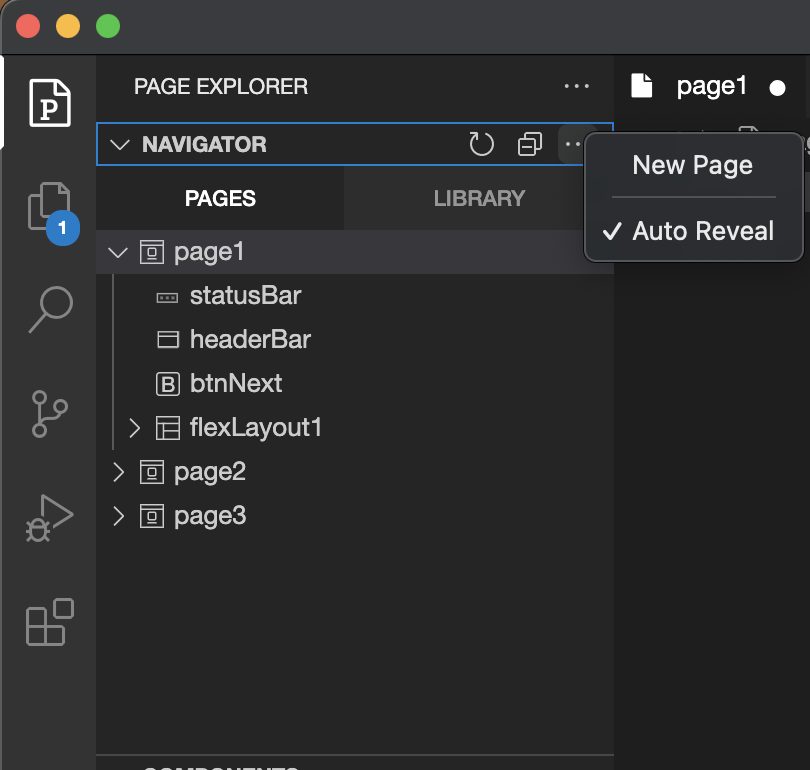
Adding a Page on Smartface IDE
On Smartface IDE, Click on the three dot, then click on New Page
Afterwards, you will be prompted as a name for the page. Type something relevant which can describe what the purpose of the page will be.
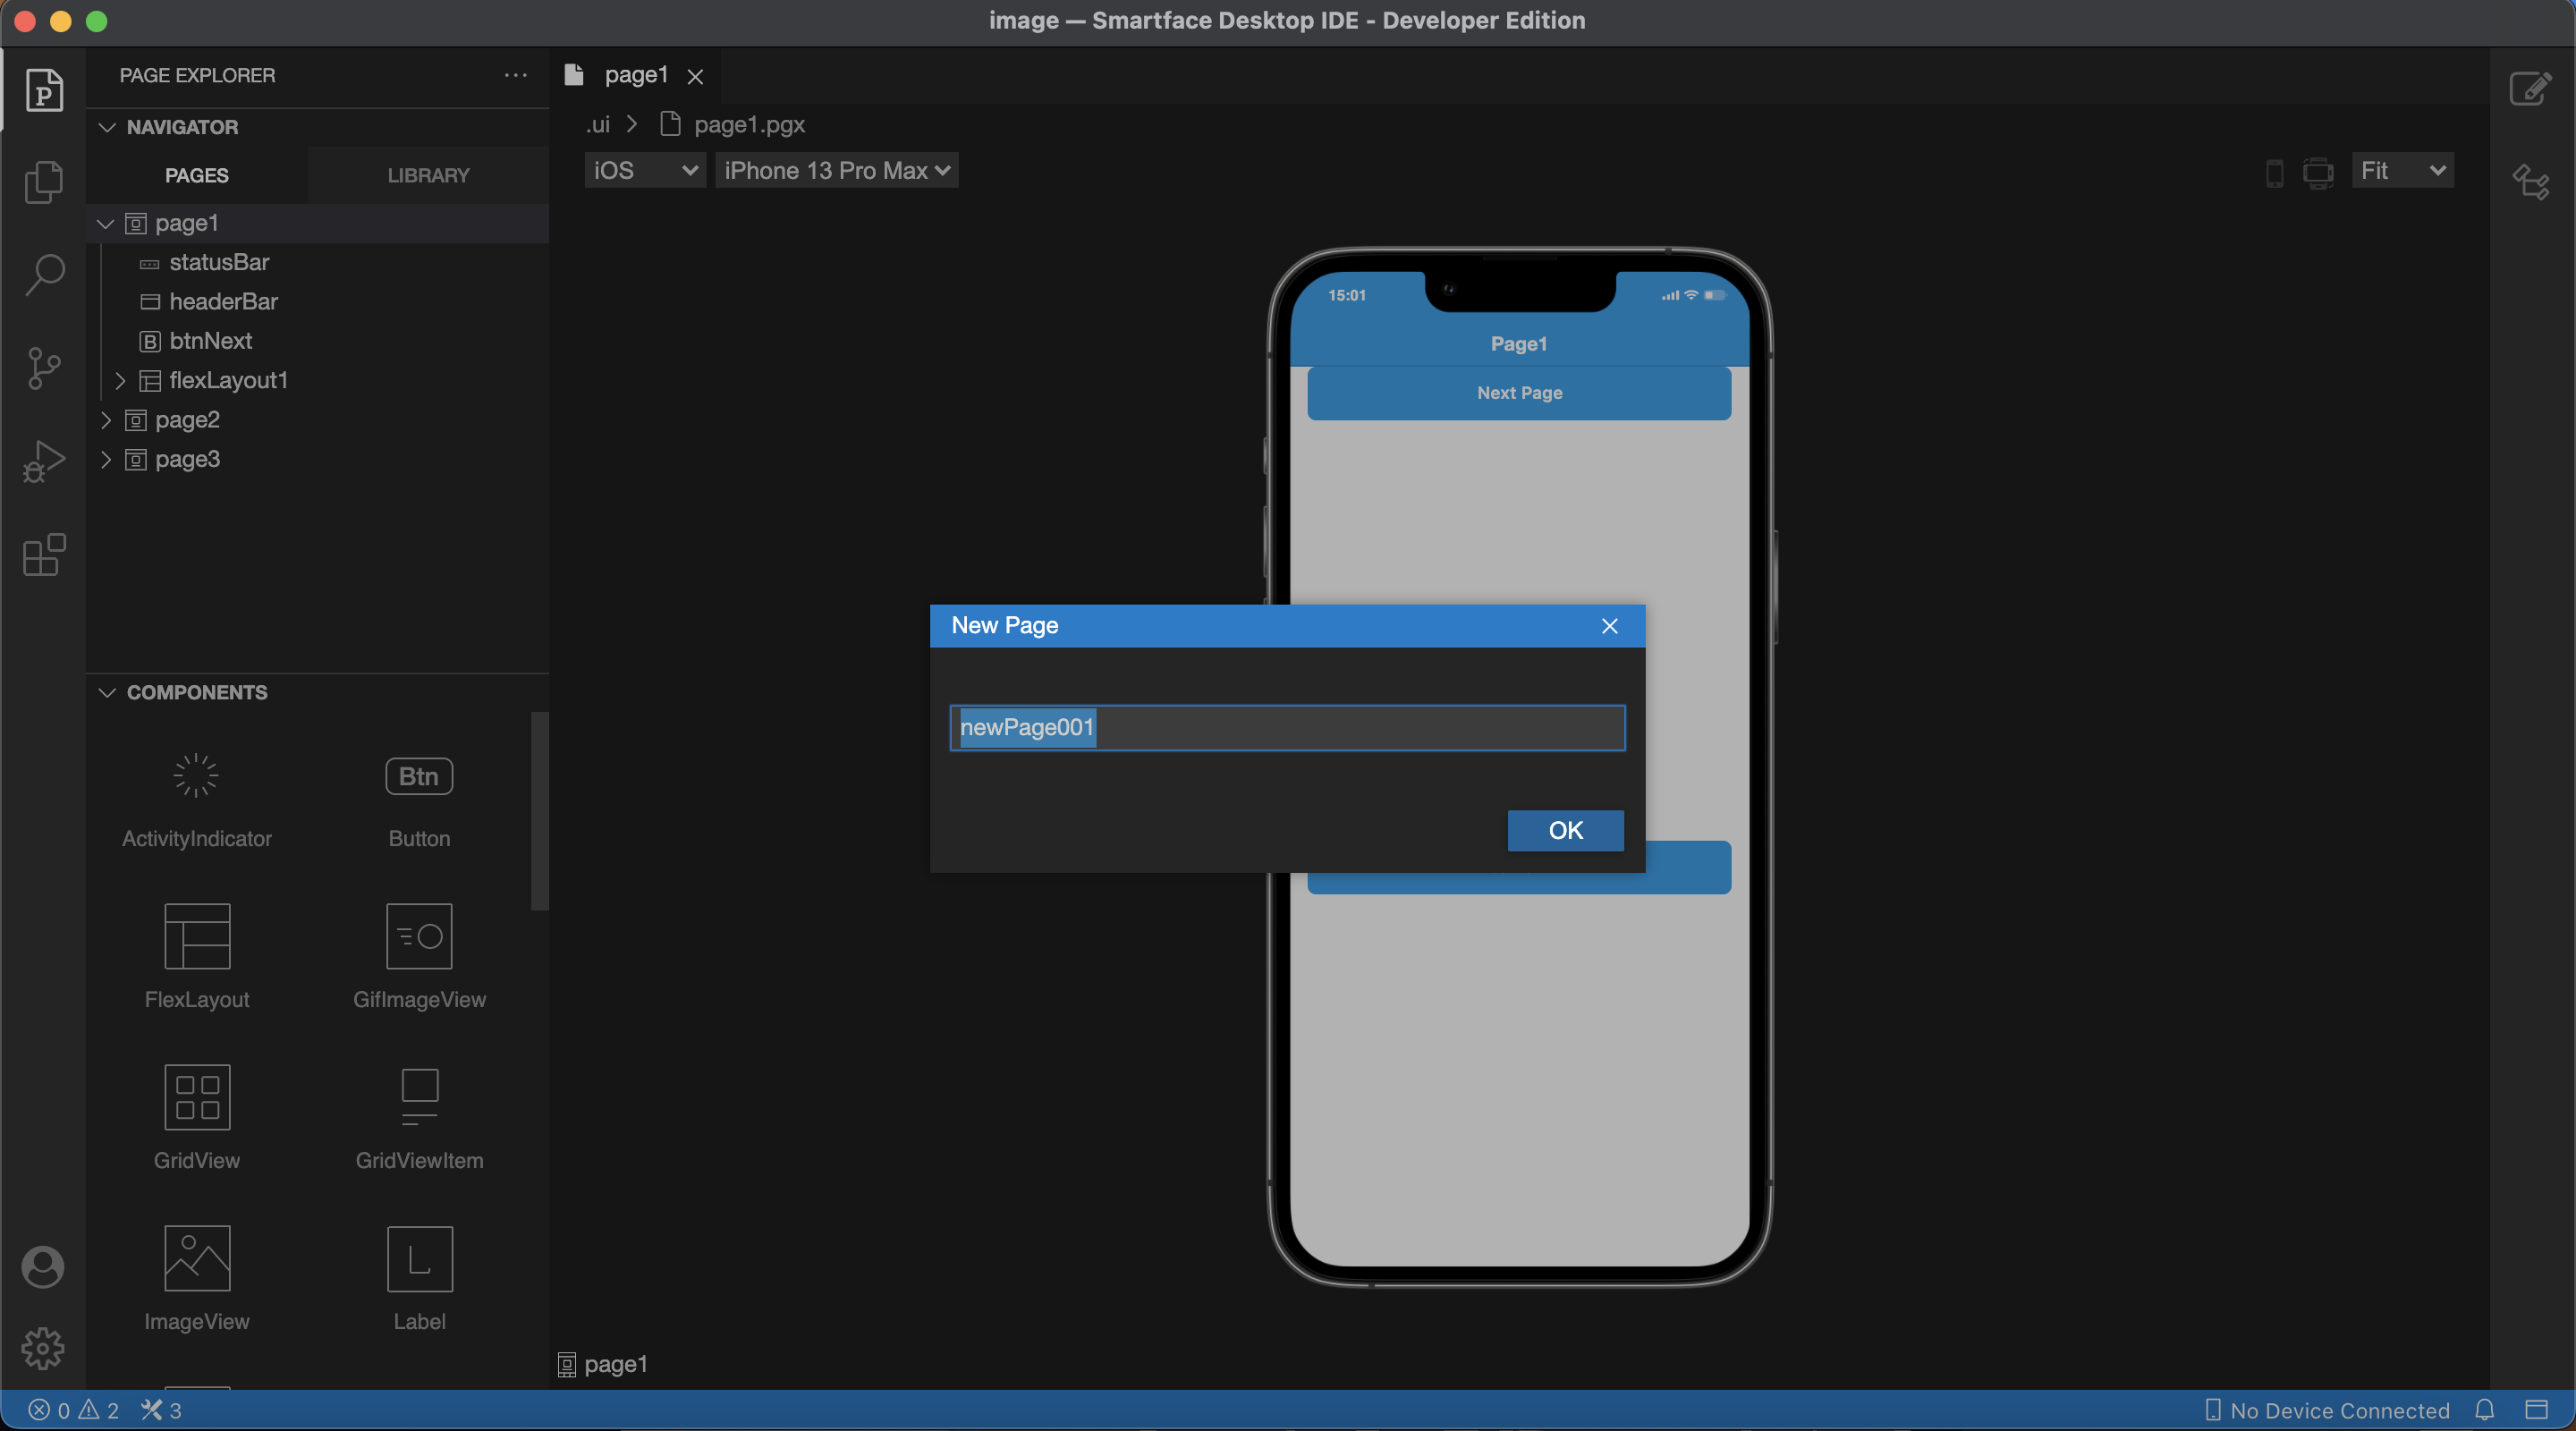
You might encounter that most sample projects or naming patterns on Smartface will include pg prefix. For example, pgLogin . This naming convention is not necessary to keep your pages organized, it only serves as declaring them as pages.
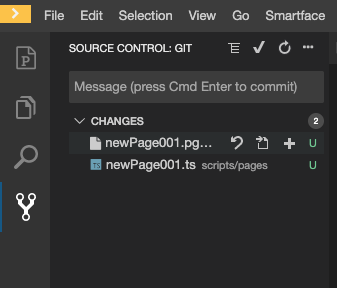
Respective UI Page Representation and a template for your code will be added to the project. If your project is a git repository, you can check the new files via diff or Smartface Git Tool
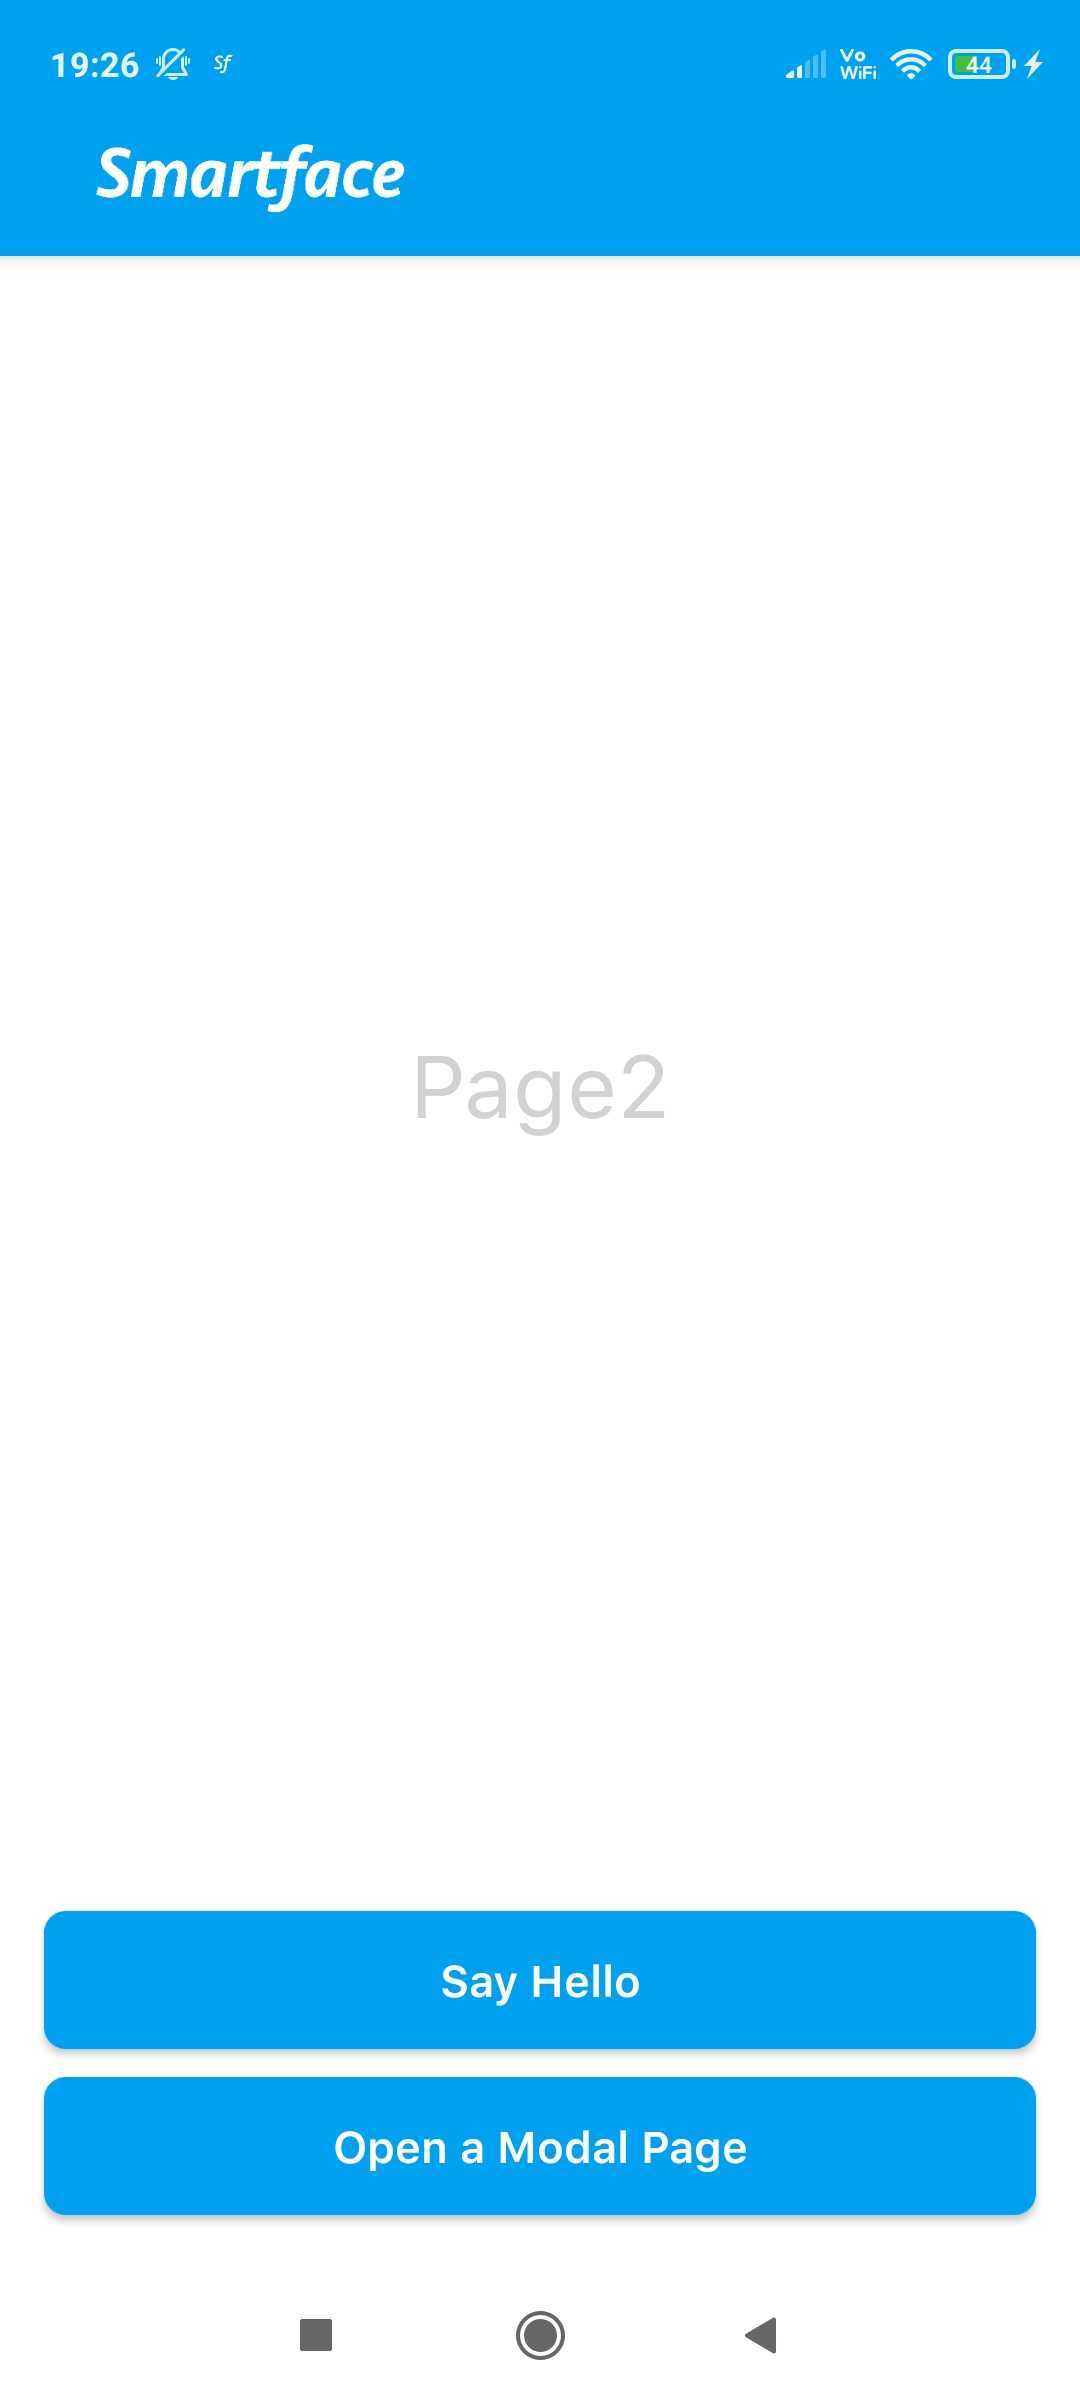
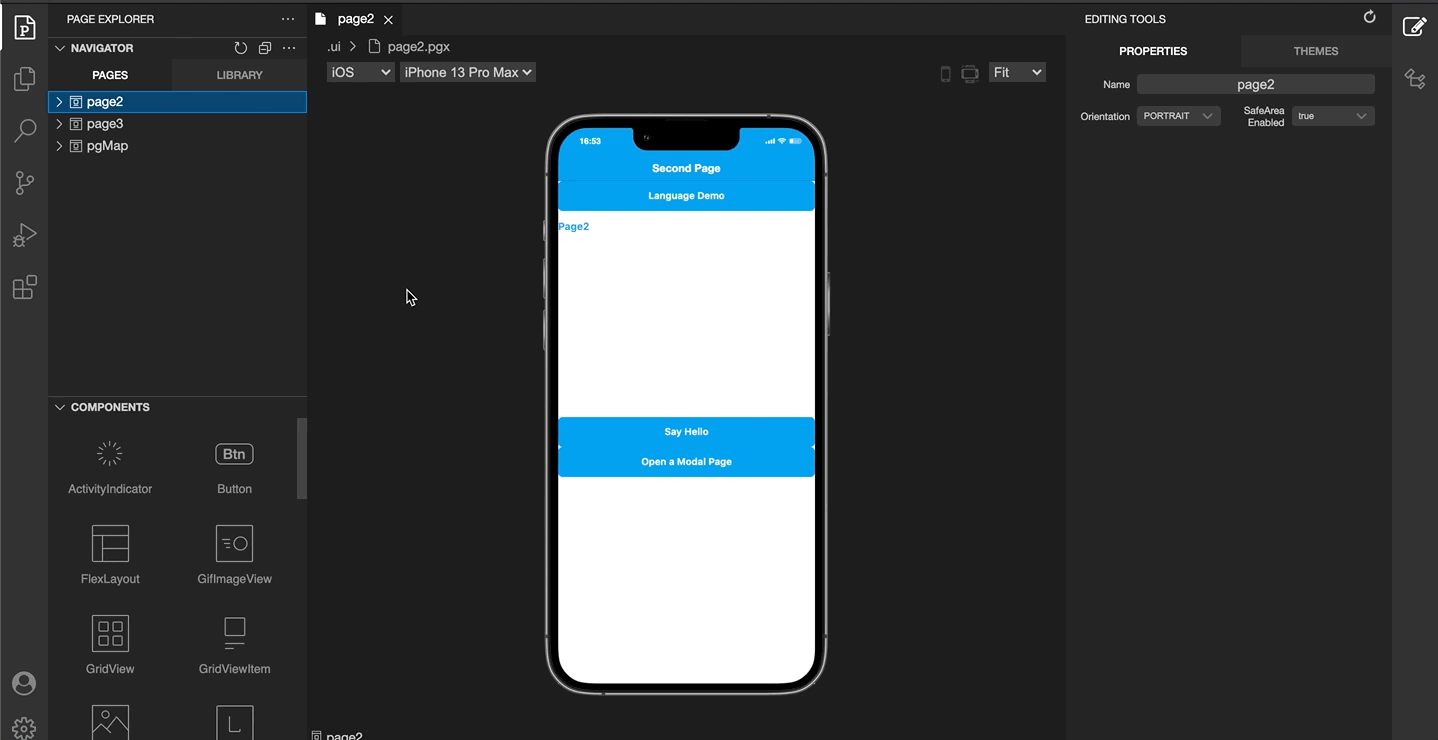
Your newly added page will look like this. This might change over time.
- Page Code
- Page UI
import NewPage001Design from "generated/pages/newPage001";
import { withDismissAndBackButton } from "@smartface/mixins";
import { Route, Router } from "@smartface/router";

export default class NewPage001 extends withDismissAndBackButton(
  NewPage001Design
) {
  constructor(private router?: Router, private route?: Route) {
    super({});
  }

  /**
   * @event onShow
   * This event is called when the page appears on the screen (everytime).
   */
  onShow() {
    super.onShow();
    this.initBackButton(this.router); //Addes a back button to the page headerbar.
  }

  /**
   * @event onLoad
   * This event is called once when the page is created.
   */
  onLoad() {
    super.onLoad();
  }
}
{
    "components": [
        {
            "type": "Page",
            "id": "a866-cc15-af52-0217",
            "userProps": {},
            "className": ".sf-page",
            "props": {
                "name": "newPage001",
                "parent": null,
                "children": [
                    "f8b6-4ed3-2272-da3b",
                    "bf0b-54b9-b4a7-4e44"
                ],
                "orientation": "PORTRAIT"
            },
            "initialized": false
        },
        {
            "type": "StatusBar",
            "id": "f8b6-4ed3-2272-da3b",
            "userProps": {},
            "className": ".sf-statusBar",
            "props": {
                "name": "statusBar",
                "parent": "a866-cc15-af52-0217",
                "children": [],
                "visible": true,
                "isRemovable": false
            }
        },
        {
            "type": "HeaderBar",
            "id": "bf0b-54b9-b4a7-4e44",
            "userProps": {
                "title": "newPage001"
            },
            "className": ".sf-headerBar",
            "props": {
                "name": "headerBar",
                "parent": "a866-cc15-af52-0217",
                "children": [],
                "title": "newPage001",
                "visible": true,
                "isRemovable": false
            }
        }
    ],
    "componentByID": {
        "674c-b5af-d358-f512": {
            "type": "Page",
            "id": "a866-cc15-af52-0217",
            "userProps": {},
            "className": ".sf-page",
            "props": {
                "name": "newPage001",
                "parent": null,
                "children": [
                    "f8b6-4ed3-2272-da3b",
                    "bf0b-54b9-b4a7-4e44"
                ],
                "orientation": "PORTRAIT"
            },
            "initialized": false
        },
        "c92a-b980-5c93-4532": {
            "type": "StatusBar",
            "id": "f8b6-4ed3-2272-da3b",
            "userProps": {},
            "className": ".sf-statusBar",
            "props": {
                "name": "statusBar",
                "parent": "a866-cc15-af52-0217",
                "children": [],
                "visible": true,
                "isRemovable": false
            }
        },
        "c2f2-1f68-7ee8-a34f": {
            "type": "HeaderBar",
            "id": "bf0b-54b9-b4a7-4e44",
            "userProps": {
                "title": "newPage001"
            },
            "className": ".sf-headerBar",
            "props": {
                "name": "headerBar",
                "parent": "a866-cc15-af52-0217",
                "children": [],
                "title": "newPage001",
                "visible": true,
                "isRemovable": false
            }
        }
    }
}
To learn more about constructor, onLoad and onShow, head over to Page Life-Cycle documentation.
Page Life-CycleNavigating to Page and Assigning Routes
After the page addition is complete, you need to configure your routes in order to use your newly created page
- pages/index.ts (Optional)
- This file is to organize the pages which are added on Smartface Project.
- You can navigate through pages
- routes/index.ts
- This file is to navigate your route and manage your navigation
Here is the default pages/index.ts. This file is used for router and when you need to import all of pages for typing purposes.
export { default as Page1 } from "./page1";
export { default as Page2 } from "./page2";
export { default as NewPage001 } from "./newPage001";
After it is added, you can edit your routes/index.ts file to navigate through that directory
import {
  NativeRouter
  NativeStackRouter,
  Route
} from "@smartface/router";
import * as Pages from "pages";
import Application from "@smartface/native/application";

Application.on('backButtonPressed', () => {
  NativeRouter.getActiveRouter()?.goBack();
});

const router = NativeRouter.of({
  path: "/",
  isRoot: true,
  routes: [
    NativeStackRouter.of({
      path: "/pages",
      routes: [
        Route.of({
          path: "/pages/page1",
          build(router, route) {
            return new Pages.Page1(router, route);
          }
        }),
        Route.of({
          path: "/pages/page2",
          build(router, route) {
            return new Pages.Page2(router, route);
          }
        }),
        // Newly added
        Route.of({
          path: "/pages/newPage001",
          build(router, route) {
            return new Pages.NewPage001(router, route);
          }
        })
      ]
    })
  ]
});

export default router;
Alternative method to dynamically add pages when they are added
If you have multiple pages, you can do something like this to automatically add the routes inside:
import { NativeRouter, NativeStackRouter, Route } from "@smartface/router";
import * as Pages from "pages";
import Application from "@smartface/native/application";

Application.on('backButtonPressed', () => {
  NativeRouter.getActiveRouter()?.goBack();
});

function generateRoutes(basePath: string) {
  const allPages = Object.keys(Pages);
  return allPages.map((pageName, index) => {
    return Route.of({
      path: `${basePath}/${pageName}`,
      build: (router, route) => pages[pageName],
    });
  });
}
const router = NativeRouter.of({
  path: "/",
  isRoot: true,
  routes: [
    NativeStackRouter.of({
      path: "/pages",
      routes: generateRoutes("/pages"),
    }),
  ],
});
export default router;
With this method, all of the pages inside of pages/index.ts will be automatically added to your router.
Duplicating a Page
When you wish to use one page as UI template or you want to duplicate it, click on this button:
It will automatically duplicate it and create a new fileset for the new page. This will behave like a new page.
You can also duplicate a Library component or normal component the same way.
Extending a Page
When you want to use the same UI components with a page but you don't want to duplicate the UI representation, you can extend the page like any TypeScript Class.
Here, it uses the Page1 UI Representation and you can reach the page itself by Using Page1:
import Page1Design from "generated/pages/page1";
import { Route, Router } from "@smartface/router";
import { withDismissAndBackButton } from "@smartface/mixins";
import { themeService } from "theme";
import PageTitleLayout from "components/PageTitleLayout";
import System from "@smartface/native/device/system";

export default class Page1 extends withDismissAndBackButton(Page1Design) {
  router: any;
  constructor(private router?: Router, private route?: Route) {
    super({});
    this.btnNext.onPress = () => {
      this.router.push("/pages/page2", { message: "Hello World!" });
    };
  }

  onShow() {
    super.onShow();
  }
  onLoad() {
    super.onLoad();
    console.info("Onload page1");
    this.headerBar.leftItemEnabled = false;
    this.headerBar.titleLayout = new PageTitleLayout();
    themeService.addGlobalComponent(this.headerBar.titleLayout, "titleLayout");
    if (System.OS === System.OSType.Android) {
      this.headerBar.title = "";
    }
  }
}
By manually creating a different file on pages directory, you can specify a different page while using the same layout set with another page.
Lets say the name of our new page is page1New:
import Page1Design from "generated/pages/page1";
import { themeService } from "theme";
import { Route, Router } from "@smartface/router";
import { withDismissAndBackButton } from "@smartface/mixins";
import PageTitleLayout from "components/PageTitleLayout";
import System from "@smartface/native/device/system";

// Notice how we are declaring a different name for class
export default class Page1New extends withDismissAndBackButton(Page1Design) {
  router: any;
  constructor(private router?: Router, private route?: Route) {
    super({});
    this.btnNext.onPress = () => {
      this.router.push("/pages/page2", { message: "Hello World!" });
    };
  }

  onShow(superOnShow: () => void) {
    superOnShow();
  }

  onLoad(superOnLoad: () => void) {
    superOnLoad();
    console.info("Onload page1");
    this.headerBar.leftItemEnabled = false;
    this.headerBar.titleLayout = new PageTitleLayout();
    themeService.addGlobalComponent(this.headerBar.titleLayout, "titleLayout");
    if (System.OS === System.OSType.Android) {
      this.headerBar.title = "";
    }
  }
}
You can even extend your components the same way ! Smartface Pages and Components are basically a TypeScript Classes.
Usage of Mixins and Changing Back&Dismiss Buttons
Mixins are a programming concept that implements certain behaviors and we are using them to add their behavior to other classes. Our @smartface/mixins package contains various different mixins that you can use on your project. Let's continue with one of them.
To control back&dismiss button behaviors of the Header Bar of your page, since your extended pageDesign is wrapped with a mixin named withDismissAndBackButton you can simply use the functionality that mixin gives to your page.
To do this, within the onShow method of your page you can call the initDismissButton & initBackButton methods that mixin provides for you.
import Page1Design from "generated/pages/page1";
import { Route, Router } from "@smartface/router";
import { withDismissAndBackButton } from "@smartface/mixins";

export default class Page1 extends withDismissAndBackButton(Page1Design) {
  // Notice Page1Design being passes as parameter and returned as a function
  constructor(private router?: Router, private route?: Route) {
    super({});
  }
  onShow() {
    super.onShow();
    this.initDismissButton(
      this.router
    ); /** Addes a mutual dismiss button that dismisses the modal. Use if your page is going to be modal */
    this.initBackButton(
      this.router
    ); /** Addes a mutual back button that goes back one page. */
  }

  onLoad() {
    super.onLoad();
  }
}
What initDismissButton gives to you is if your page is a Modal, you can set an image or a text with a given position&color to HeaderBar of your page and it will be used to go back to your previous page on the route history.
The same also goes for the initBackButton method. This method needs to be called if you have a Basic Page rather than a Modal.
For usage, just hover over the functions and see what are their capabilities!
By default, this.initDismissButton uses close_icon.png as image. Remember to add it to your project as image.
You can find the default icon by clicking the link:
Check the following documentation on how to generate image(s):
Image GenerationThe mixin that being used in this section can be reached out from here:
https://github.com/smartface/smartface-modules/tree/main/packages/mixins/src
How to create a new mixin?
After all this being said, we can also touch on how you can create your own mixins according to your need.
For this, we will create a simple mixin that provides the functionality to easily add a default titleLayout to the pages we choose. (P.S. Title Layout allows you to assign a custom view to the headerBar of your page)
First, we will create a new function that takes our page class as a parameter, then that function will return a newly created class that extends the given page class with a new method called initDefaultTitleLayout.
import Page from "@smartface/native/ui/page";
import PageTitleLayout from "components/PageTitleLayout";
import { themeService } from "theme";
import System from "@smartface/native/device/system";
import { MergeCtor } from "@smartface/styling-context/lib/mixin";
import { ConstructorOf } from "@smartface/styling-context/lib/ConstructorOf";

interface iDefaultTitleLayout {
  initDefaultTitleLayout(): void;
}
export function withDefaultTitleLayout<
  T extends new (...params: any[]) => Page = new (...params: any[]) => Page
>(PageClass: T) {
  const klass = class extends (PageClass as any) implements iDefaultTitleLayout {
    initDefaultTitleLayout() {
      const myTitleLayout = new PageTitleLayout();
      this.headerBar.leftItemEnabled = false;
      this.headerBar.titleLayout = myTitleLayout;
      themeService.addGlobalComponent(
        this.headerBar.titleLayout,
        `${PageClass.prototype.getName()}TitleLayout`
      );
      if (System.OS === System.OSType.ANDROID) {
        this.headerBar.title = "";
      }
    }
  };
  return klass as unknown as MergeCtor<
    ConstructorOf<iDefaultTitleLayout>,
    typeof PageClass
  >;
}
On the code given above, we have created a mixin function called withDefaultTitleLayout.
- First, the function takes a PageClass as a parameter and creates a new class called
klassby extending the given PageClass. - Within the new klass, we are defining a new method called
initDefaultTitleLayout, the purpose of this method is to create a new titleLayout view and assign it to the headerBar object of the extended class. - After all these steps, now our klass has successfully gained the ability to tweak the headerBar without changing anything on the original (base) PageClass. To finalize the mixin implementation, we return the newly created klass with the iDefaultTitleLayout interface merged to its type.
We have successfully implemented our custom mixin for the example. Now It's time to use our mixin on any page we want.
import PageSampleDesign from "generated/pages/pageSample";
import { Router, Route } from "@smartface/router";

import { withDefaultTitleLayout } from "lib/mixins";

export default class PageSample extends withDefaultTitleLayout(
  PageSampleDesign
) {
  constructor(private router?: Router, private route?: Route) {
    super({});
  }

  /**
   * @event onShow
   * This event is called when a page appears on the screen (everytime).
   */
  onShow() {
    super.onShow();
  }

  /**
   * @event onLoad
   * This event is called once when page is created.
   */
  onLoad() {
    super.onLoad();
    this.initDefaultTitleLayout(); // We can call our new method within the class.
  }
}
While writing our page code, to call initDefaultTitleLayout method and add a titleLayout to the Header Bar of the page, since your extended pageDesign is wrapped with a mixin named withDefaultTitleLayout you can simply use the functionality that mixin gives to your page.