SearchView
API Reference: UI.SearchBar
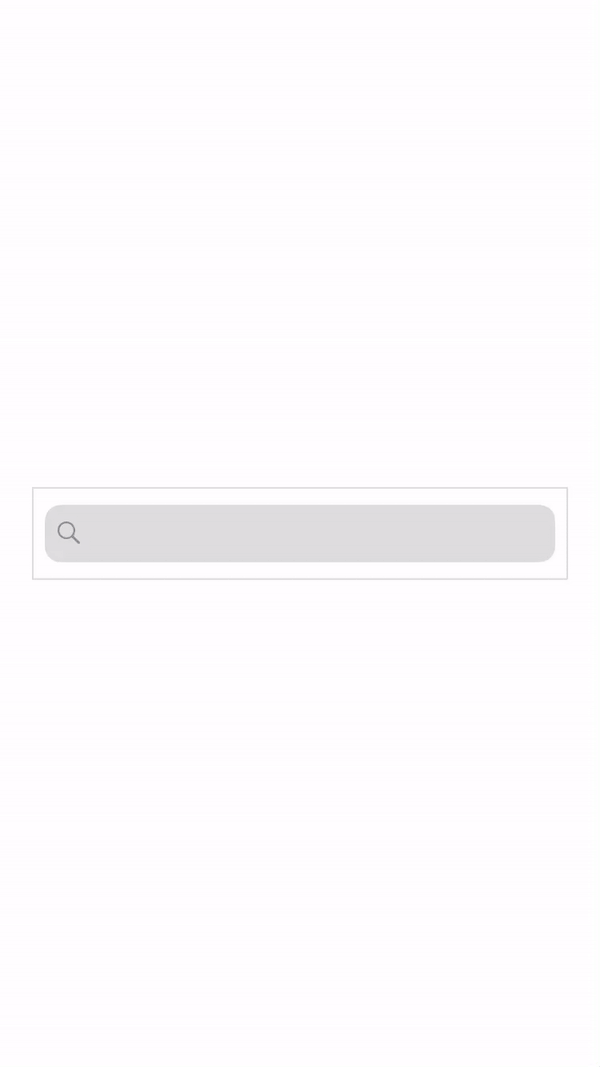
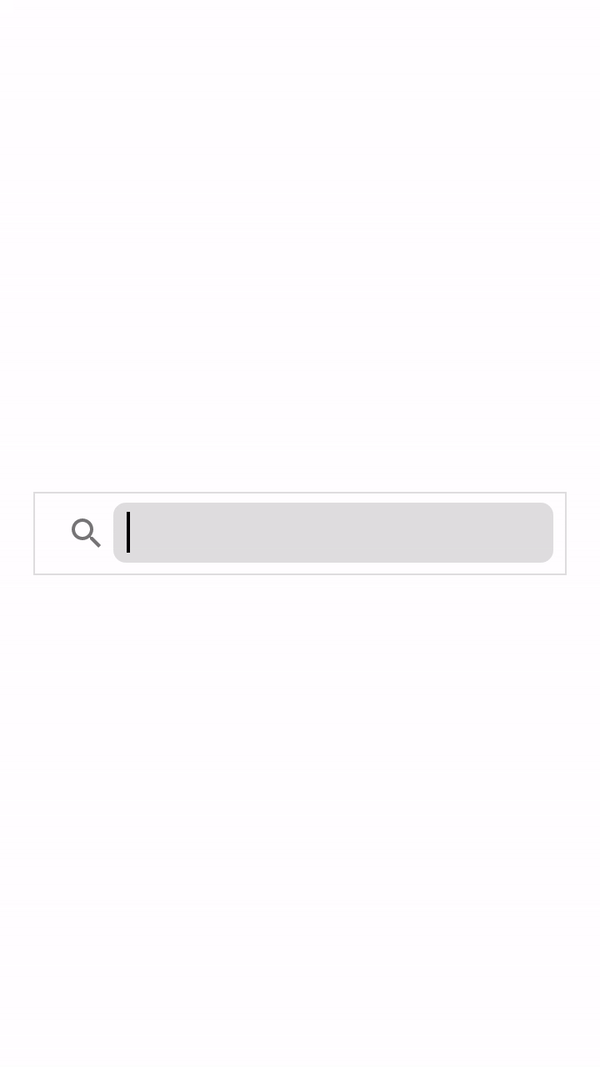
SearchView is a UI object in which the user can enter a search query and submit a request to the search provider.
import PageSampleDesign from "generated/pages/pageSample";
import FlexLayout from "@smartface/native/ui/flexlayout";
import Application from "@smartface/native/application";
import SearchView from "@smartface/native/ui/searchview";
import { Route, Router } from '@smartface/router';

//You should create new Page from UI-Editor and extend with it.
export default class Sample extends PageSampleDesign {
  mySearchView: SearchView;
  constructor(private router?: Router, private route?: Route) {
    super({});
  }

  // The page design has been made from the code for better
  // showcase purposes. As a best practice, remove this and
  // use WYSIWYG editor to style your pages.
  centerizeTheChildrenLayout() {
    this.dispatch({
        type: "updateUserStyle",
        userStyle: {
            flexProps: {
              flexDirection: 'ROW',
              justifyContent: 'CENTER',
              alignItems: 'CENTER'
            }
        }
    })
  }

  /**
   * @event onShow
   * This event is called when a page appears on the screen (everytime).
   * @param {function} superOnShow super onShow function
   * @param {Object} parameters passed from Router.go function
   */
  onShow() {
    super.onShow();
    Application.statusBar.visible = false;
    this.headerBar.visible = false;
  }

  onLoad() {
    super.onLoad();
    this.centerizeTheChildrenLayout();

    this.mySearchView = new SearchView();
    // Do not forget to dispose this event when you are done with it.
    this.mySearchView.on('textChanged', (searchText) => {
      console.log("searched text : " + searchText);
    });

    this.addChild(this.mySearchView, "mySearchView", ".sf-searchView", {
      marginLeft: 20,
      marginRight: 20,
      backgroundColor: "rgba(246,246,246,0)",
      borderWidth: 1,
    });
  }
}
Add SearchView into HeaderBar
A common method of SearchView is to add it into the HeaderBar to save estate on the mobile application.
Since HeaderBar is a special component, it doesn't act like a normal ViewGroup so you can't add SearchView into HeaderBar directly. However, there are other methods to accomplish this task.
Using addToHeaderBar property
API Reference: UI.SearchView.addToHeaderBar
You can use built-in method to natively add your SearchView into the HeaderBar. Since it is a native experience, customization for the views itself is not flexible.
import Page1Design from "generated/pages/page1";
import SearchView from "@smartface/native/ui/searchview";
import Color from "@smartface/native/ui/color";
import { withDismissAndBackButton } from "@smartface/mixins";
import { Route, Router } from '@smartface/router';
import Button from "@smartface/native/ui/button";

export default class Page1 extends withDismissAndBackButton(Page1Design) {
    mySearchView: SearchView;
    constructor(private router?: Router, private route?: Route) {
        super({});
    }
    initSearchView(): void {
        /**
         * Since this component will not be added to the context directly, you might skip on dispatch calls and use direct assignment.
         */
        this.mySearchView = new SearchView();
        this.mySearchView.android.textFieldBorderRadius = 20;
        this.mySearchView.textFieldBackgroundColor = Color.WHITE;
        //@ts-ignore
        this.mySearchView.cursorColor = Color.BLACK;
        this.mySearchView.addToHeaderBar(this);
    }

    /**
     * @event onShow
     * This event is called when a page appears on the screen (everytime).
     */
    onShow() {
        super.onShow();
        this.initBackButton(this.router);
    }

    /**
     * @event onLoad
     * This event is called once when page is created.
     */
    onLoad() {
        super.onLoad();
        this.initSearchView();
    }
}

Notice that on Android, the search will be iconified and cannot be un-iconified while using this method.
Cursor Color
Also, notice that the cursor is not entirely visible on iOS. Change that by using UI.SearchView.cursorColor property by:
    /**
     * Since this component will not be added to the context directly, you might skip on dispatch calls and use direct assignment.
     */
    initSearchView(): void {
        this.mySearchView = new SearchView();
        this.mySearchView.textFieldBorderRadius = 20;
        this.mySearchView.cursorColor = Color.BLACK;
        this.mySearchView.textFieldBackgroundColor = Color.WHITE;
        this.mySearchView.addToHeaderBar(this);
    }
For more information about cursorColor, please refer to the following documentation:
Cursor ColorUsing titleLayout Method
API Reference: UI.HeaderBar.TitleLayout
Guide Reference: TitleLayout
This method is not encouraged to use. It is better to design your application minding the specifications of the platforms.
If you don't like the native experience or want something custom, you can also use titleLayout for customized SearchView.
The process is the same with adding TitleLayout for anything else. You can refer to the documentation below to apply it properly.
HeaderBarTips&Tricks About SearchView
You can find common cases and the approach to overcome them here.
Not Getting the Whole Text in onTextChanged event
While using onTextChanged event, only the entered text will be granted to you if you log the searchText parameter in the event.
The reason for this behavior is, you can paste text in the searchView and you might want to get the pasted text.
  // ..rest of code
  initSearchView() {
    this.searchView.on('textChanged', (searchText) => {
      console.info(`Searched Text: ${searchText}`); // E.g. if you typed "a" in the searchview, this will give you "a", not the whole text.
    });
  }
To get the whole text during the event (e.g. in cases of using Search API), use searchView.text method instead.
// ..rest of code
function initSearchView() {
    this.searchView.on('textChanged', (searchText) => {
        console.info(`Searched Text: ${this.searchView.text}`);
    });
}
Using SearchView with API
When implementing a Search API, you will typically want to refresh the data in the onTextChanged event.
You can simply do something like this:
function initSearchView() {
    this.searchView.on('textChanged', async (searchText) => {
        await yourApiCall(this.searchView.text);
        /** Post API operations */
    });
}
However, doing this will invoke the API on every text press and will try to call the API repeatedly. Therefore, the cost impact on API and Mobile Application performance will be too high.
To prevent this, you should try a method called debounce to prevent such cases. No matter how much you call the function, it will only be executed after the time you have specified.
Debounce Code Implementation
Since debounce is a common practice for Search, you can straight up write your own debounce code or paste this to a different folder in your project to call:
export default function (
    func: (...args: any) => any,
    wait: number,
    immediate?: boolean
): () => void {
    let timeout: any;
    return function () {
        const args = arguments;
        const later = () => {
            timeout = null;
            if (!immediate) func.apply(this, args);
        };
        let callNow = immediate && !timeout;
        clearTimeout(timeout);
        timeout = setTimeout(later, wait);
        if (callNow) func.apply(this, args);
    };
}
And use it on your code like this:
import debounce from "lib/debounce";

const DEBOUNCE_TIMEOUT = 200;

async function onTextChanged(searchText: string) {
    await yourApiCall(this.searchView.text);
    /** Post API operations */
}

function initSearchView() {
    this.searchView.on(
        'textChanged',
        debounce(onTextChanged, DEBOUNCE_TIMEOUT)
    );
}
Debounce Package Usage
Since Smartface is a Node Application, you can also use external packages for various purposes and debounce is not an exception.
You can use this package through NPM:
https://www.npmjs.com/package/debounce
Smartface recommends to use yarn as package manager.
If you also want the package to be strongly typed, you can install @types/debounce. You should install those packages to devDependency.
yarn add --dev @types/debounce
And use it the same fashion:
import debounce from "debounce";

const DEBOUNCE_TIMEOUT = 200;

async function onTextChanged(searchText: string) {
    await yourApiCall(this.searchView.text);
    /** Post API operations */
}

function initSearchView() {
    this.searchView.on(
        'textChanged',
        debounce(onTextChanged, DEBOUNCE_TIMEOUT)
    );
}