TextView
API Reference: UI.TextView
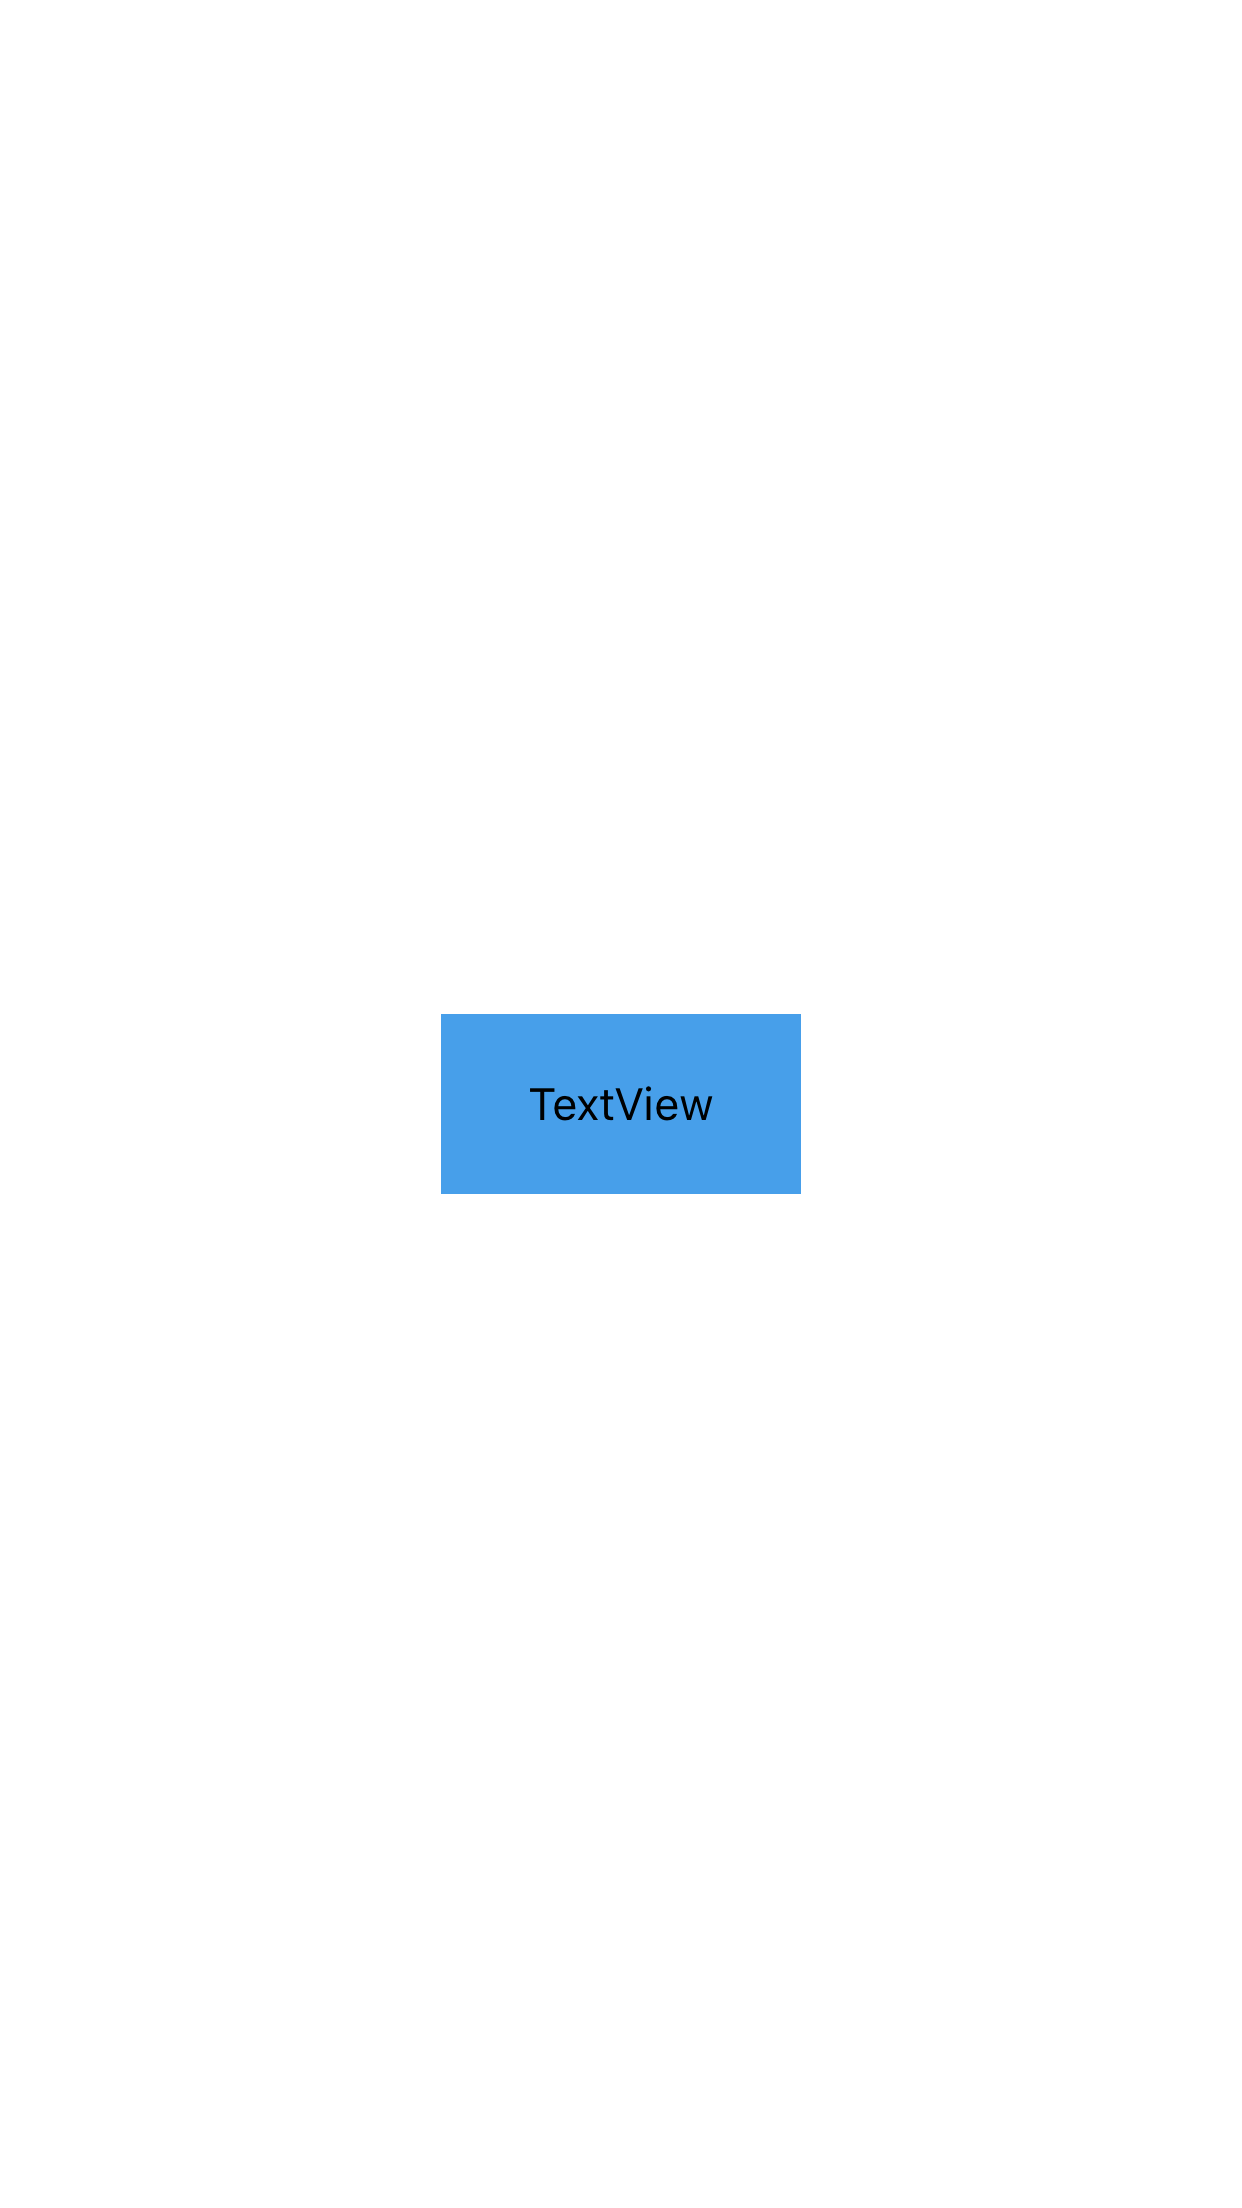
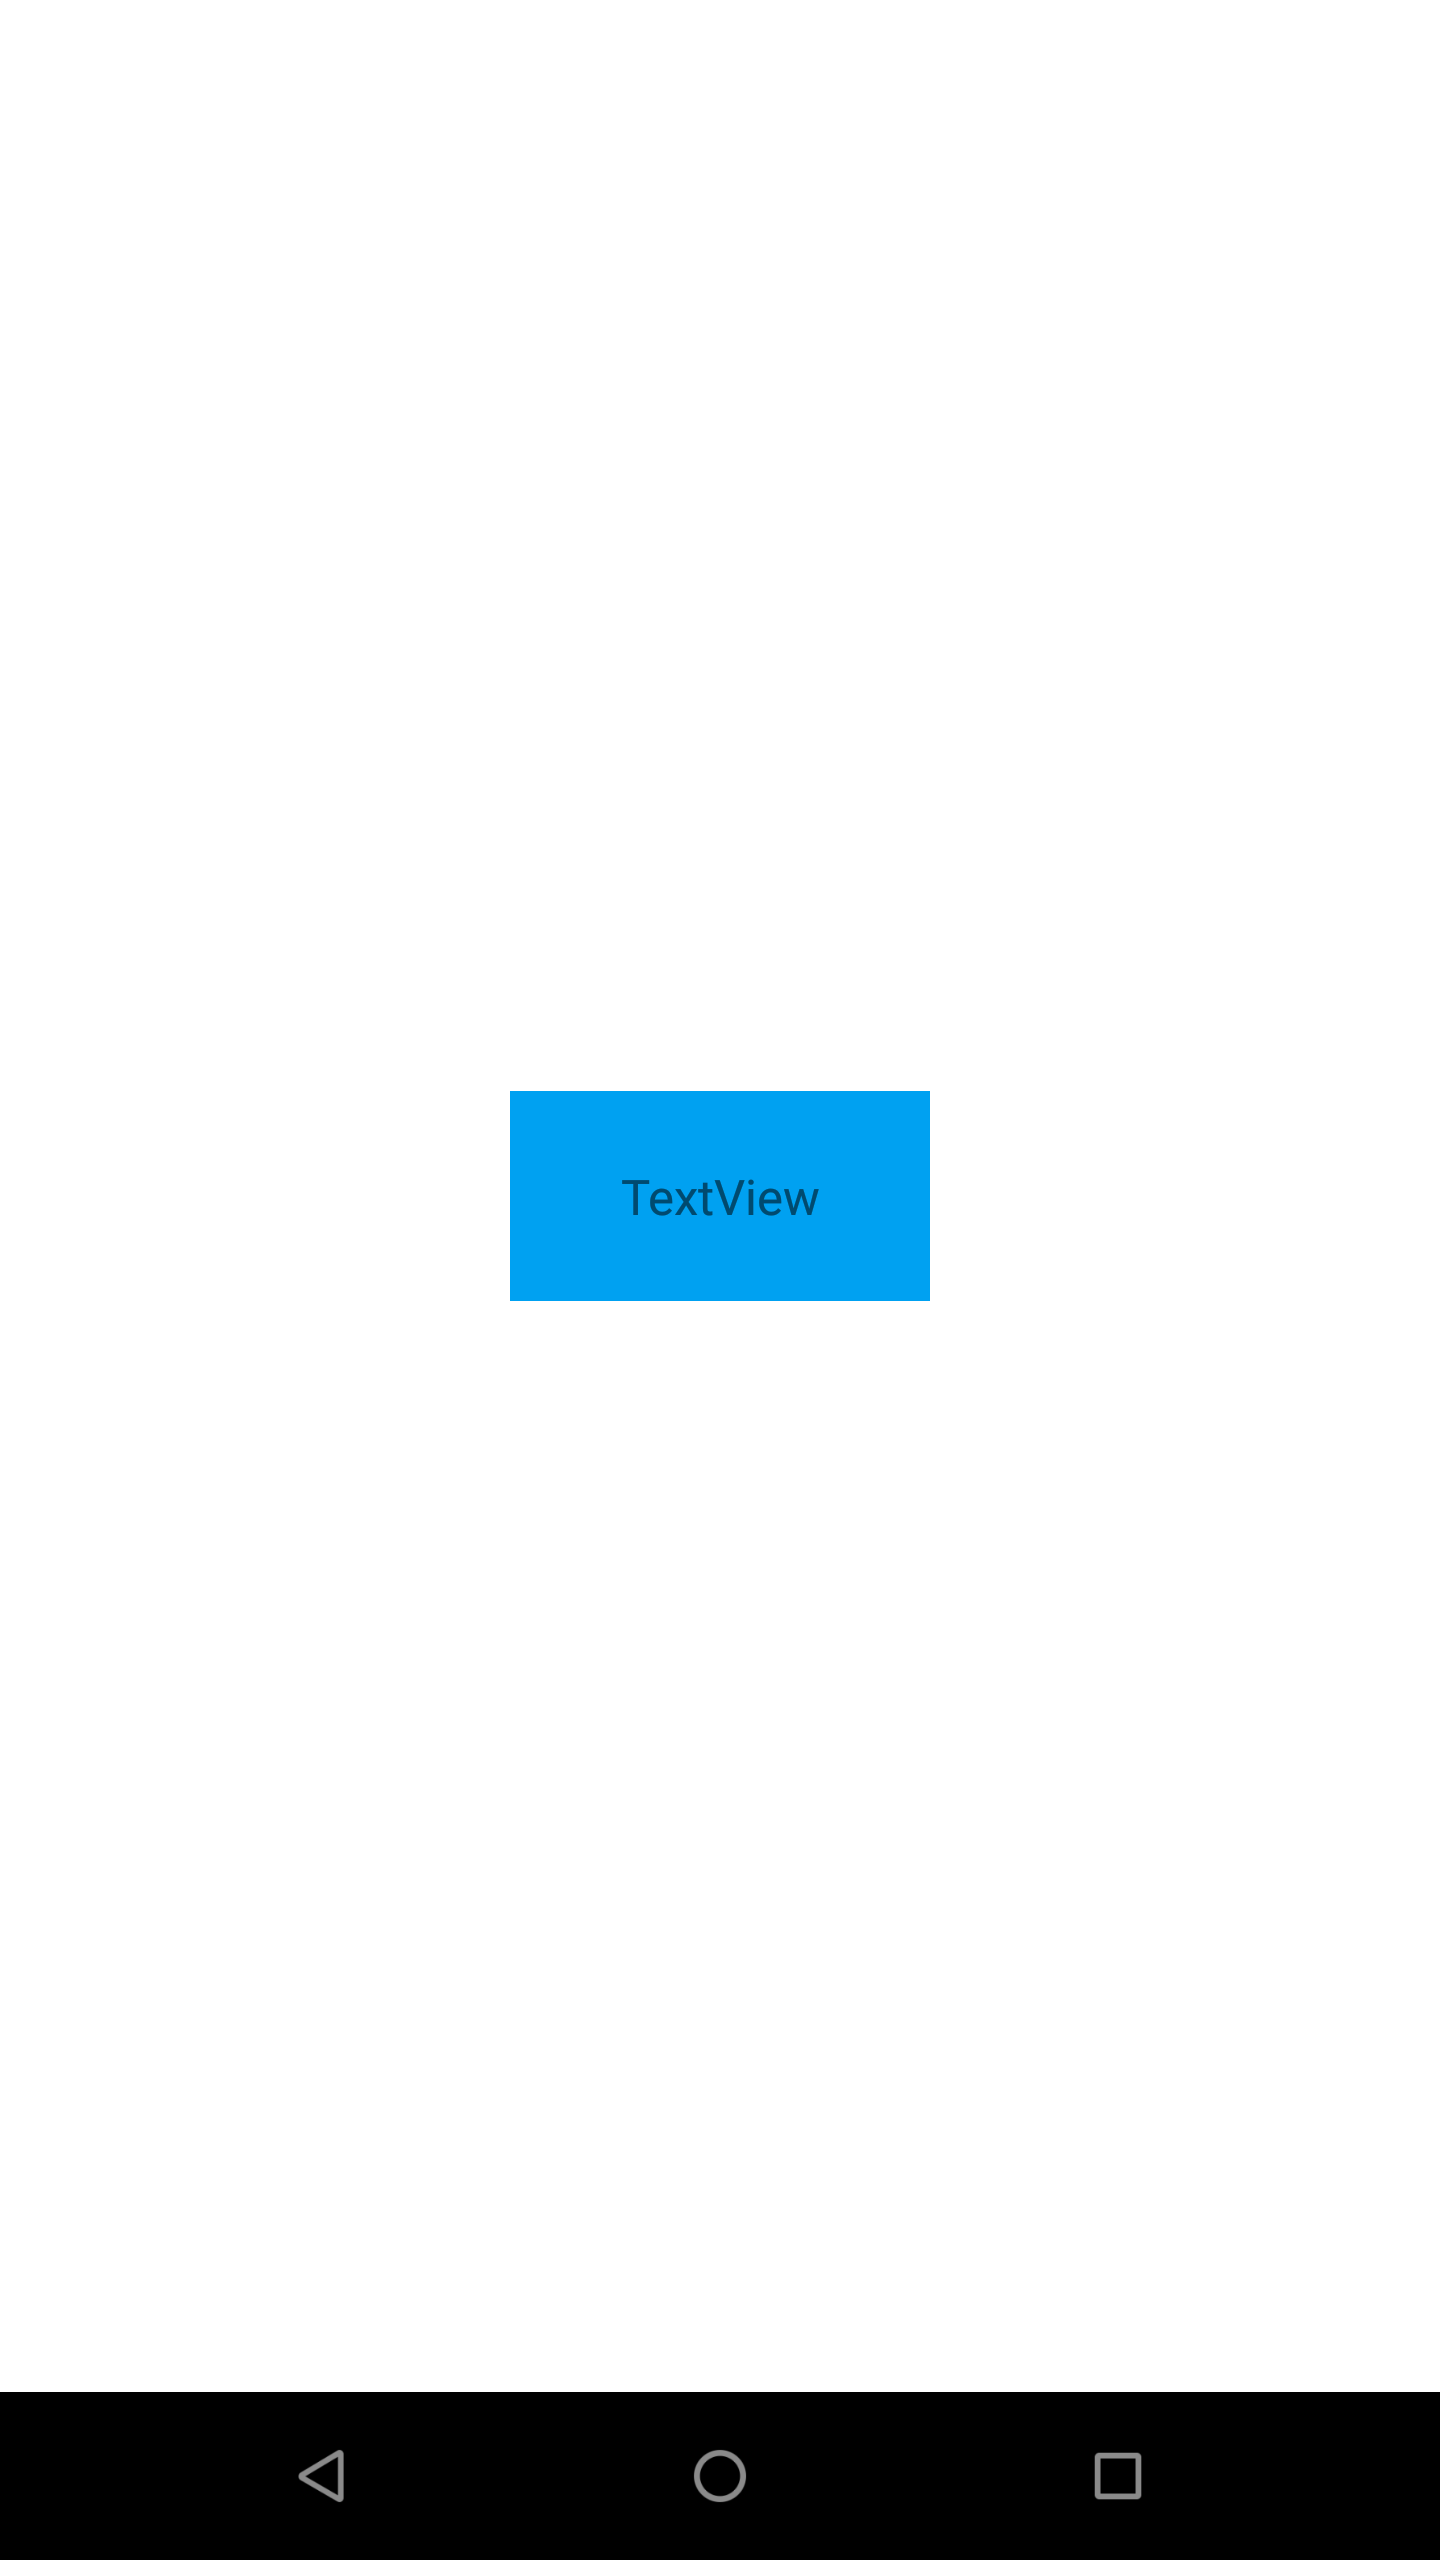
TextView is rich version of Label
The components in the example are added from the code for better showcase purposes. To learn more about the subject you can refer to:
Adding Component From CodeAs a best practice, Smartface recommends using the WYSIWYG editor in order to add components and styles to your page or library. To learn how to use UI Editor better, please refer to this documentation
UI Editor Basicsimport PageSampleDesign from "generated/pages/pageSample";
import { Route, Router } from "@smartface/router";
import { styleableComponentMixin } from "@smartface/styling-context";
import Application from "@smartface/native/application";
import TextBox from "@smartface/native/ui/textbox";
import Picker from "@smartface/native/ui/picker";
import TextView from "@smartface/native/ui/textview";
class StyleableTextView extends styleableComponentMixin(TextView) {}
//You should create new Page from UI-Editor and extend with it.
export default class Sample extends PageSampleDesign {
myTextView: StyleableTextView;
constructor(private router?: Router, private route?: Route) {
super({});
}
// The page design has been made from the code for better
// showcase purposes. As a best practice, remove this and
// use WYSIWYG editor to style your pages.
centerizeTheChildrenLayout() {
this.dispatch({
type: "updateUserStyle",
userStyle: {
flexProps: {
flexDirection: "ROW",
justifyContent: "CENTER",
alignItems: "CENTER",
},
},
});
}
onShow() {
super.onShow();
const { headerBar } = this;
Application.statusBar.visible = false;
headerBar.visible = false;
}
onLoad() {
super.onLoad();
this.centerizeTheChildrenLayout();
this.myTextView = new StyleableTextView({
text: "TextView",
});
this.addChild(this.myTextView, "myTextView", ".sf-textView", {
width: 120,
height: 60,
backgroundColor: "#00A1F1",
textAlignment: "MIDCENTER",
});
}
}
In a column-flexlayout : If no height and flexgrow set for a label object, it automatically resizes according to text content.
In a row-flexlayout : If no width and flexgrow set for a label object, it automatically resizes according to text content.
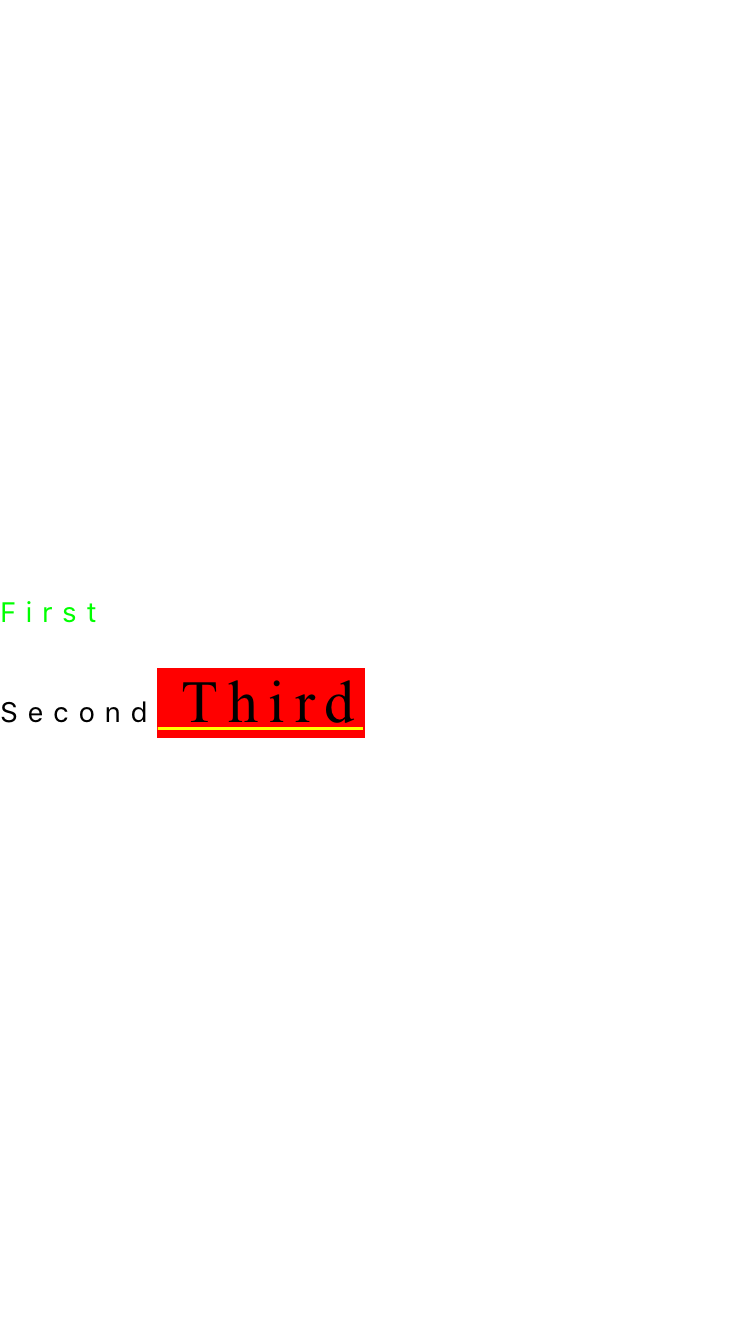
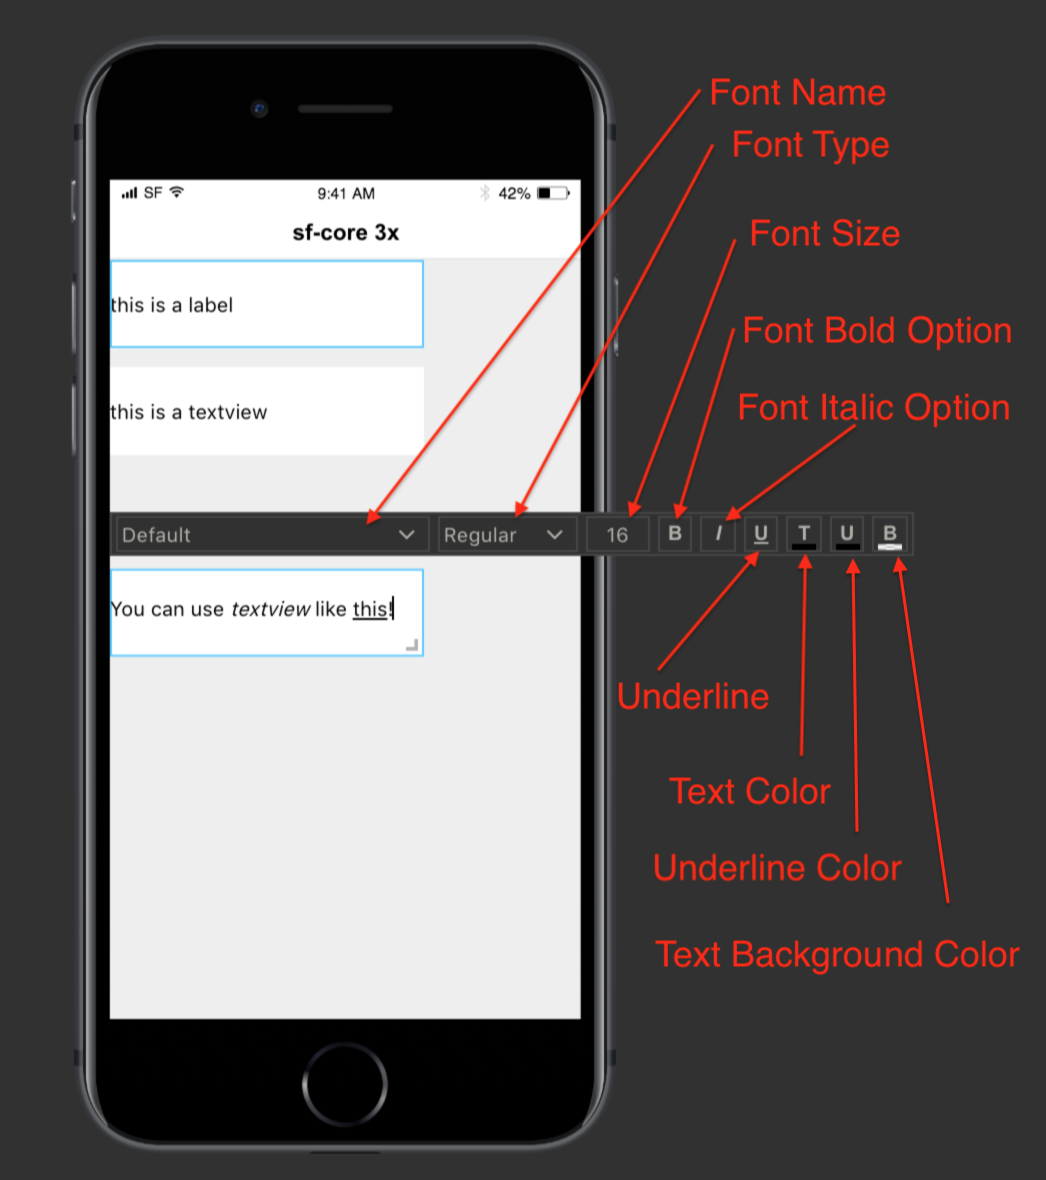
AttributedText
Attributed Text, is an "inline" text formatting option. Formatting option can change the following features of the text. A TextView can have more than one or more attributed text.
- font name
- font type (weight, bold, italic)
- text color
- underline
- underline color (iOS only)
- link (touching to a text-block within a TextView trigger the link)
- text background
The components in the example are added from the code for better showcase purposes. To learn more about the subject you can refer to:
Adding Component From CodeAs a best practice, Smartface recommends using the WYSIWYG editor in order to add components and styles to your page or library. To learn how to use UI Editor better, please refer to this documentation
UI Editor Basicsimport PageSampleDesign from "generated/pages/pageSample";
import { Route, Router } from "@smartface/router";
import { styleableComponentMixin } from "@smartface/styling-context";
import Application from "@smartface/native/application";
import TextView from "@smartface/native/ui/textview";
import System from "@smartface/native/device/system";
import AttributedString from "@smartface/native/global/attributedstring";
import Color from "@smartface/native/ui/color";
import Font from "@smartface/native/ui/font";
class StyleableTextView extends styleableComponentMixin(TextView) {}
//You should create new Page from UI-Editor and extend with it.
export default class Sample extends PageSampleDesign {
myTextView: StyleableTextView;
constructor(private router?: Router, private route?: Route) {
super({});
}
// The page design has been made from the code for better
// showcase purposes. As a best practice, remove this and
// use WYSIWYG editor to style your pages.
centerizeTheChildrenLayout() {
this.dispatch({
type: "updateUserStyle",
userStyle: {
flexProps: {
flexDirection: "ROW",
justifyContent: "CENTER",
alignItems: "CENTER",
},
},
});
}
onShow() {
super.onShow();
const { headerBar } = this;
Application.statusBar.visible = false;
headerBar.visible = false;
}
onLoad() {
super.onLoad();
this.centerizeTheChildrenLayout();
this.myTextView = new StyleableTextView({
lineSpacing: 20,
});
if (System.OS === System.OSType.IOS) {
this.myTextView.letterSpacing = 5;
} else {
// letterSpacing working on ANDROID Lollipop (API-21) AND UPPER
this.myTextView.letterSpacing = 0.3;
}
this.myTextView.onTouchEnded = function (link) {
console.log("link " + link);
};
let attributeString = new AttributedString();
attributeString.string = "First\n";
attributeString.foregroundColor = Color.GREEN;
let attributeString2 = new AttributedString();
attributeString2.string = "Second";
attributeString2.link = "Second Link ";
let attributeString3 = new AttributedString();
attributeString3.string = " Third";
attributeString3.link = "Third Link";
attributeString3.backgroundColor = Color.RED;
attributeString3.underline = true;
attributeString3.font = Font.create("TimesNewRomanPS-RegularMT", 30);
attributeString3.ios.underlineColor = Color.YELLOW;
this.myTextView.attributedText = [
attributeString,
attributeString2,
attributeString3,
];
this.addChild(this.myTextView, "myTextView", ".sf-textView", {
width: null,
height: null,
flexGrow: 1,
maxLines: 0,
});
}
}
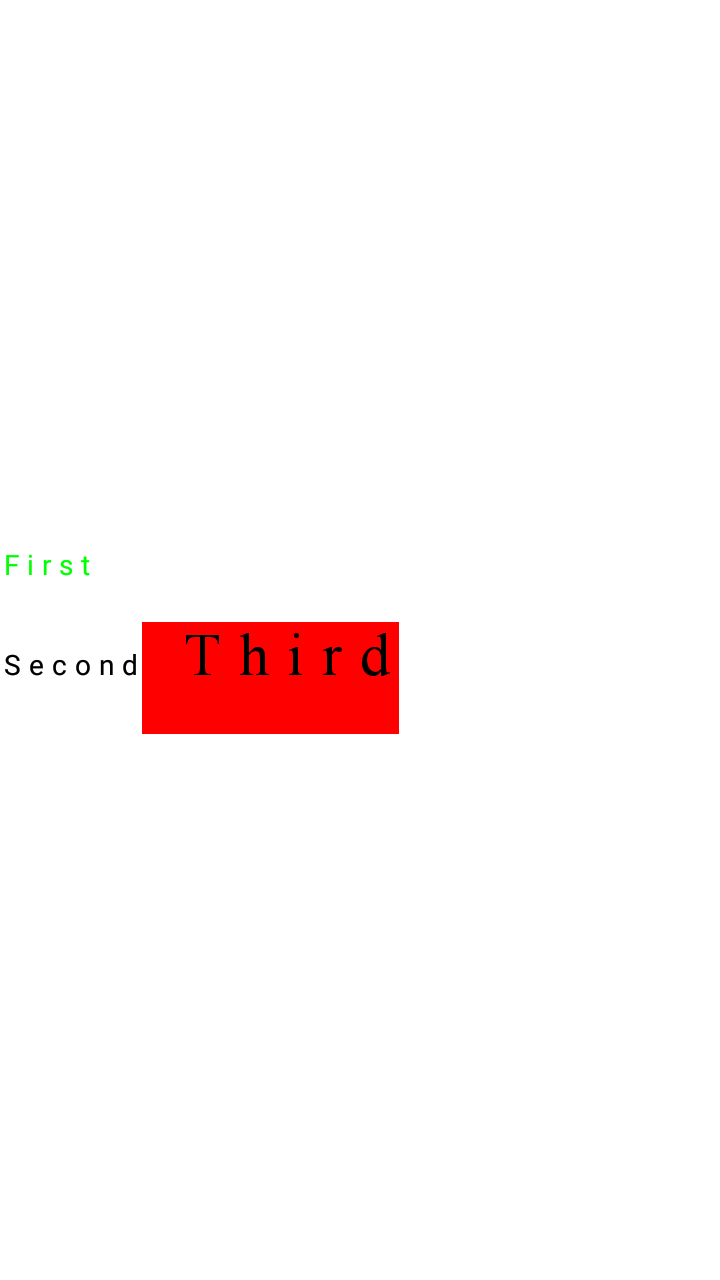
Letter Spacing
The implementation is differs in both OS. iOS accepts point to allocate space between letters. Android accepts 'em' that is the typography unit of font width. According to given text size , em unit is determined such as if given text size is 16 sp then 1em unit is equal to 16 sp. There is also another consideration that em is the width of the widest letter of current language. Such as in English em takes the M letter as widest letter and being considered while spacing.
this.myTextView = new TextView({
  lineSpacing: 20,
});

let attributeString3 = new AttributedString();
attributeString3.string = " Third";
attributeString3.backgroundColor = Color.RED;
attributeString3.underline = true;
//@ts-ignore
attributeString3.font = Font.create("TimesNewRomanPS-RegularMT", 30);
attributeString3.ios.underlineColor = Color.YELLOW;
// letterSpacing working on ANDROID Lollipop (API-21) AND UPPER
this.myTextView.letterSpacing =
  System.OS === System.OSType.IOS ? 5 : 5 / attributeString3.font.size;

this.myTextView.attributedText = [attributeString3];

this.addChild(this.myTextView, "myTextView", ".sf-textView", {
  width: null,
  height: null,
  flexGrow: 1,
  maxLines: 0,
});
TextView vs Label
This comparison is documented within Label guide
IDE support
It is possible to edit attributed text display features within IDE easily. While editing the TextView from design area, double-click causes opening of inline text editor in the design area. For TextView only, IDE is showing an additional dialog to change the formatting of the selected text. The attributed text, for the changed features, may no longer be affected by the properties & styling.
Copy & Paste rich text with UI editor
- UI editor supports copy-pasting of rich text across TextViews
- It is possible to copy a rich text from other HTML sources and paste it into TextView. In that case, it may work, it may not. Smartface officially does neither supports nor recommends this approach. Use it at your own risk.
HTML to Attributed Text
Smartface has prepared a html-to-text library, that converts HTML to AttributedText. This library can convert some basic level HTML to AttributedText. UI editor uses this library to convert rich HTML text to with JavaScript. It is possible to observe this behavior in UI editor generated codes.
Only in iOS 16.0, the application crashes when the ul and ol HTML tags are one after the other up in HTML. This problem is caused by Apple. We will let you know if it's fixed by Apple.
Workaround
You can use the following code to avoid the crash. You can put br tag between ul and ol HTML tags.
import createAttributedStrings from "@smartface/extension-utils/lib/html-to-text";

const html = `<ul>
                  <li>First</li>
                  <li>Second</li>
              </ul>
              <br />
              <ol>
                <li>First</li>
                <li>Second</li>
              </ol>`;

const attributedText = createAttributedStrings(html);
You cannot assign style to html with class. If you want to change the style of html, you have to do it with code.
Using HTML with Dark Theme Support
Since the library takes a static html string and converts them to attributedString, the specified colors will stay as is no matter which Smartface Theme you apply.
Unless you have two different html strings for different themes, you have to specify their colors manually.
import createAttributedStrings from "@smartface/extension-utils/lib/html-to-text";
import propFactory from "@smartface/contx/lib/smartface/sfCorePropFactory";
import AttributedString from "@smartface/native/ui/attributedstring";
import { themeService } from "theme";
/**
 * Consider the two variable has an equivelant value in a different theme.
 */
const textViewTitleStyle = themeService.getNativeStyle(".sf-textview.title");
const textViewLinkStyle = themeService.getNativeStyle(".sf-textview.link");

// Example function for wrapping
function htmlToText() {
  const htmlText = "<p>Your HTML text goes here</p>";
  const attributedStrings = createAttributedStrings(htmlText);
  this.tvMain.onLinkClick = (link) => {
    // Your URLs will be opened in the browser of the device
    Application.call({ uriScheme: link });
  };
  attributedStrings.map((string) => {
    const as = new AttributedString(propFactory(string));
    if (as.link) {
      as.foregroundColor = textViewLinkStyle.textColor;
      as.underline = true;
      //@ts-ignore
      as.ios.underlineColor = textViewLinkStyle.textColor;
    } else {
      as.foregroundColor = textViewTitleStyle.textColor;
    }
    return as;
  });
}
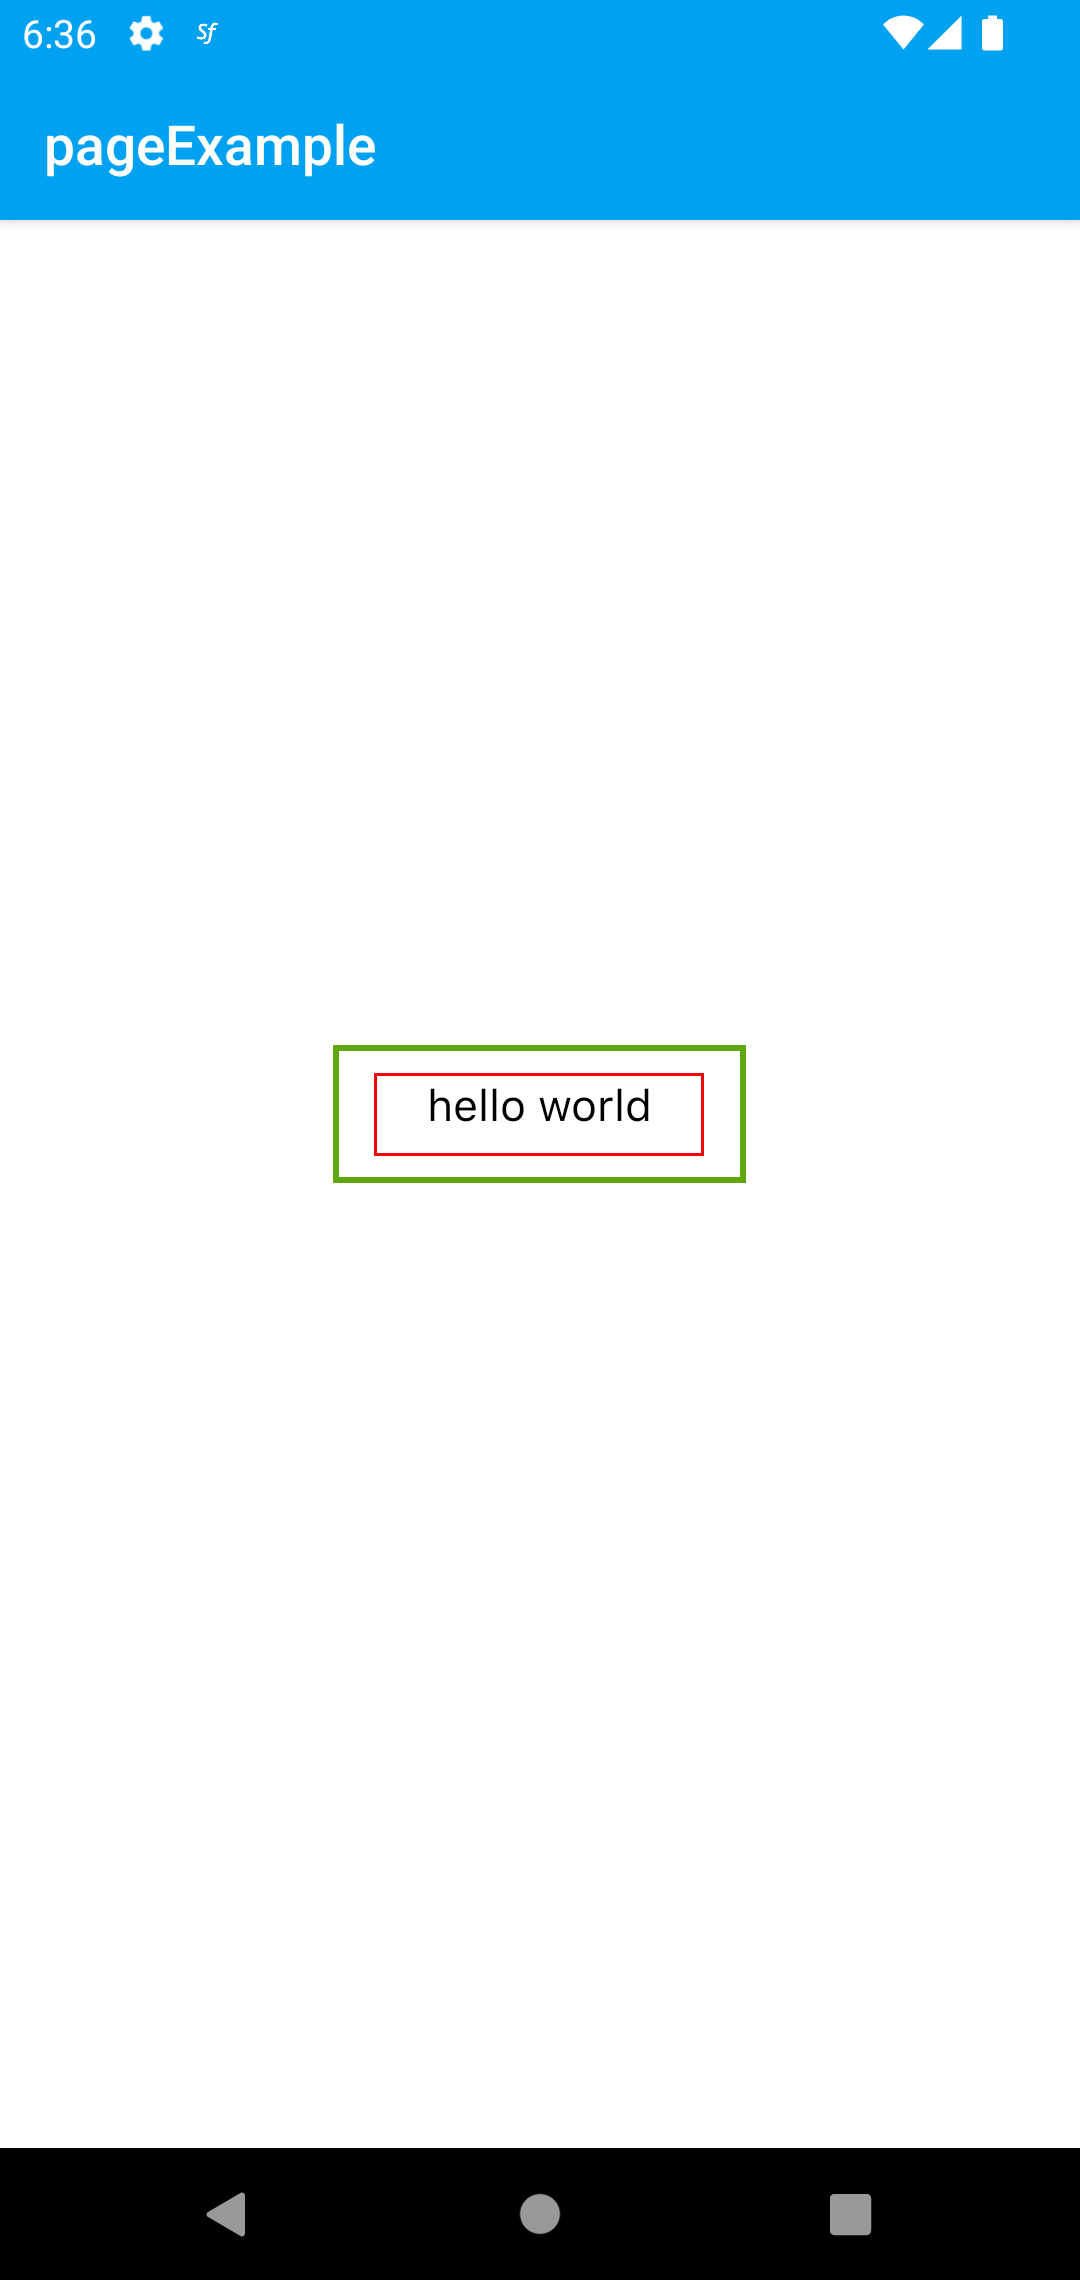
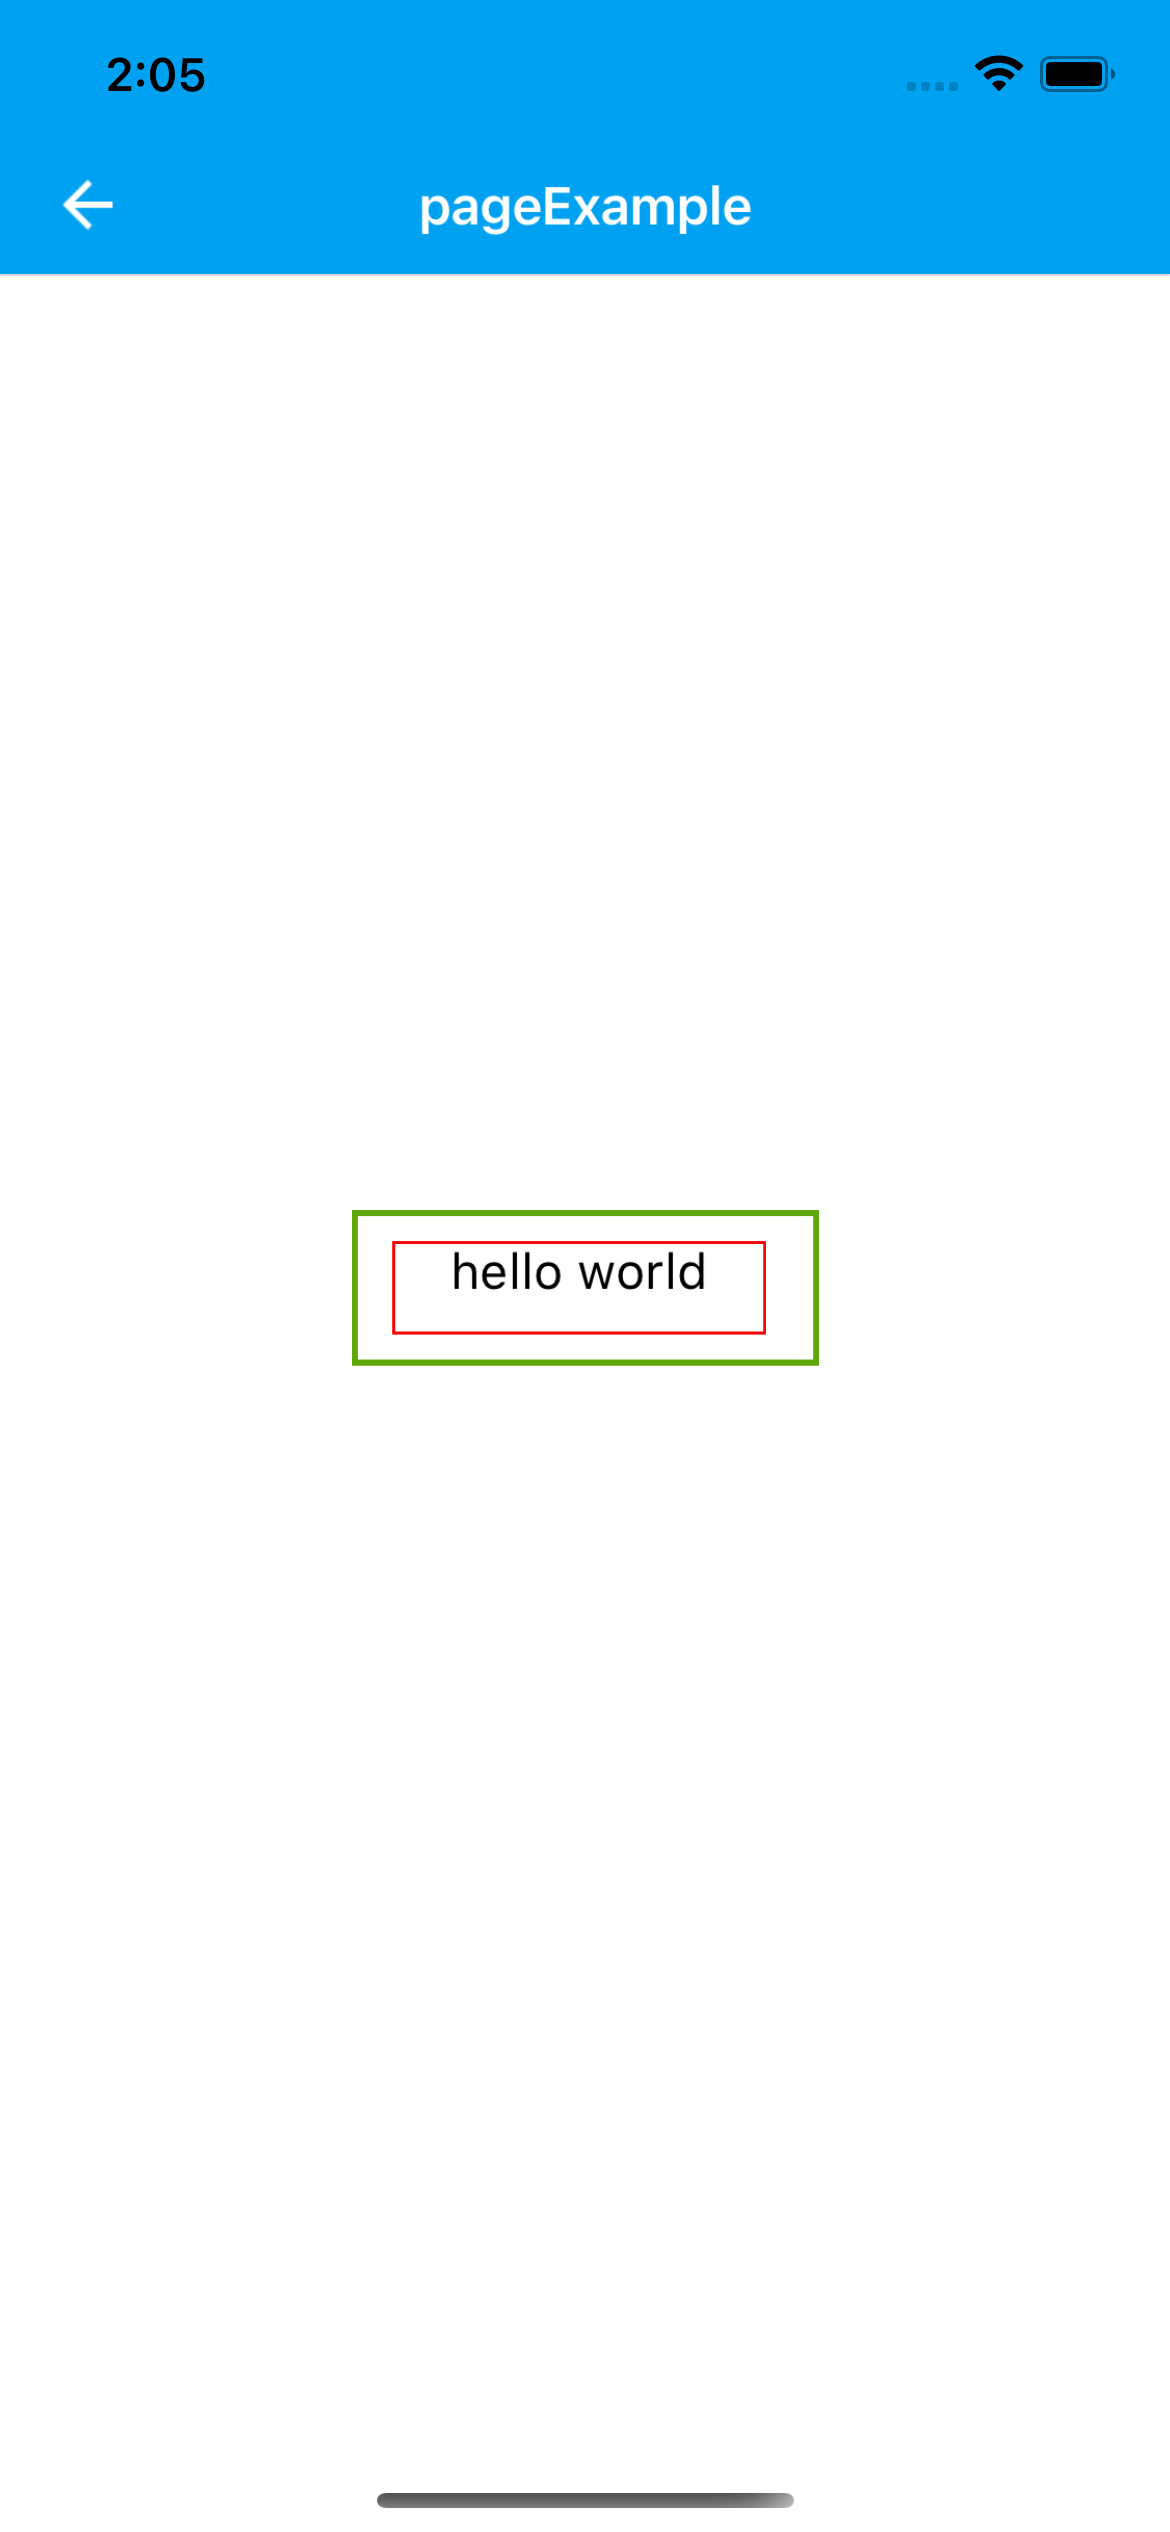
Padding on TextView
Since Textview padding is not supported on iOS, it is necessary to wrapping the textview with a view that has margin.
For example,
Wrap the textview with a scollview that has margin.
ScrollView- Page
{
  "components": [
    {
      "className": ".sf-page",
      "id": "eefa-c702-fa2e-bd2f",
      "initialized": true,
      "props": {
        "children": [
          "35d1-953f-808a-118d",
          "74c2-6e99-5bfb-a2d6",
          "41a3-20a8-0c13-3b08"
        ],
        "name": "pageInstanceExample",
        "orientation": "PORTRAIT",
        "parent": null
      },
      "type": "Page",
      "userProps": {
        "flexProps": {
          "alignItems": "CENTER",
          "flexDirection": "COLUMN"
        }
      },
      "version": "0.0.1.a"
    },
    {
      "className": ".sf-statusBar",
      "id": "35d1-953f-808a-118d",
      "props": {
        "children": [],
        "isRemovable": false,
        "name": "statusBar",
        "parent": "eefa-c702-fa2e-bd2f"
      },
      "type": "StatusBar",
      "userProps": {}
    },
    {
      "className": ".sf-headerBar",
      "id": "74c2-6e99-5bfb-a2d6",
      "props": {
        "children": [],
        "isRemovable": false,
        "name": "headerBar",
        "parent": "eefa-c702-fa2e-bd2f",
        "title": "pageExample"
      },
      "type": "HeaderBar",
      "userProps": {
        "title": "pageExample"
      }
    },
    {
      "className": ".sf-scrollView",
      "id": "41a3-20a8-0c13-3b08",
      "props": {
        "children": ["56ad-cd5a-e33d-b28f"],
        "name": "scrollView1",
        "parent": "eefa-c702-fa2e-bd2f"
      },
      "ref": null,
      "type": "ScrollView",
      "userProps": {
        "borderColor": "rgba( 95, 167, 11, 1 )",
        "borderWidth": 2,
        "flexProps": {
          "alignSelf": "AUTO"
        },
        "height": 50,
        "top": 300,
        "width": 150
      }
    },
    {
      "className": ".sf-textView",
      "id": "56ad-cd5a-e33d-b28f",
      "props": {
        "children": [],
        "html": "<div><span style=\"font-family: SFProText-Regular; white-space: pre-wrap; background-color: rgb(255, 255, 255);\">hello world</span></div><div><span style=\"font-family: SFProText-Regular; white-space: pre-wrap; background-color: rgb(255, 255, 255);\"><br style=\"font-family: SFProText-Regular; background-color: rgb(255, 255, 255);\"></span></div>",
        "name": "textView1",
        "parent": "41a3-20a8-0c13-3b08",
        "text": "hello world\n\n",
        "usePageVariable": true
      },
      "ref": null,
      "type": "TextView",
      "userProps": {
        "backgroundColor": "rgba( 255, 255, 255, 0 )",
        "borderColor": "rgba( 241, 7, 7, 1 )",
        "borderWidth": 1,
        "flexProps": {
          "alignSelf": "CENTER"
        },
        "font": {
          "name": "",
          "family": "",
          "style": "",
          "size": 18
        },
        "height": 30,
        "html": "<div><span style=\"font-family: SFProText-Regular; white-space: pre-wrap;\">hello world</span></div><div><span style=\"font-family: SFProText-Regular; white-space: pre-wrap;\"><br style=\"font-family: SFProText-Regular; background-color: rgb(255, 255, 255);\"></span></div>",
        "marginBottom": 10,
        "marginLeft": 10,
        "marginRight": 10,
        "marginTop": 10,
        "testId": "GeNFNk7x3",
        "text": "hello world\n\n",
        "textAlignment": "MIDCENTER",
        "usePageVariable": true,
        "width": 120
      }
    }
  ]
}
TextView Touch Caveat
By default, textviews are scrollable and they will consume the touch. It means:
Let's say you have a textview inside of a FlexLayout
- You assign a touch event to the FlexLayout like:
this.myFlexLayout.on("touch", () => {
  alert("myFlexLayout");
});
- If you touch on where the textview is, it will not trigger the alert by default. To fix this, you could either close the touch of the textview or trigger the parent touch inside of textview.
Workaround 1 for Android:
this.myTextView.scrollEnabled = false;
this.myTextView.touchEnabled = false;
With this workaround, you will not be able to scroll the textview. So if your text is too long, we dont recommend you to use this workaround.
Workaround 2 for Android:
If you use the textview in a ListView, you can use the following workaround:
this.myTextView.on("touch", () => {
  this.myListView.onRowSelected(index); // trigger the parent touch (index from onRowBind)
  return false;
});
Workaround 3 for Android:
this.myTextView.on("touch", () => {
  this.myFlexLayout.emit("touch"); // trigger the parent touch (or touchEnded)
});