AlertView
API Reference: UI.AlertView
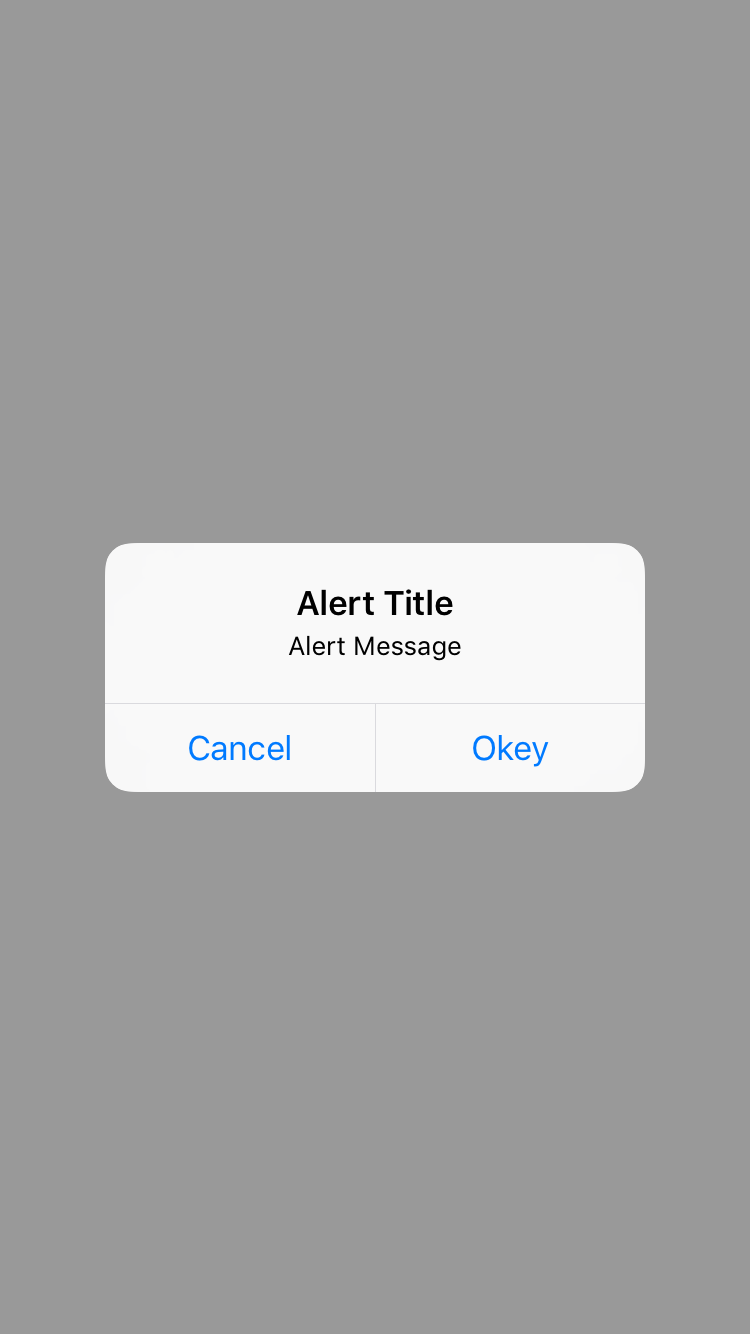
AlertView is a dialog that can be used to provide information to the user or to prompt for confirmation. AlertView has buttons with callbacks so you can execute different actions for each button.
For ease of usage, Smartface provides Alert functionality. You can get more information at the documentation below:
The components in the example are added from the code for better showcase purposes. To learn more about the subject you can refer to:
Adding Component From CodeAs a best practice, Smartface recommends using the WYSIWYG editor in order to add components and styles to your page or library. To learn how to use UI Editor better, please refer to this documentation
UI Editor BasicsFor ease of usage, Smartface provides Alert functionality. You can get more information at the documentation below:
import PageSampleDesign from "generated/pages/pageSample";
import Application from "@smartface/native/application";
import System from "@smartface/native/device/system";
import AlertView from "@smartface/native/ui/alertview";
import { withDismissAndBackButton } from "@smartface/mixins";
import { Route, Router } from "@smartface/router";

//You should create new Page from UI-Editor and extend with it.
export default class AlertViewSample extends withDismissAndBackButton(PageSampleDesign) {
  myAlertView: AlertView;

  constructor(private router?: Router, private route?: Route) {
    super({});
  }

  // The page design has been made from the code for better
  // showcase purposes. As a best practice, remove this and
  // use WYSIWYG editor to style your pages.
  centerizeTheChildrenLayout() {
    this.dispatch({
        type: "updateUserStyle",
        userStyle: {
            flexProps: {
              flexDirection: 'ROW',
              justifyContent: 'CENTER',
              alignItems: 'CENTER'
            }
        }
    })
  }

  onShow() {
    super.onShow();
    const { headerBar } =
      System.OS === System.OSType.ANDROID ? this : this.parentController;
    Application.statusBar.visible = false;
    headerBar.visible = false;
  }

  onLoad() {
    super.onLoad();
    this.centerizeTheChildrenLayout();

    this.myAlertView = new AlertView({
      title: "Alert Title",
      message: "Alert Message",
    });
    this.myAlertView.addButton({
      index: AlertView.ButtonType.NEGATIVE,
      text: "Cancel",
    });
    this.myAlertView.addButton({
      index: AlertView.ButtonType.POSITIVE,
      text: "OK",
      onClick: function (): void {
        console.log("OK clicked.");
      },
    });

    this.myAlertView.show();
  }
}
Extension AlertView
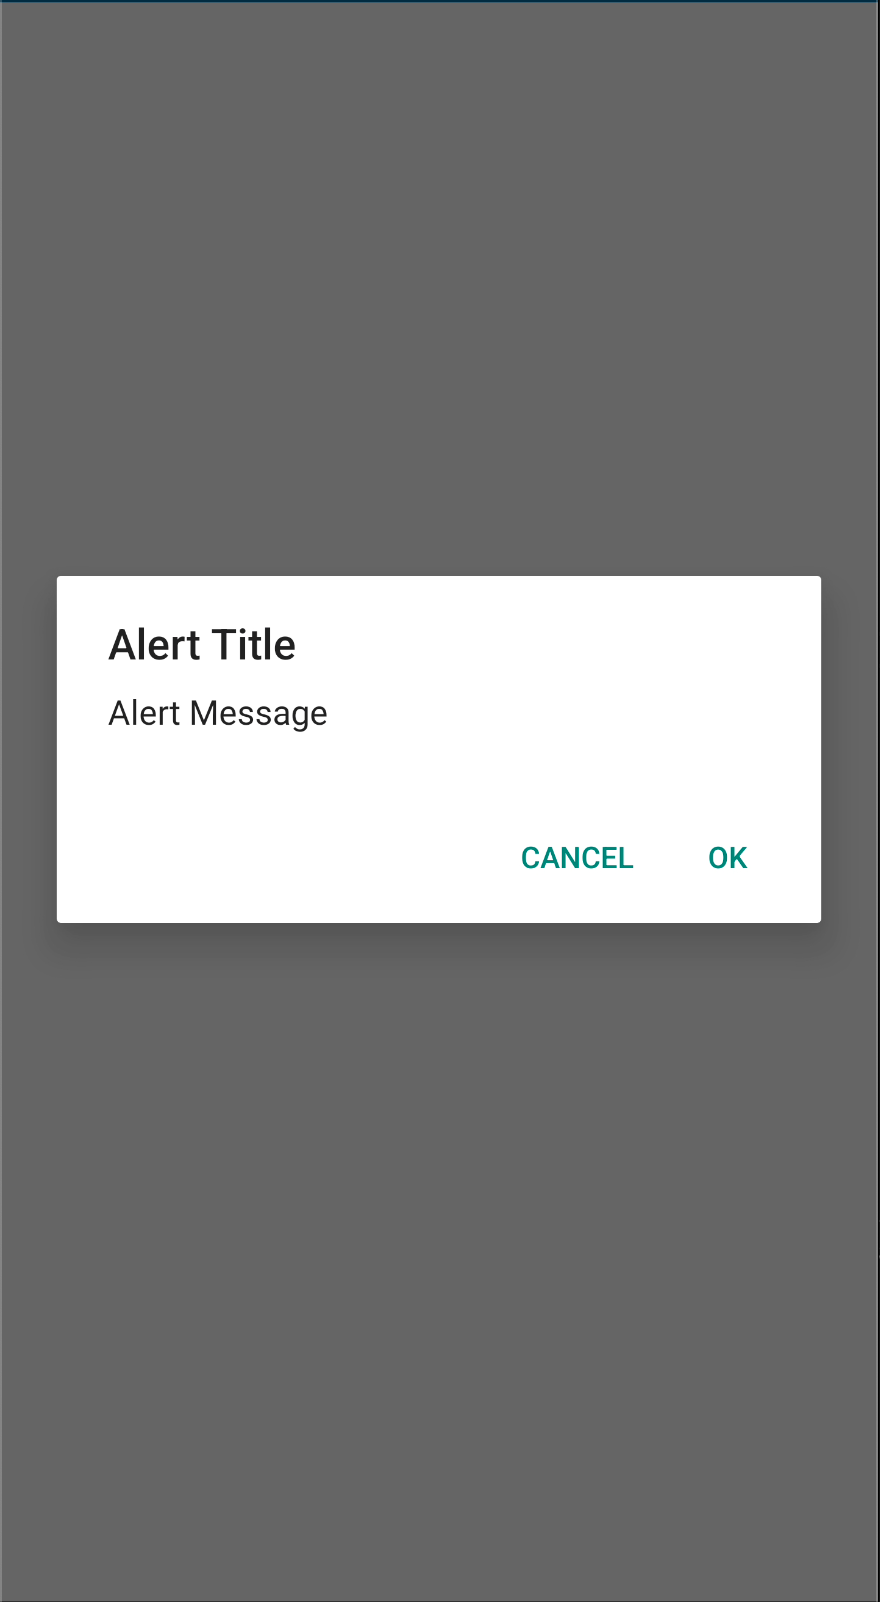
AlertView with editable fields.
The components in the example are added from the code for better showcase purposes. To learn more about the subject you can refer to:
Adding Component From CodeAs a best practice, Smartface recommends using the WYSIWYG editor in order to add components and styles to your page or library. To learn how to use UI Editor better, please refer to this documentation
UI Editor Basicsimport PageSampleDesign from "generated/pages/pageSample";
import Application from "@smartface/native/application";
import System from "@smartface/native/device/system";
import AlertView from "@smartface/native/ui/alertview";
import { withDismissAndBackButton } from "@smartface/mixins";
import { Route, Router } from "@smartface/router";
//You should create new Page from UI-Editor and extend with it.
export default class AlertViewSample extends withDismissAndBackButton(PageSampleDesign) {
myAlertView: AlertView;
constructor(private router?: Router, private route?: Route) {
super({});
}
// The page design has been made from the code for better
// showcase purposes. As a best practice, remove this and
// use WYSIWYG editor to style your pages.
centerizeTheChildrenLayout() {
this.dispatch({
type: "updateUserStyle",
userStyle: {
flexProps: {
flexDirection: 'ROW',
justifyContent: 'CENTER',
alignItems: 'CENTER'
}
}
})
}
onShow() {
super.onShow();
const { headerBar } =
System.OS === System.OSType.ANDROID ? this : this.parentController;
Application.statusBar.visible = false;
headerBar.visible = false;
}
onLoad() {
super.onLoad();
this.centerizeTheChildrenLayout();
this.myAlertView = new AlertView({
title: "Alert Title",
message: "Alert Message",
});
this.myAlertView.addButton({
index: AlertView.ButtonType.NEGATIVE,
text: "Cancel",
});
this.myAlertView.addButton({
index: AlertView.ButtonType.POSITIVE,
text: "OK",
onClick: function (): void {
console.log("OK clicked.");
},
});
this.myAlertView.addTextBox({
text: "Hello!",
hint: "Hint!",
isPassword: false,
android: {
viewSpacings: { left: 50, right: 50 },
},
});
this.myAlertView.show();
}
}
